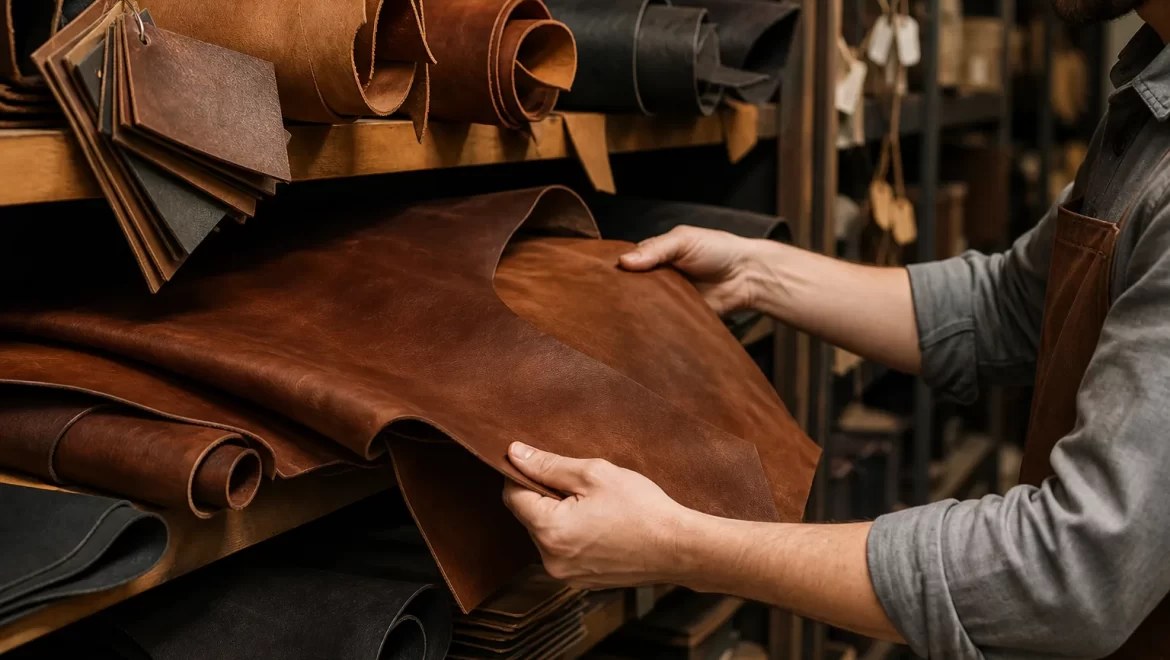
The Sampling Process: How Leather Bag Prototypes Are Made
A leather bag starts its life not in a store, but on a sample table — and what happens between a brand's first sketch and the final approved prototype determines more about the product than any other stage of its lifecycle. The sampling process is where a design becomes a manufacturable product, where hidden problems surface, and where the relationship between brand and factory is either built or broken. It is also the stage that brands most often underestimate: they treat sampling as a formality and are surprised when the production run produces surprises.
This guide walks through the leather bag sampling process exactly as it happens inside a factory — from tech pack review through pattern making, material sourcing, prototype stitching, revision rounds, and the timelines that govern each step. Whether you are a brand launching your first bag or an established label refining a new design, understanding this process tells you what to expect, what to demand, and how to get from sketch to production without costly surprises.
Why Sampling Matters More Than You Think
Sampling is the translation of an idea into a specification, and it is where the cost of error is lowest — or the highest, depending on how it is done. The economics are stark: fixing a problem at the sampling stage costs hours and a few meters of leather; fixing the same problem in production costs entire runs, shipping delays, and retail disappointments. Every hour invested in a thorough sample is an insurance policy against a much more expensive failure later.
Sampling also serves a second, quieter purpose: it is where the factory learns the brand's standards. The sample is a communication exercise — the factory's interpretation of the brand's intent. Every revision round teaches the factory more about the brand's tolerances, finish preferences, and quality bar. Brands that sample carefully get better production; brands that rush sampling get production that reflects the rush.
Finally, sampling is the moment where feasibility is decided. A design may look brilliant in a rendering and be nearly impossible to manufacture at the target price. The sampling process reveals these truths early — before tooling, before materials are committed, before the brand has invested in something that cannot be built.
The Starting Point: The Tech Pack
Every sample begins with a tech pack — the engineering document that describes the bag in the language a factory can build from. The quality of the tech pack is the single biggest determinant of sampling efficiency. A complete tech pack contains:
| Tech pack element | What it specifies | Why it matters |
|---|---|---|
| Design sketch/rendering | Front, back, side, top, bottom views; proportions | Defines the silhouette the pattern must achieve |
| Bill of materials (BOM) | Every component: leather, lining, thread, hardware, zippers | Missing BOM items = mid-sample surprises |
| Measurement spec | Finished dimensions with tolerances (±5 mm is typical) | Pattern and cutting are built from these numbers |
| Construction notes | Seam types, edge finishing, stitching details, reinforcements | Determines how panels are joined and reinforced |
| Hardware spec | Zipper brand/size, buckles, rivets, D-rings, with placement | Hardware is often the longest-lead component |
| Packaging spec | Dust bag, box, tags, polybag requirements | Affects final costs and retail readiness |
| Quality expectations | Stitch density, edge treatment, finish level | Aligns factory QC with brand expectations |
The most common sampling problems trace back to tech pack gaps: unspecified hardware leads to the wrong zipper; vague measurements lead to proportion errors; missing interior details lead to re-samples. The professional rule: a complete tech pack is worth a week of sampling time. When a brand brings us a thorough tech pack, the sample process runs measurably faster and with fewer revision rounds.
Step 1 — Tech Pack Review and Feasibility Check
The process begins with the factory's engineering team reviewing the tech pack — not reading it, but interrogating it. This review produces a feasibility assessment that covers three questions:
Can it be built? The pattern team and production engineers look for construction issues: panels that cannot be joined cleanly, hardware that cannot be anchored, shapes that will not hold their form in leather. Leather has real physical limits — it stretches, it does not stretch evenly, it has a grain direction — and designs created without those limits in mind need adjustment.
Can it be built at the target price? The costing team estimates material consumption, labor hours, and component costs against the brand's target. If the design costs 20% over target, this is the moment to know — and to adjust the design or the target before any cutting happens.
Can it be built at the target quality? Some designs are manufacturable but only at a quality level below the brand's bar. The review identifies these tensions and proposes alternatives before sampling, rather than discovering them in the prototype.
The output of the review is a sampling quotation and timeline — and, when needed, a list of recommended design adjustments. A good factory presents these adjustments as proposals with reasoning, not as verdicts. The brand retains the final decision; the factory's job is to surface the trade-offs.
Step 2 — Pattern Making
Pattern making is where the design becomes geometry — and it is the most technically demanding step in sampling. The pattern maker converts the 3D design into 2D panels that, when sewn together, recreate the bag's shape and proportions.
The pattern's logic. Every panel is defined with its seam allowance (typically 8–12 mm for leather, more where edges are folded), its grain direction (leather behaves differently along the spine than across it, so each piece must be oriented correctly), and its relationship to neighboring panels. Pattern pieces must account for the material's thickness: a bag made from 1.6 mm leather needs different seam allowances and corner construction than the same design in 1.0 mm. Pattern making for leather is harder than for fabric because leather does not drape forgivingly — it holds its shape, which means the pattern must be right, not approximately right.
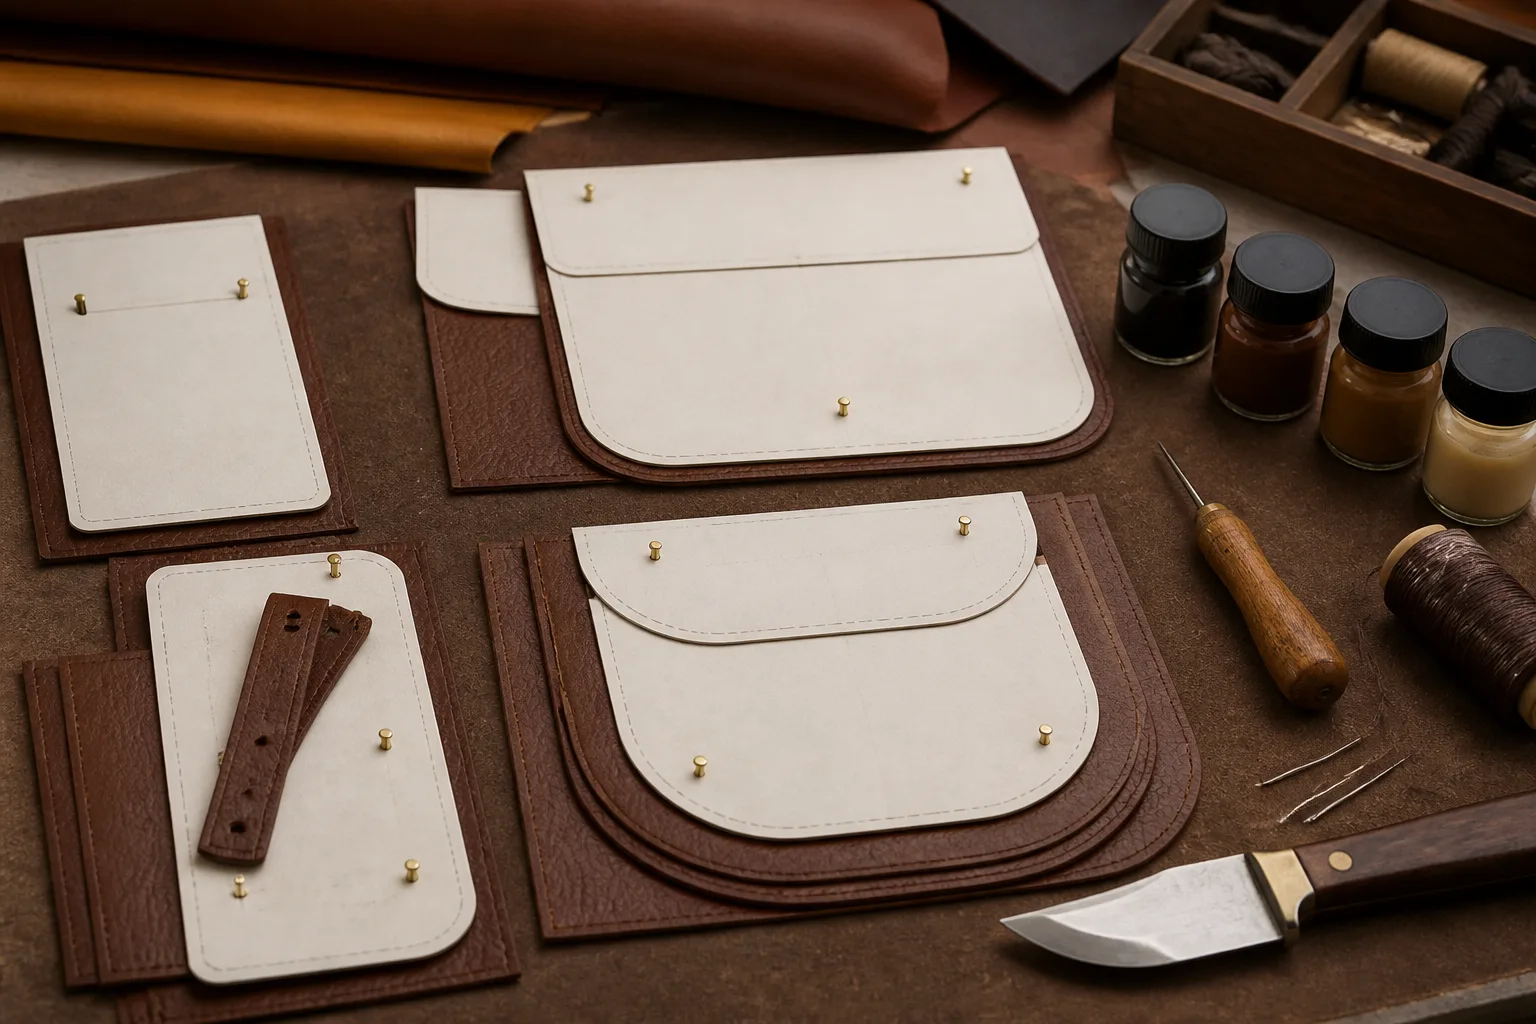
The paper or digital prototype. Most serious factories now develop patterns digitally (CAD), which allows precise measurement, easy revision, and nesting calculations for cutting yield. The digital pattern is then plotted onto paper and, often, assembled into a paper or muslin prototype — a quick, cheap model that validates proportions before any leather is cut. This step catches proportion errors (a handle that is too short, a flap that does not close) at near-zero cost.
The cost of pattern errors. A pattern error discovered in the leather prototype is expensive — leather is cut, and cut leather cannot be uncut. The discipline of pattern verification (paper prototype → measurement check → correction) is what keeps sampling costs down. Brands should ask their factory how pattern verification is done; the answer reveals the factory's quality discipline.
Step 3 — Material Sourcing
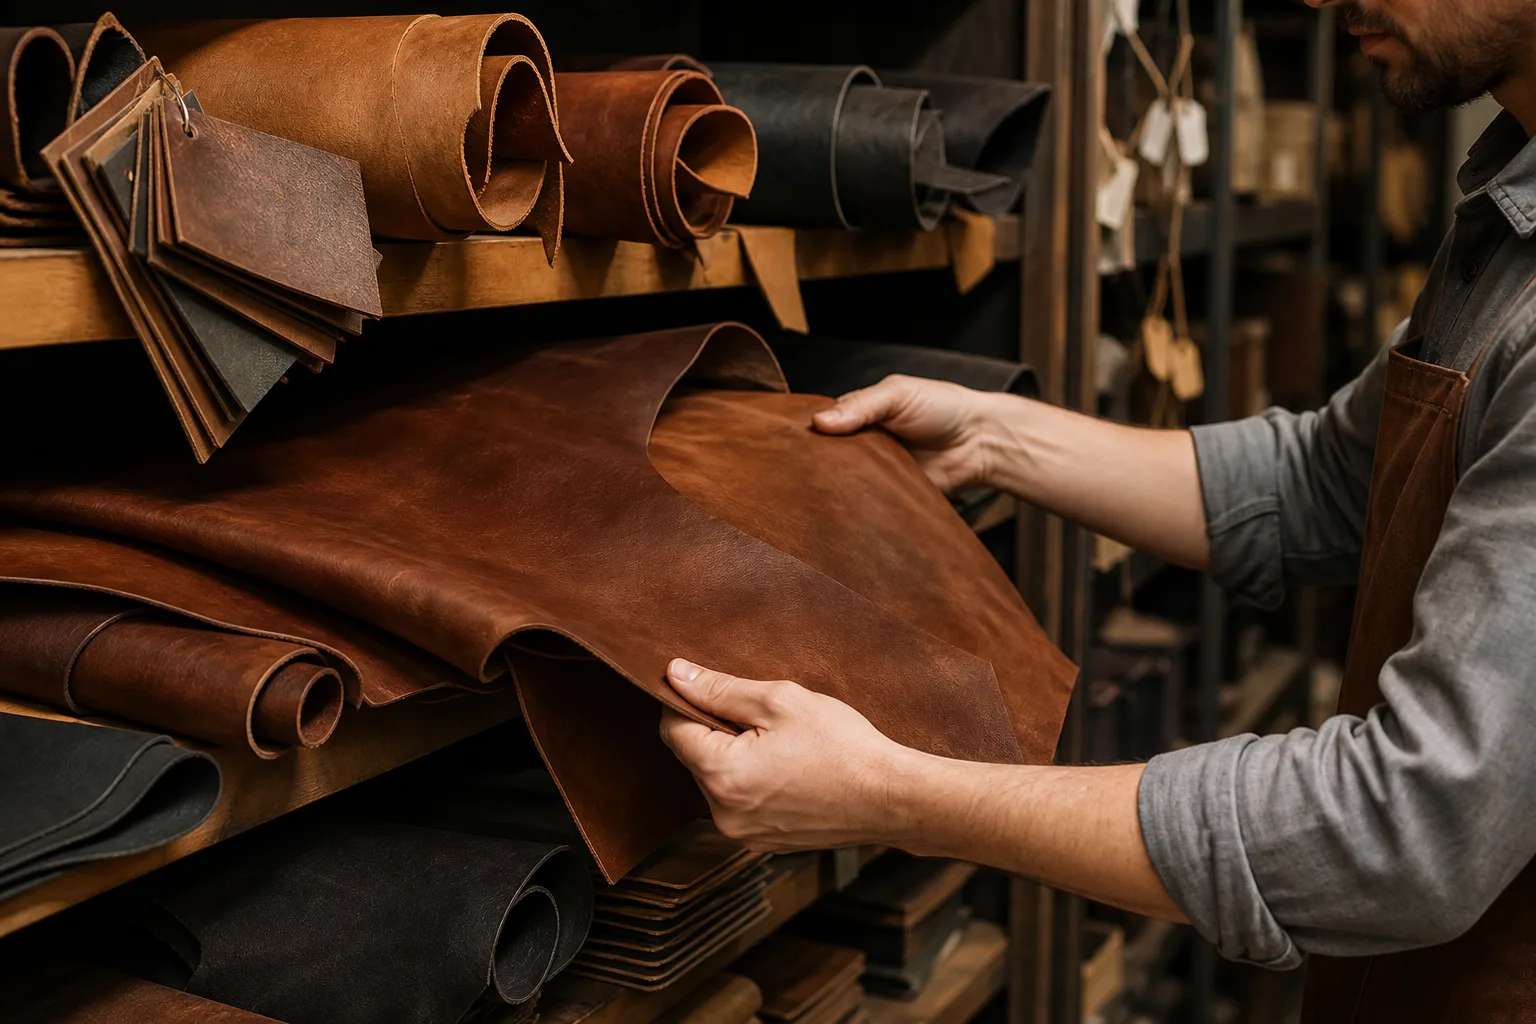
While the pattern is being developed, the material team sources the components for the sample. This is not the same as sourcing for production — sampling typically uses available materials or small quantities, but the selection matters because it sets expectations for production.
Leather selection. The sample leather should match the intended production leather in grade, thickness, and finish as closely as possible. A sample made in a different leather behaves differently: a bag sampled in firm vegetable-tanned leather but produced in soft chrome-tanned leather will have a different hand, different draping, and different construction behavior. The sample's purpose is to predict production, and it cannot predict what it does not match.
Hardware sourcing. Hardware — zippers, buckles, rivets, D-rings — often has the longest lead times, which is why hardware decisions should be made at the tech pack stage, not discovered during sampling. For sampling, the factory pulls the specified hardware or the closest available equivalent; the sample confirms the hardware's scale, finish, and placement in the real product.
Lining and components. The lining, interlining, and structural components are specified in the BOM and sourced accordingly. The sample is the moment to verify that the lining weight works with the leather, that the interlining gives the right structure, and that the zipper pocket sits where the design says.
Step 4 — Leather Cutting and Pre-Assembly
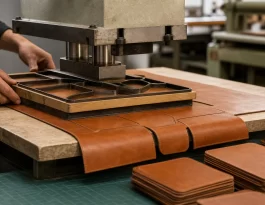
Once the pattern is verified and materials are in hand, the sample cutting begins. Leather cutting for a sample is done by hand with a knife (production may use clicking presses or CNC), because sample quantities do not justify dies — and hand cutting gives the craftsman control over placement around the hide's natural features.
Grain direction and placement. Each panel is placed with attention to grain direction (for consistency of hand and flex), to visual characteristics (avoiding scars and color variations on visible panels), and to matching (panels that meet at a seam should have similar tone). This placement judgment is part of what separates a fine sample from an average one.
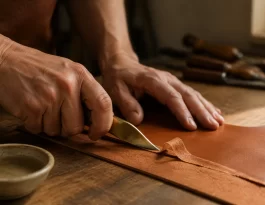
Edge skiving. Skiving — thinning the leather at edges and fold points — is where leather bags gain their refined finish. The skiving knife reduces edge bulk so folded edges sit flat and seams are not bulky. Skiving skill directly affects the final look: a well-skived edge folds cleanly; a poorly skived edge bulges and distorts. In sampling, the skiving is done by the most skilled hands, which sets the quality bar the production team must then match.
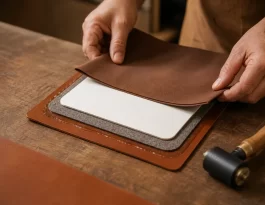
Pre-assembly preparation. The cut and skived pieces are then prepared for stitching: edges are beveled, painted or burnished (edge finishing is applied in stages), reinforcement pieces are glued into position, and hardware anchors are set. Pre-assembly is where the bag starts to take its physical form — and where the construction decisions in the tech pack become visible.
Step 5 — Prototype Stitching and Assembly
The assembly of the prototype is the heart of the sampling process — the moment the design becomes a physical object. The sample is sewn by experienced hands, typically the factory's senior sample stitchers, and assembled in the same sequence production will use.
The stitching itself. The prototype is stitched with the specified thread (bonded nylon for durability), at the specified stitch density, and with the specified seam types. The stitching reveals multiple truths at once: whether the pattern geometry is correct (panels align, corners close), whether the leather behaves as expected (stretch, firmness, edge finish adhesion), and whether the construction sequence works (panels can be joined in the planned order without impossible access).
Hardware installation. Zippers are installed and tested for smooth operation; buckles, rivets, and D-rings are set at the specified positions. The prototype is the first moment the hardware's scale can be judged in context — a buckle that looked right in a rendering may overwhelm the bag in person, and this is the moment to see it.
Structural checks. As the bag comes together, the stitcher and the QC team check structure: the bag stands correctly, handles are properly anchored and reinforced, the opening closes as designed, and the bag holds its shape when loaded. Any structural problem found here goes back to the pattern or the construction notes — far cheaper than finding it in production.
Step 6 — Finishing and Edge Treatment
Finishing is where the sample moves from "assembled" to "presentable" — and it is the step where leather bags most visibly express their quality. The finishing sequence for a typical bag:
Edge finishing. Raw leather edges are treated in stages: sanding to smooth the edge, applying edge paint or burnishing wax (for burnished edges), sanding again, and repeating until the edge is smooth and sealed. Edge finishing can take multiple passes over a day or more. Painted edges are the most common quality signal buyers notice — smooth, even, sealed edges indicate a factory that finishes properly.
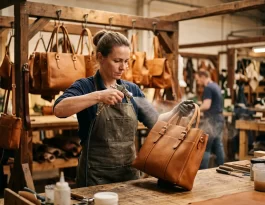
Surface treatment. The leather surface receives its final treatment: conditioning, application of any specified finish (water-resistant coating, wax polish), and buffing. This is also where the leather's natural character is assessed — whether the chosen leather displays the character the design needs.
Hardware protection. Hardware is cleaned and protected (often masked during finishing to prevent edge paint or conditioner from dulling it). Protective films on buckles and zippers are part of this stage.
The finishing step is worth watching closely in sampling, because finishing skill is the most visible differentiator between factories. A sample with mediocre stitching but excellent edges tells one story; a sample with excellent stitching and sloppy edges tells another. The brand's standard should be set on the sample — production will follow.
Step 7 — The Review Round: Measuring, Testing, Evaluating
The completed prototype is not a deliverable; it is an object under examination. The review round is a systematic evaluation that decides whether the sample is approved, revised, or redone.
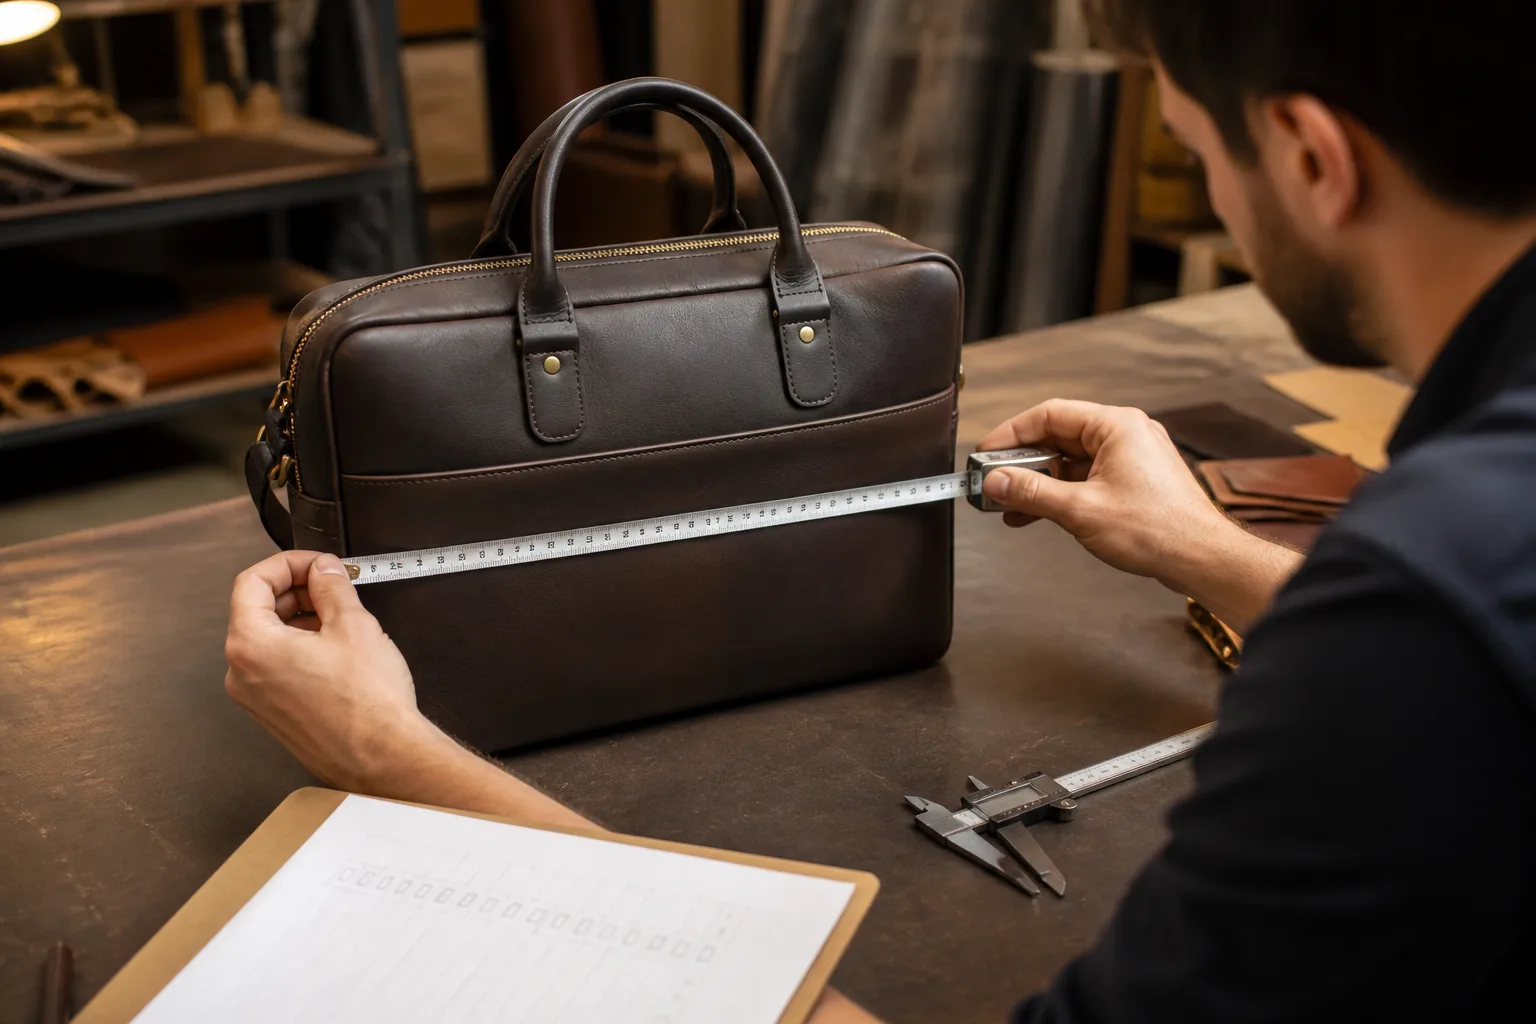
Measurement verification. Every dimension from the measurement spec is checked against the actual prototype: total height, width, depth, handle drop, strap length, pocket sizes. Tolerances of ±5 mm are typical for most dimensions; deviations beyond tolerance trigger pattern corrections. This is a numbers exercise, not an opinion — the tape measure decides.
Wear and load testing. The prototype is loaded and handled: weight is carried, the zipper is cycled, the strap is loaded, the flap is opened and closed repeatedly. Load testing at the sample stage is the cheapest structural insurance: a handle anchor that fails under load in the sample costs nothing to fix; the same failure in production is a recall.
Appearance evaluation. The visual review covers proportion balance, panel alignment, stitching consistency, edge finish quality, and overall hand feel. This is where brand preferences — "the flap should sit lower," "the stitch should be more subtle" — get their first real-world expression.
The verdict. The review produces one of three outcomes: approved (sample matches spec and standard), approved with revisions (specific, itemized changes requested), or rejected (fundamental issues requiring a new sample). The most common outcome by far is approved with revisions — and that is healthy. Each revision round is an investment in the production run.
Revision Rounds: The Iteration Loop
The revision loop is where the brand and factory refine the product together — and where communication quality determines efficiency. A revision round works like this:
| Revision element | What happens | Typical duration |
|---|---|---|
| Feedback list | Brand provides itemized changes (written, with reference to photos/marks) | 1–3 days |
| Pattern update | Pattern team adjusts panels affected by the changes | 1–3 days |
| Revised sample | New prototype produced with the changes incorporated | 5–10 days |
| Review | Brand evaluates the revised sample against the feedback list | 1–5 days |
Three rules keep revision rounds productive. First, itemize the feedback — numbered, specific, and referencing photos or marked samples. Vague feedback ("make it nicer") produces guesses, not fixes. Second, separate must-fix from nice-to-have — a revision round that tries to change everything changes nothing well. Third, understand the cost of each change — some revisions (color, hardware finish) are cheap; others (pattern geometry, construction) ripple through everything. A factory that explains the ripple of each requested change is protecting the brand from hidden costs.
The typical sampling journey runs 2–3 revision rounds before approval. One round is rare (and usually indicates under-examination); five rounds indicate a communication or feasibility problem that should be addressed at the source.
Timelines: What Sampling Really Takes
The most common brand question is "how long does sampling take?" — and the honest answer is that it depends on complexity, material availability, and revision efficiency. A realistic timeline framework:
| Sample type | What it includes | Typical timeline |
|---|---|---|
| Paper/muslin prototype | Pattern validation, proportions | 3–5 days |
| First leather prototype | Full construction sample from the tech pack | 10–20 days |
| Revised prototype | Changes from feedback incorporated | 5–10 days per round |
| Production sample (PP sample) | Built to production methods, from production materials | 10–15 days |
| Counter sample | Factory's copy of brand-supplied sample (if applicable) | 10–15 days |
The full journey from tech pack to approved production sample typically runs 5–8 weeks for a standard leather bag, and 8–12 weeks for complex constructions or designs requiring custom hardware. Two variables dominate: material availability (custom leather or hardware adds weeks) and revision efficiency (each round adds 1–2 weeks). Brands that plan for 8 weeks and are pleased to finish in 6 are in a far better position than brands that plan for 4 and discover the truth in week 5.
Sample Types: What Each One Is For
Not all samples serve the same purpose, and brands that conflate them create confusion and cost. The four sample types every bag brand should know:
Development sample (proto). The first full construction, built to validate the design — proportions, construction, and materials. This is the sample that answers "does this design work?" It is built by skilled hands and may not yet reflect production methods.
Salesman sample (sales sample). Produced after design approval, for selling — used in showrooms, buyer meetings, and photo shoots. Salesman samples are made to represent the final product as closely as possible, and their quality is the quality buyers will expect from production.
Production sample (PP sample / pre-production sample). Built exactly to production methods — same materials, same cutting approach, same stitching process, same hardware — to validate that production will reproduce the approved quality. The PP sample is the final gate before mass production, and it is the sample most brands should be strictest about.
Counter sample. The factory's copy of a sample the brand supplied (used when a brand brings a competitor's or reference product). The counter sample's job is to match the reference within agreed limits — a task that must be defined explicitly, because matching is always a matter of degree.
Each sample type has a different approval standard and a different role. Approving a development sample as if it were a production sample — or vice versa — is a classic sampling mistake with production consequences.
Common Sampling Pitfalls and How to Avoid Them
Sampling problems are predictable, which means they are preventable. The patterns we see most often, and the professional defenses:
Unclear or incomplete tech packs. The leading cause of sampling delay and rework. Defense: treat the tech pack as a contract; review it together with the factory before sampling starts.
Designs that ignore material reality. Bags drawn without leather's physical limits (grain direction, stretch, thickness behavior) produce disappointing samples. Defense: involve the factory's engineering team early, before the design is finalized.
Sample leather that differs from production leather. The sample looks great; production looks different. Defense: specify and match the production material from the first sample onward; approve materials before the sample, not after.
Vague revision feedback. "Improve the proportion" produces a guess. Defense: itemize feedback, mark the sample physically or with photos, and separate must-fix from nice-to-have.
Skipping the PP sample. The most expensive shortcut in the process — production starts without validation of production methods. Defense: never skip the pre-production sample; it is the cheapest insurance in the entire supply chain.
Rushing timelines. Sampling rushed by one week often costs three weeks of production delays later. Defense: plan for 8 weeks, communicate lead times honestly, and build sampling time into the product calendar from the start.
Sampling Communication: The Brand-Factory Dialogue
The quality of communication between brand and factory is the invisible driver of sampling success. The mechanics matter as much as the substance:
Written, itemized, and referenced. Every instruction and every piece of feedback should be written, numbered, and referenced to a photo, a mark on the sample, or a drawing. Verbal decisions evaporate; written ones build the record that guides production.
One decision-maker. Sampling stalls when feedback comes from several people with different opinions. The professional arrangement: the brand designates one decision-maker for sample approvals; the factory designates one counterpart. Disagreements happen upstream, not at the sample table.
Structured checkpoints. A sampling schedule with defined checkpoints (tech pack review, pattern approval, first prototype review, PP approval) keeps the process moving and makes delays visible when they happen — not after.
Cost transparency. Every revision has a cost, and the factory should state it plainly. Brands that know the cost of each change make better decisions about which changes matter.
This dialogue is also where trust is built. A factory that delivers what was agreed, flags problems early, and explains trade-offs honestly earns the brand's confidence — and confidence is the currency of a long production relationship.
FAQ
How long does leather bag sampling take?
A: A standard leather bag runs 5–8 weeks from tech pack to approved production sample: paper prototype 3–5 days, first leather prototype 10–20 days, revision rounds 5–10 days each, PP sample 10–15 days. Complex constructions or custom hardware extend this to 8–12 weeks.
What is a tech pack and why does it matter?
A: The tech pack is the engineering document that describes the bag — design views, bill of materials, measurements, construction notes, hardware, and packaging. It is the contract between brand and factory; complete tech packs are the single biggest driver of sampling speed and quality.
How many revision rounds are normal?
A: Two to three rounds is typical and healthy. One round usually means under-examination; five or more indicates a communication or feasibility problem that should be fixed at its source rather than in more samples.
What is the difference between a development sample and a PP sample?
A: The development sample validates the design (proportions, construction, materials) and is built by skilled hands. The PP (pre-production) sample validates production methods — same materials, cutting, and stitching as mass production — and is the final gate before production starts.
Can the factory copy a competitor's bag?
A: Factories can produce a counter sample matching a reference product within agreed limits. This must be defined explicitly, and brands should be aware of the intellectual property and legal considerations involved in copying third-party designs.
Why does my sample look different from production?
A: The usual causes: sample leather differs from production leather, sample methods differ from production methods (hand vs. press cutting, skilled vs. production stitching), or finishing was done differently. The PP sample, built exactly to production methods, is the answer to this problem.
What makes sampling expensive?
A: The cost drivers are material (leather and hardware for each sample), skilled labor (sample making is handwork), and revision rounds (each round consumes materials and labor). Poor tech packs and vague feedback multiply all three.
Should I approve the first sample?
A: Rarely without scrutiny. The first prototype is a validation object, not a finished product. Measure it, load it, wear-test it, and review it against the tech pack before deciding — even if the decision is approval, it should be an examined approval.
What should I send with my first sampling inquiry?
A: A complete tech pack — design views, BOM, measurements, construction notes, hardware spec, and packaging spec — plus your target price, target market, and quality expectations. The more complete the brief, the more accurate the quotation and the faster the sample.
What Sampling Actually Costs
Sampling cost is often the brand's first point of friction with a factory — and it is the least understood part of the process. An honest look at what the sample costs the factory explains why sampling is not free, and why paying for samples is usually the professional choice.
What the factory pays. Each sample consumes real resources: leather cut for a mid-size bag (often 0.5–1.0 m² of top-grain leather), lining and interlining, hardware, thread and edge-finishing materials, and — most significantly — skilled labor. A senior sample stitcher's time is the most expensive input in the process; a complex prototype can absorb days of handwork. When the factory's pattern team, engineering review, and multiple departments touch a sample, the real cost of a first leather prototype for a standard bag typically lands in the range of a few hundred dollars at full cost recovery.
Why samples are priced the way they are. Factories price samples in a few standard ways: a flat sample fee (covering materials and labor), sample fee with production credit (the fee is deducted from the first production order — the most common professional arrangement), or free samples (offered to serious buyers as an investment in the relationship). Each model signals something: free samples signal the factory's confidence in converting the brand; sample-with-credit signals a professional cost structure. The arrangement matters less than the clarity — a brand should always know what a sample costs, what it includes, and what happens to the fee if production follows.
Where sampling money goes wrong. The biggest sampling waste is not the fee — it is rework. A sample that must be remade because the tech pack was incomplete, or because feedback was vague, costs the same resources twice. The cheapest way to reduce sampling cost is not to negotiate the fee; it is to arrive with a complete tech pack and disciplined feedback. Every brand that treats the tech pack as the contract cuts its sampling bill — and its sampling calendar — in half.
Building the Sample Schedule Into Your Product Calendar
The final professional lesson is about planning. Sampling is not a stage to be squeezed between design and production; it is a schedule to be built into the product calendar from the start. The brands that succeed in leather goods plan backward from their launch date: production lead time, then PP sample, then revision rounds, then first prototype, then pattern and material sourcing — and they start the tech pack months before they think they need to.
The discipline has three parts. First, name the milestones — tech pack complete, pattern approved, prototype delivered, PP approved — and put dates on them. Second, build in buffer — every timeline in this guide is optimistic; add 20% for the unexpected, because leather is a natural material and nothing natural is fully predictable. Third, protect the quality gate — when the calendar collides with quality, quality must win; shipping a sample that does not meet the standard is the beginning of a production problem, not the end of a sampling one.
Conclusion
The sampling process is the bridge between a brand's vision and a factory's production — and it is the most controllable stage in the entire product lifecycle. A complete tech pack, an honest feasibility review, disciplined pattern making, matched materials, examined prototypes, itemized revisions, and a protected PP sample: each step is an investment that pays back in production quality, predictable timelines, and a product that matches the vision that started it.
For brands, the process is also a relationship — the sampling rounds are where the factory learns your standards and you learn the factory's capabilities. The brands that treat sampling as a partnership rather than a transaction get better products, faster timelines, and fewer surprises. The sample is not the destination; it is the map — and a good map makes the journey to production predictable.
Ready to bring your design to production? Contact our factory — send us your tech pack, and our engineering team will review it, flag the feasibility trade-offs, and give you a clear sampling quotation and timeline. We will walk you through every step from pattern to PP sample, with photographs and measurements at each milestone.