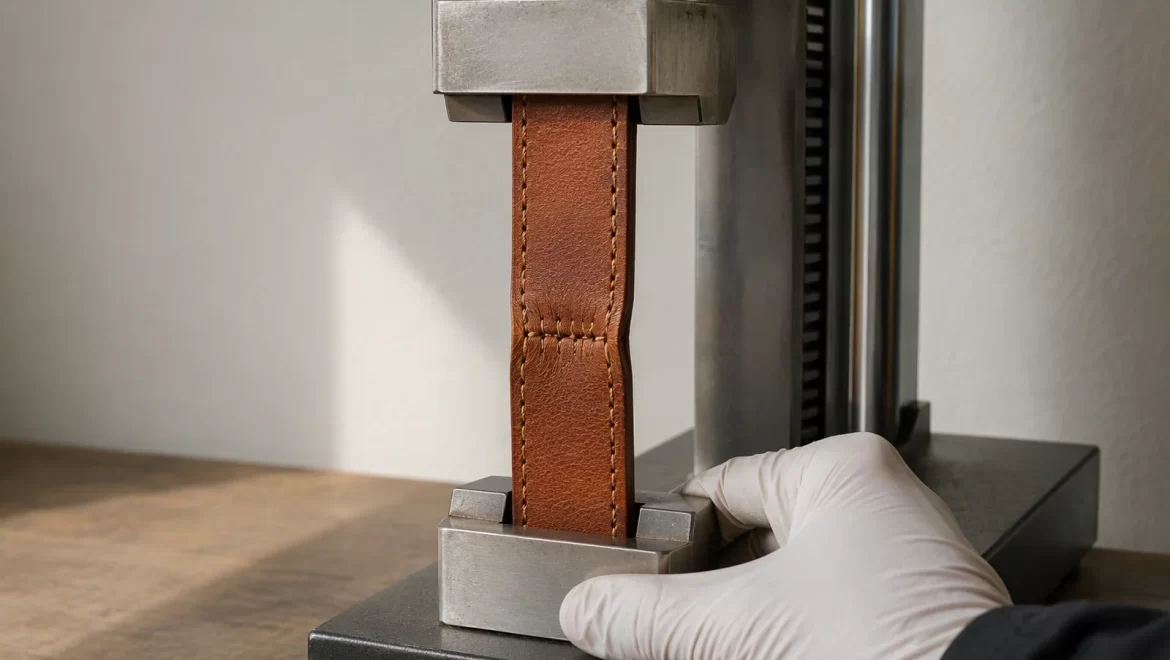
How Should Seam Strength Be Sampled and Judged in Pet Bag Production?
- Why Seam Strength Needs Sampling
- What a Seam Strength Test Measures
- Load Types on a Pet Bag Seam
- Sampling Frequency and Lot Logic
- Sample Size and the Cost of Confidence
- Where to Cut the Specimen
- Load-Bearing Versus Non-Load Seams
- Preparing the Specimen
- Clamping and Grip Length
- Test Speed and Its Effect
- Recording Peak and Mode of Failure
- Reading the Mode of Failure
- Setting a Pass Limit
- Retest and Disposition Rules
- Sampling at the Sample Stage
- Sampling in Bulk Production
- Inline Versus End-Line Sampling
- Seam Types and Their Behaviour
- Thread, Stitch and Density Factors
- Leather Strength as the Other Half
- Records and Traceability
- Briefing the Factory on the Method
- Common Traps in Seam Sampling
- What Buyers Should Ask For
- Cost of a Sampling Programme
- A Worked Sequence for One Lot
- Environmental Conditions Around Testing
- FAQ
A seam is the only part of a pet bag that fails suddenly. Leather stretches, hardware bends, but a seam either holds the load or opens, and the difference is decided by how it was sewn and what it was sewn through.
Sampling is how a factory finds out which of those two outcomes it is shipping. The discipline is not the test itself, which takes a minute, but the decisions around it: where the specimen comes from, how often, how many, and what happens when a result falls short.
Why Seam Strength Needs Sampling
Seam strength cannot be inspected visually, because a weak seam looks identical to a strong one until it is loaded. That gap is what sampling exists to close.
The Invisible Failure
A seam sewn with the wrong thread, a skipped stitch or an over-tensioned stitch looks correct on the bench. Only a pull reveals the difference, and only a sample can be pulled.
The Cost of Discovery
A seam that fails in the field returns a whole bag, and a batch that failed the same way returns the batch. Sampling costs a few specimens per lot and prevents that outcome.
Sampling Is Not Auditing
An audit checks whether a system exists; sampling checks whether this lot is sound. Treating one as the other is why factories pass audits and still ship weak seams.
| Question | Answer |
|---|---|
| Can it be seen? | No |
| Can it be felt? | Partly |
| What reveals it? | Pull test |
| What prevents it? | Sampling |
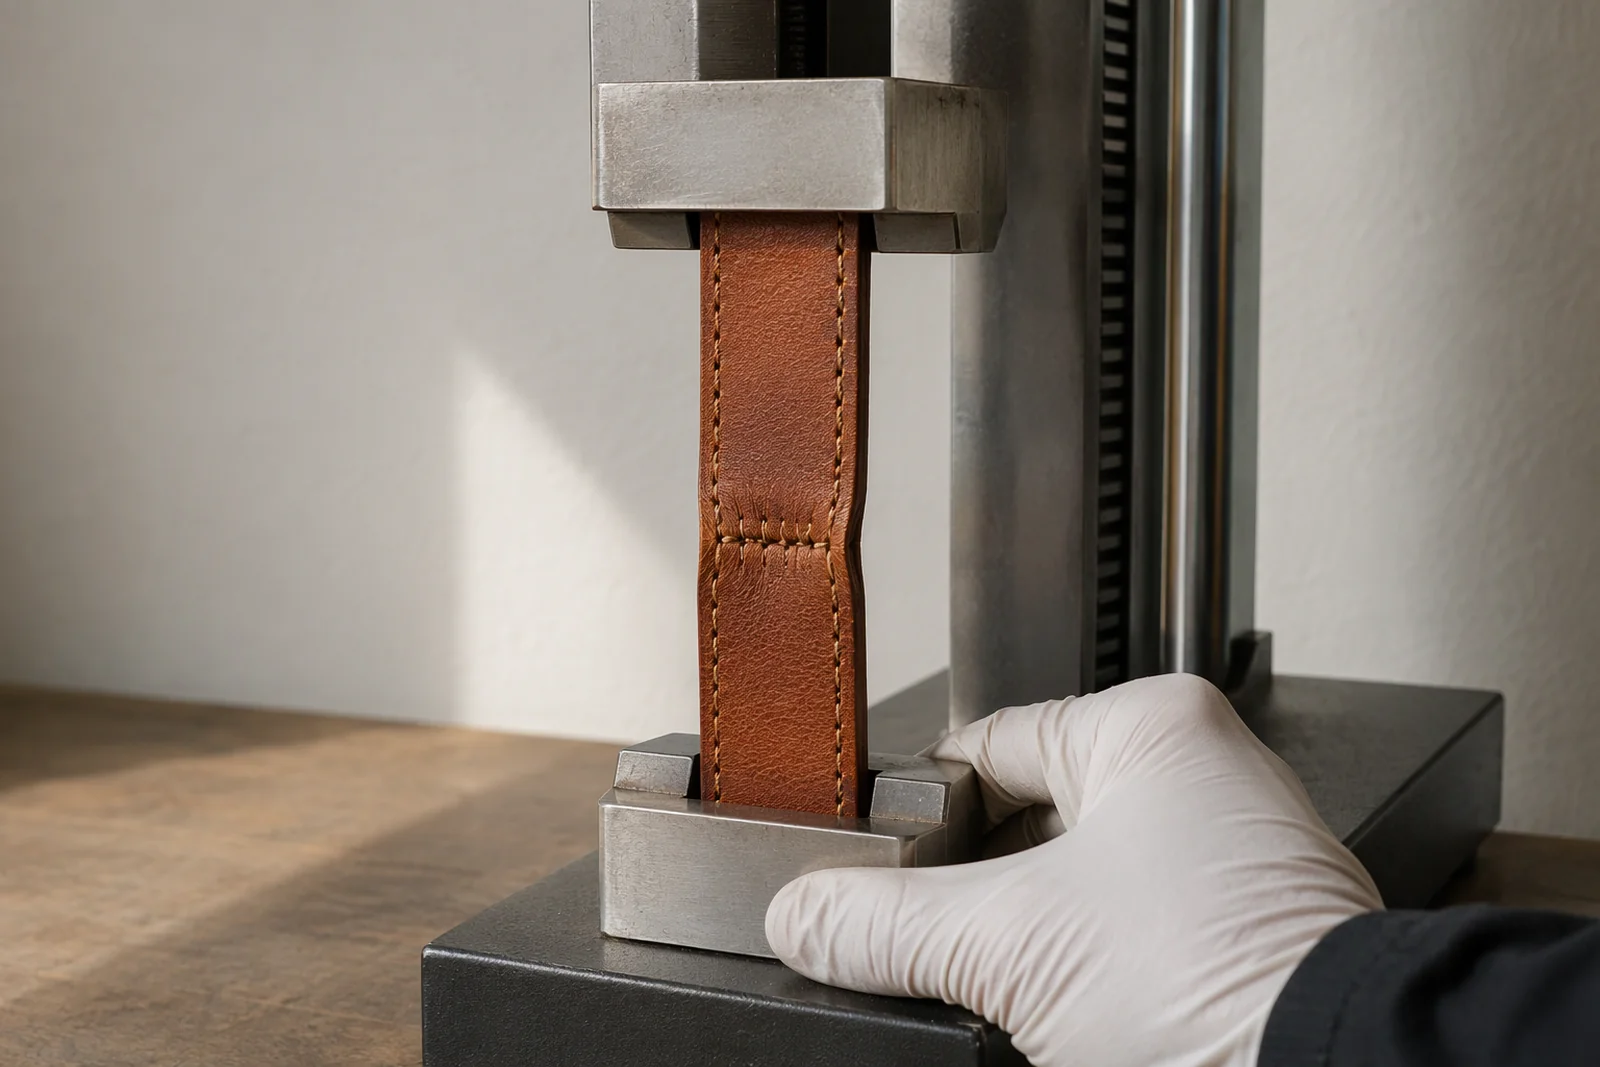
What a Seam Strength Test Measures
The test measures how much force a seam carries before it fails, and the number matters less than the mode of failure that accompanies it.
Peak Load
Peak load is the maximum force recorded before the seam opens or the material breaks. It is the headline number and the least informative on its own.
Extension at Failure
How far the seam stretched before failing separates a stiff seam from a ductile one. Two seams with the same peak load can behave very differently in use.
Mode of Failure
Whether the thread broke, the leather tore or the stitch pulled through is the diagnostic detail. A peak load without a failure mode cannot be acted on.
| Measurement | Meaning |
|---|---|
| Peak load | Capacity |
| Extension | Ductility |
| Mode | Diagnosis |
| Location | Consistency |
Load Types on a Pet Bag Seam
Not every seam carries the same duty, and sampling every seam to the same standard wastes specimens on seams that never see load.
Primary Load Seams
Handle roots, strap attachments and base seams carry the weight of the animal plus the bag. These are the seams that must be sampled every lot without exception.
Secondary Load Seams
Zip tapes, gusset seams and lining joins carry less but still work. They deserve periodic sampling rather than every lot.
Decorative Seams
Topstitching and decorative bands carry almost nothing. Sampling them measures the appearance of strength rather than strength, and it is a common source of wasted testing.
| Seam | Duty | Sampling |
|---|---|---|
| Handle root | Primary | Every lot |
| Base | Primary | Every lot |
| Gusset | Secondary | Periodic |
| Topstitch | Decorative | Rarely |
Sampling Frequency and Lot Logic
Frequency should follow how the lot was made rather than how many units it contains, because a seam defect follows the machine and the operator rather than the quantity.
Per Lot, Not Per Shipment
A shipment may combine several lots from different machines. Sampling per shipment averages them and hides the one lot that is weak.
At Changeover
A colour change, a thread change or a new operator is a new risk window. Sampling after the change catches the fault before it reaches the whole run.
After a Stop
Any machine stop, needle change or tension adjustment reseeds the risk. A specimen taken within the first pieces after a restart is the cheapest control in the programme.
| Trigger | Sample |
|---|---|
| New lot | Yes |
| Changeover | Yes |
| Restart | Yes |
| Shipment only | No |
Sample Size and the Cost of Confidence
The number of specimens is a trade between confidence and destruction, and the trade should be made deliberately rather than by habit.
Why Three Is Better Than One
One specimen tells you whether that specimen was sound. Three tell you whether the run was, because a single outlier becomes visible against the others.
Destructive Sampling
Each specimen is a bag that cannot be sold, so sample size has to be justified. On high-value styles, sampling from a sacrificed unit at the start of the run is the practical compromise.
When to Increase
Increase the sample when a new thread, a new operator or a new leather lot appears. Confidence is cheapest to buy at the moments when the risk has changed.
| Specimens | Confidence |
|---|---|
| One | Anecdote |
| Three | Pattern |
| Five | Trend |
| Ten | Capability |
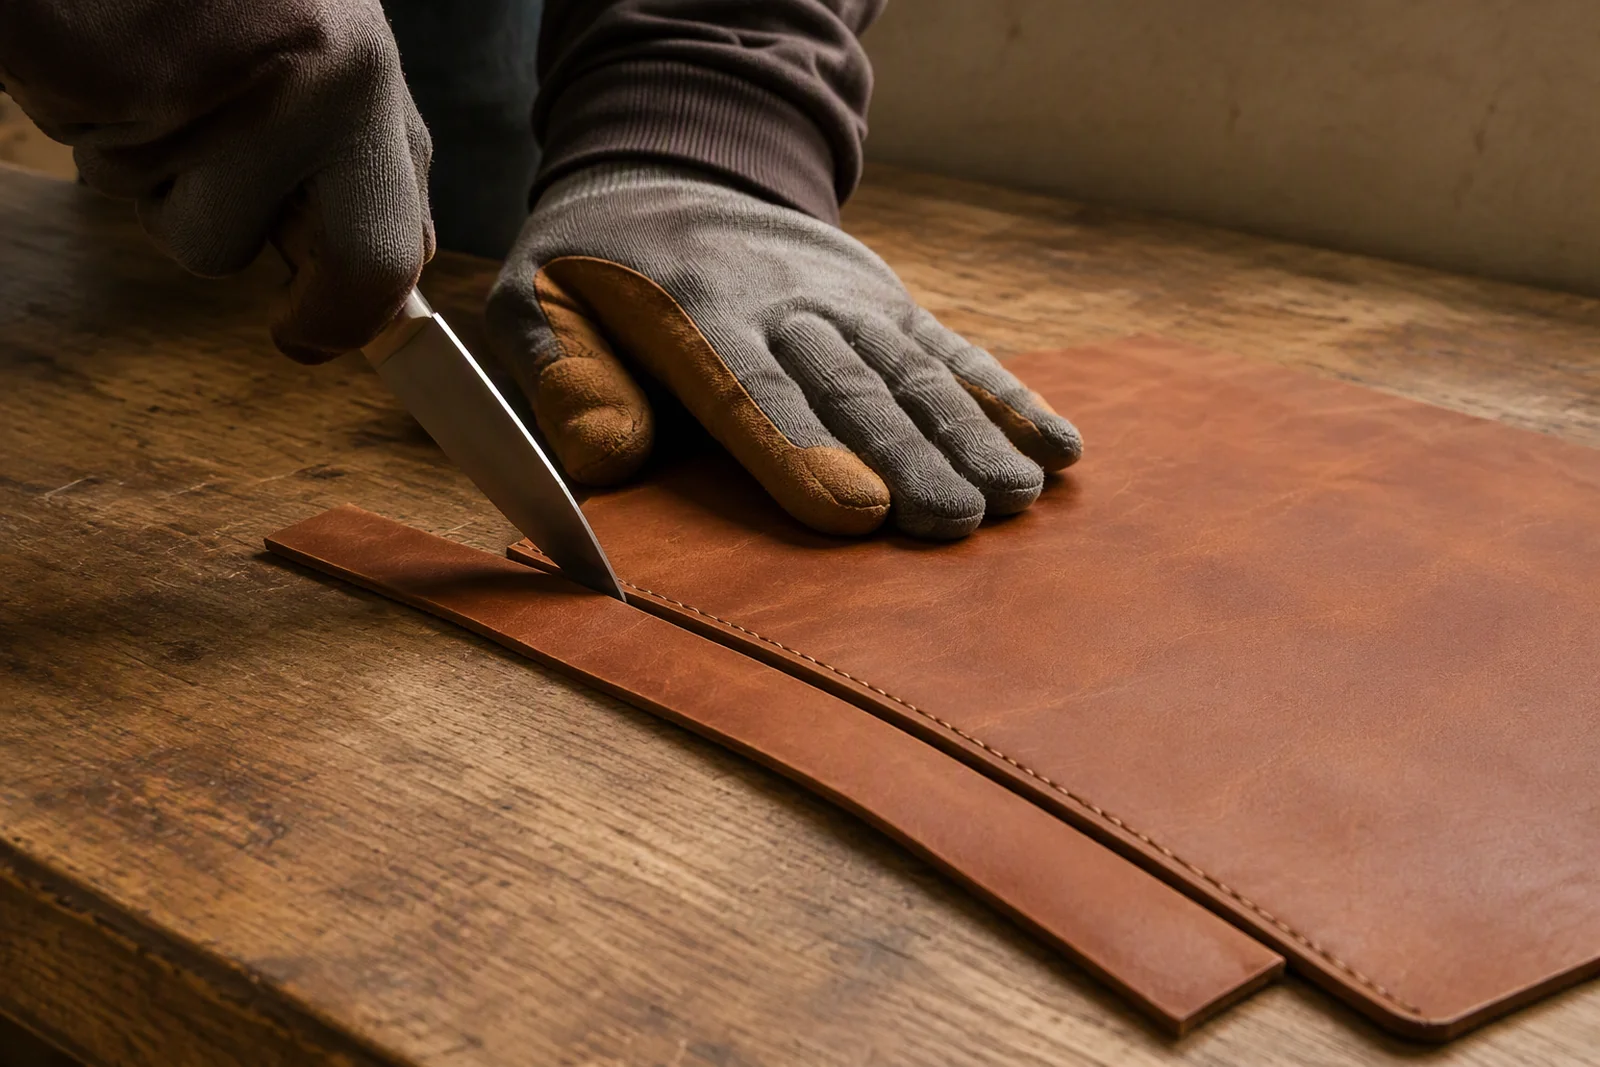
Where to Cut the Specimen
A specimen from the wrong place describes a seam nobody will load, and the location should be written into the sampling plan.
The Loaded Segment
Cut the specimen so that the tested length includes the segment that takes the load, not the run-out beyond it. Testing the tail of a seam flatters the result.
Away From Corners
Corners concentrate stress and often include a tack. Test a straight run first, then a corner specimen if the seam design has one.
Marking the Location
Write the location on the specimen and on the record. A result without a location cannot be compared between lots or between factories.
| Location | Tests |
|---|---|
| Mid-run | Baseline |
| Near tack | Reinforcement |
| Corner | Stress |
| Run-out | Nothing |
Load-Bearing Versus Non-Load Seams
Splitting the seam list into two registers keeps the sampling plan affordable and keeps attention on the seams that matter.
The Two Registers
Register one lists seams that carry the bag's load and requires every-lot sampling. Register two lists all others and requires periodic sampling, with any change triggering a check.
What Belongs Where
A seam belongs in register one if removing its stitches would let the bag open under normal use. That test is quick and unambiguous, and it settles most arguments.
Reviewing the Register
The register should be revisited after every design change, because a new pocket or strap can promote a decorative seam into a load path without anyone noticing.
| Register | Seams |
|---|---|
| One | Handle, base, strap |
| One | Ring loops |
| Two | Gusset, zip tape |
| Two | Lining joins |
Preparing the Specimen
A specimen that is cut badly fails for reasons unrelated to the seam, and the preparation rules are what make results comparable.
Width and Squareness
Cut the specimen to a stated width with square ends, so that the load is spread evenly across the seam. A ragged cut concentrates load and produces premature failure.
Grip Allowance
Leave enough material at each end for the grips, and mark the gauge length. A specimen that slips in the grip produces a number that reflects friction rather than stitching.
Conditioning
Condition specimens in the same environment as the test room for a stated interval. Leather properties change with humidity, and an unconditioned specimen tests the weather.
| Preparation | Purpose |
|---|---|
| Square cut | Even load |
| Grip allowance | No slip |
| Gauge marked | Comparable |
| Conditioned | Repeatable |
Clamping and Grip Length
Most anomalous seam results come from the grips rather than from the seam, and the fix is usually a longer grip or a softer face.
Slip in the Grip
A specimen that slips records a peak that reflects the grip pressure. Rougher faces or a longer grip length solve it, and the change should be recorded.
Crushing the Specimen
Serrated grips hold well and damage the leather, which can start the failure at the grip edge. Smooth faces with higher pressure are usually better on finished leather.
Grip Distance
The distance between grips sets the free length, and it changes both peak load and extension. It belongs in the method description, not in the operator's judgement.
| Setting | Effect |
|---|---|
| Long grip | Less slip |
| Serrated | Edge damage |
| Smooth | Even pressure |
| Distance | Changes result |
Test Speed and Its Effect
Leather and thread are rate-sensitive, so a faster pull records a higher peak than a slow one on the same seam.
Slow Versus Fast
A slow pull allows the thread to rearrange and the leather to yield, producing a lower and more representative peak. A fast pull measures stiffness as much as strength.
Stating the Speed
Speed belongs in the method, in millimetres per minute, and should not be changed between lots if the results are to be compared.
Practical Compromise
Production sampling rarely has time for a very slow pull. A moderate speed applied consistently is more useful than a theoretically ideal speed applied inconsistently.
| Speed | Reads |
|---|---|
| Very slow | Yield behaviour |
| Moderate | Comparable |
| Fast | Stiffness |
| Inconsistent | Nothing |
Recording Peak and Mode of Failure
A record with a number and no failure description is a record that cannot be acted on when the number is borderline.
The Three Fields
Peak load, extension and a short description of how the specimen failed. Three fields turn a test into a diagnosis, and the description takes ten seconds.
Photographs of the Break
Photograph the failed specimen beside a scale-free reference and keep it with the record. The photograph answers questions months later that the number cannot.
Who Records It
The person who ran the test should write the failure description, not someone reading a printout. The detail that matters is often only visible at the moment of failure.
| Field | Purpose |
|---|---|
| Peak | Capacity |
| Extension | Ductility |
| Description | Diagnosis |
| Photograph | Evidence |
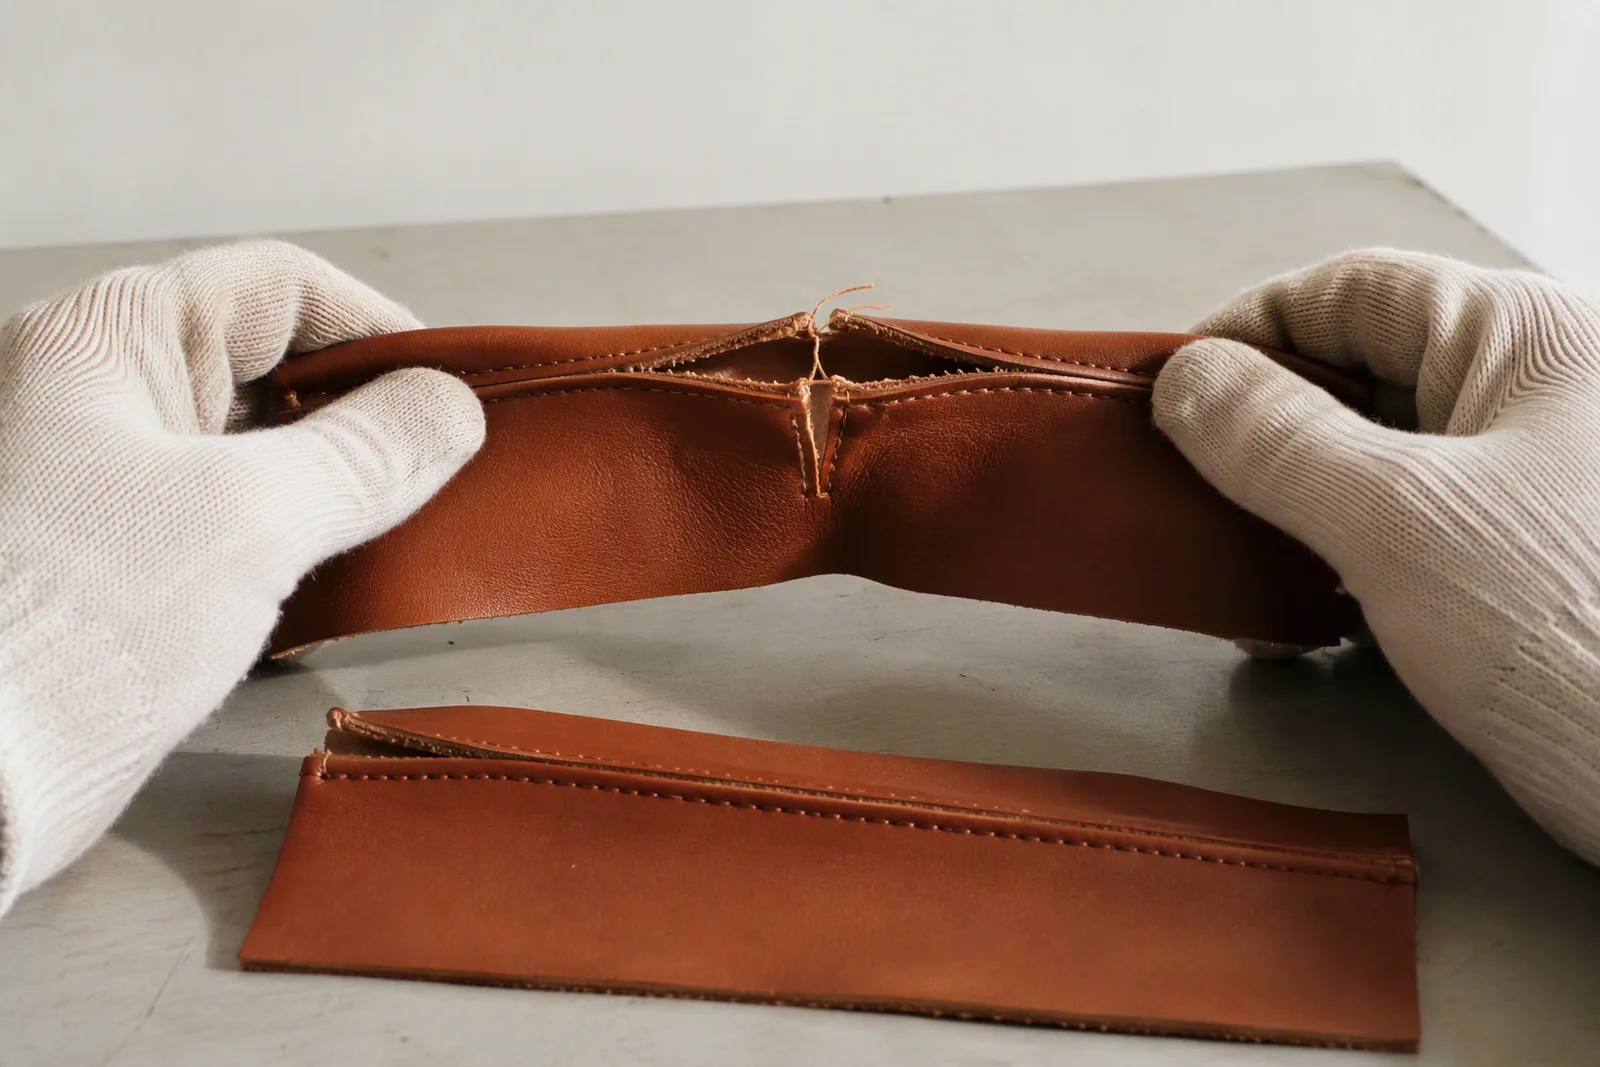
Reading the Mode of Failure
The failure mode decides the corrective action, and four modes cover almost every case a bag factory will meet.
Thread Break
Thread breaking before the leather tears means the thread is undersized for the seam or abraded by a rough needle eye. The fix is thread or needle, not more stitches.
Leather Tear
Leather tearing along the stitch line means too many penetrations in too little material. A backing layer or a wider seam allowance is the answer.
Stitch Pull-Through
Stitches pulling through the leather means the material is too soft or the stitch is too tight. Tension and backing both affect it.
Seam Slippage
Seams opening without breaking thread mean insufficient stitch density or an unbalanced seam type. It is the failure most easily missed visually.
| Mode | Action |
|---|---|
| Thread break | Heavier thread |
| Leather tear | Backing |
| Pull-through | Tension |
| Slippage | Density |
Setting a Pass Limit
A limit should come from the load the seam will actually see, with a margin, rather than from a competitor's specification.
From Load to Limit
Estimate the maximum load the seam carries in use, then set a limit above it by a stated margin. The margin should reflect variability rather than optimism.
Derived From Testing
Where the load is unknown, test the approved sample until failure and set the limit as a fraction of that value. A limit derived from the reference is defensible.
Reviewing the Limit
A limit that never fails a lot is either correct or too low, and the difference is visible in field returns. Review it against complaint data each season.
| Source | Quality |
|---|---|
| Field load | Best |
| Reference seam | Good |
| Competitor spec | Poor |
| Guess | Worst |
Retest and Disposition Rules
A failed specimen needs a written path to a decision, or it produces an argument between the line and the office.
The Retest Rule
Retest with double the specimens from the same lot before any decision. A single failure may be a specimen preparation fault, and doubling separates the causes.
Disposition Options
Release, hold for rework, or reject. Rework on a seam means re-sewing the loaded segment, which is possible on a sample and rarely acceptable on a finished bag.
Recording the Outcome
Write the disposition, the reason and the person who approved it. A file that records only the result has no defence when the lot is questioned later.
| Result | Action |
|---|---|
| Pass | Release |
| Single fail | Retest |
| Retest fail | Hold |
| Confirmed | Reject |
Sampling at the Sample Stage
Sampling during development sets the reference that all later lots will be compared against, so it deserves more specimens than production.
Establish the Reference
Test the approved construction to failure and record the peak and the failure mode. That value becomes the ceiling against which production limits are set.
Compare Candidate Constructions
Where two seam designs are being considered, five specimens each gives a usable comparison. The difference between constructions is usually larger than the noise.
Freeze the Method
Write the method at this stage and do not change it later. A method that evolves during production makes every earlier result incomparable.
| Stage | Specimens |
|---|---|
| Reference | To failure |
| Comparison | Five each |
| Method | Frozen |
| Record | Retained |
Sampling in Bulk Production
Bulk sampling is a line activity and has to fit into a cycle of minutes rather than hours, which shapes what can realistically be done.
A Sacrificed Unit
Sacrifice one unit at the start of each run and cut specimens from it. The cost is one bag and the gain is a result that describes the actual run.
Specimens From the Line
Where a sacrificed unit is not acceptable, cut specimens from a panel that will be trimmed away. The seam quality is the same and the cost is nil.
Cadence
Sample the first pieces of every run, then at a stated interval. The interval should follow the machine rather than the clock.
| Approach | Cost |
|---|---|
| Sacrificed unit | One bag |
| Trim waste | None |
| First pieces | Essential |
| Interval | Machine-based |
Inline Versus End-Line Sampling
Where the test happens decides how much of the run is protected, and end-line sampling protects nothing that has already been sewn.
Inline Advantage
An inline test at the start of a run catches a wrong thread before a thousand bags are sewn. It is the only version that prevents rather than detects.
End-Line Limitation
End-line sampling confirms what has already been made. It is still necessary for release, but it is a filter rather than a control.
Both, in Sequence
Run an inline check at the start and after every restart, and an end-line check per lot. The two together cover prevention and confirmation.
| Position | Function |
|---|---|
| Inline | Prevent |
| Inline | Detect drift |
| End-line | Confirm |
| Both | Full cover |
Seam Types and Their Behaviour
A seam type determines how load is carried, so the same thread can produce very different results in two constructions.
Plain Seam
A plain seam carries load through the stitches across two layers. It is the baseline and the most predictable, and it fails by thread break or leather tear.
Lap and Fell Seams
A lap seam doubles the material at the joint and carries more load, while a fell seam distributes it over a longer length. Both change what a sample result means.
Bound and Taped Seams
Binding protects the edge but adds little strength, and a tape can mask a weak seam until the tape itself fails. Sampling should test the seam, not the tape.
| Seam | Behaviour |
|---|---|
| Plain | Baseline |
| Lap | Stronger |
| Fell | Distributed |
| Bound | Edge only |
Thread, Stitch and Density Factors
The stitch variables are the ones a factory can change quickly, which makes them the first place to look when a specimen fails.
Thread Size and Type
A heavier thread raises peak load until the leather becomes the weak point. Bonded thread resists abrasion better and is the practical default for loaded seams.
Stitch Density
More stitches per centimetre raise strength up to a point, then weaken the leather by perforating it. On thin leather the optimum arrives earlier than expected.
Stitch Balance
A balanced stitch locks inside the material, and an unbalanced one leaves the load on one thread. Balance is a set-up property and shows up directly in specimens.
| Factor | Direction |
|---|---|
| Thread size | Up to a point |
| Density | Optimum |
| Balance | Essential |
| Tension | Critical |
Leather Strength as the Other Half
A seam test measures the seam and the material together, so a leather change can move the result without any change to the stitching.
Thickness and Density
Two leathers of the same thickness can differ in density, and the denser one holds stitches better. A change of tannery is a change of seam strength.
Temper and Stretch
A stretchy leather distributes load and rarely tears at a stitch, while a firm one concentrates it. Both can pass, and the failure mode tells you which you have.
Condition
Dry leather tears more readily than conditioned leather. A specimen cut from a panel that has been in a warm store room may test differently from the same panel conditioned.
| Factor | Effect |
|---|---|
| Thickness | Higher |
| Density | Higher |
| Stretch | Redistributes |
| Dryness | Weakens |
Records and Traceability
A seam strength record is only useful if it points back to a lot, and the link is usually lost between the test bench and the shipping carton.
The Identifier Chain
Lot number, machine, operator shift and thread lot should appear on the record. Four fields allow a failed test to be traced to every bag made in the same window.
Retaining Failed Specimens
Keep the failed specimen with the record. A photograph is useful and the object is decisive, and it costs a labelled bag.
Retention Period
Keep records for the life of the order plus the warranty period. A record that is discarded before the returns arrive cannot answer the question it was made for.
| Field | Traces |
|---|---|
| Lot | Batch |
| Machine | Source |
| Shift | Operator |
| Thread lot | Material |
Briefing the Factory on the Method
A factory will test to the method it was given, and an incomplete method will be completed by assumption.
State the Method
Write the specimen width, grip length, test speed and pass limit. Four parameters make the test reproducible across shifts and across factories.
State the Sampling Plan
List which seams are in register one, how often to sample and what triggers a resample. The plan is the part most often omitted from a technical pack.
Agree the Disposition
Agree in advance what happens to a lot that fails a retest. A rule agreed before the event is applied; a rule invented after it is negotiated.
| Brief | Contents |
|---|---|
| Method | Four parameters |
| Plan | Seams and triggers |
| Limit | Pass value |
| Disposition | Written rule |
Common Traps in Seam Sampling
Five traps account for most of the programmes that produce numbers without producing control.
Sampling Only Finished Goods
A test at the end of the line confirms and does not prevent. Without an inline check, the first thousand bags are made before the fault is found.
Testing the Run-Out
Specimens cut from the tail of a seam test the easiest part of it. The loaded segment is where the failure will occur.
Changing the Method Mid-Order
A method adjusted between lots makes the earlier results meaningless and the trend invisible. Freeze it and change it only with a documented reason.
Accepting a Number Without a Mode
A peak load with no failure description cannot direct a corrective action. The mode is the useful half of the result.
The rule costs one sentence in the sampling plan and it settles the most common dispute on the line. Without it, every failing specimen becomes a negotiation, and the loudest opinion wins rather than the evidence.
No Retest Rule
A single failure resolved by opinion produces inconsistency in both directions, releasing bad lots and rejecting good ones.
| Trap | Result |
|---|---|
| End-line only | Late detection |
| Run-out specimen | Flattered result |
| Method drift | No trend |
| No mode | No action |
| No retest rule | Inconsistency |
What Buyers Should Ask For
A buyer can verify a seam programme with four questions, and the answers reveal whether sampling exists or is described.
The Register
Ask which seams are sampled every lot and why the others are not. A factory without a register is sampling by habit.
The Method
Ask for the specimen width, grip length and speed. A factory that cannot state them is not testing to a standard that can be repeated.
The Record
Ask to see the last ten records, including the failure descriptions. Records with numbers only are records without diagnosis.
The Disposition
Ask what happened to the last lot that failed. The answer is the clearest evidence of whether the programme has teeth.
| Question | Reveals |
|---|---|
| Register | Priorities |
| Method | Reproducibility |
| Records | Diagnosis |
| Disposition | Authority |
Cost of a Sampling Programme
The programme costs specimens, machine time and a person's attention, and all three are smaller than the cost of one returned batch.
What the Specimens Cost
Three specimens per lot on a sacrificed unit is roughly one bag per run. On a high-value style the cost is visible, and it is still a fraction of a return.
What the Machine Costs
A tensile tester is the only capital item, and a factory that runs several styles will already have one for other tests. Where it does not, a service laboratory handles periodic work.
That habit is also the reason a programme survives a change of quality manager, because the test outlives the person who introduced it only if the method and the records live somewhere other than in their memory.
What Attention Costs
The real cost is the habit: someone has to cut the specimen, run the test and write the description. That habit is the part that fails first when production is busy.
| Cost | Scale |
|---|---|
| Specimens | One bag per run |
| Machine | Shared |
| Attention | Habit |
| Return | Whole batch |
A Worked Sequence for One Lot
A short example shows the order of events, using a lined carrier with a handle root as the loaded seam.
Start of Run
Sacrifice one unit, cut three specimens from the handle root including the loaded segment, and test at the agreed speed. Record peak, extension and mode for each.
During the Run
Check the first pieces after each restart with a quick pull to a stated load rather than to failure. The check confirms the seam holds and costs seconds.
End of Run
Test three more specimens from the last unit of the lot. Comparing start and end detects drift across the run, which a single sample cannot show.
| Moment | Specimens |
|---|---|
| Start | Three |
| Restart | Quick pull |
| End | Three |
| Compare | Drift |
Environmental Conditions Around Testing
A test room is part of the method, and a factory that tests beside a drying oven is measuring something other than the seam.
Humidity and Leather
Leather absorbs moisture from the air and softens, which raises extension and lowers peak load. A humid week can move results without any change to production.
Temperature and Thread
Warm thread is more extensible, and a specimen taken from a warm store room behaves differently from a cooled one. Conditioning before testing removes both effects.
A single bench in a corner of the workshop is enough, provided it is away from ovens, drying racks and open doors. Position matters more than equipment, because a draught changes the reading as reliably as a humidity swing.
Recording Conditions
Write the room temperature and humidity on the record. When two lots disagree, the conditions are the first explanation to eliminate.
| Condition | Effect |
|---|---|
| Humid | Lower peak |
| Warm | More stretch |
| Dry | Brittle |
| Recorded | Explainable |
FAQ
How many seam specimens should be tested per lot?
A: Three per loaded seam is the practical minimum, taken from a sacrificed unit. One specimen is an anecdote, three show a pattern, and more are justified when a thread or leather lot changes.
Which seams should be sampled every lot?
A: Any seam whose removal would let the bag open under normal use: handle roots, strap attachments, ring loops and base seams. Everything else can be sampled periodically.
Why does a seam test need a failure mode as well as a number?
A: Because the mode directs the corrective action. A thread break calls for heavier thread, a leather tear calls for a backing layer, and the same peak load can accompany either.
Where should the specimen be cut?
A: From the segment that carries the load, not from the run-out beyond the tack. Specimens from the tail of a seam test the easiest part of it and flatter the result.
Does test speed change the result?
A: Yes. Leather and thread are rate-sensitive, so a fast pull records a higher peak than a slow one. The speed belongs in the method and should not change between lots.
What causes a specimen to slip in the grips?
A: Grip pressure, face texture and grip length. Serrated faces hold better but damage finished leather, so longer smooth grips are usually the better answer.
Should sampling happen inline or at the end of the line?
A: Both. An inline check at the start of a run and after every restart prevents a fault spreading, while end-line sampling confirms the lot before release.
What is a sensible pass limit?
A: One derived from the load the seam actually sees, plus a margin, or from a fraction of the reference seam tested to failure. A competitor's figure is the weakest basis.
What happens when one specimen fails?
A: Retest with double the specimens from the same lot before any disposition. A single failure may be a preparation fault, and doubling separates it from a real weakness.
Can a failed seam be reworked?
A: On a sample, yes. On a finished bag, re-sewing the loaded segment usually leaves visible holes and an unreliable seam, which is why prevention is cheaper than rework.
Does a leather change affect seam strength?
A: Yes. Density, temper and stretch all change how a leather holds stitches, so a new tannery or lot is a reason to re-establish the reference.
Why compare specimens from the start and end of a run?
A: Because drift across a run is invisible in a single sample. Start and end results show whether the machine, the needle or the operator changed during production.
How long should records be kept?
A: For the life of the order plus the warranty period. Records discarded before returns arrive cannot answer the question they were created for.
Is a tensile tester necessary?
A: Not for screening. A calibrated lever or a service laboratory covers periodic work, while a factory running several styles will usually already own a tester for other tests.
What should a buyer ask to see?
A: The seam register, the method parameters, the last ten records including failure descriptions, and the disposition of the last lot that failed.
Why does a weak seam look identical to a strong one?
A: Because the difference lies in thread size, stitch balance and leather density, none of which is visible on the bench. Only a pull reveals which of the two was built.
Ready to know which seams you are shipping? Split the seams into two registers, cut specimens from the loaded segment, freeze the method with width, grip, speed and limit, and record the failure mode alongside the number. Then compare start and end of every run, and let the retest rule decide before anyone negotiates.