In-Line Quality Control: Catching Defects Early
- Why Defects Are Cheaper to Catch Early
- Where In-Line Checks Belong
- The Checkpoint Map for a Bag Line
- What Each Station Should Verify
- First-Article Approval
- Operator Self-Check and Inspector Control
- Measurement Tools at the Line
- Capturing Defects: Records and Feedback
- What In-Line Control Costs
- Failure Modes That Make It Useless
- Rolling It Out With a New Supplier
- Escalation Rules When a Defect Repeats
- In-Line Checks for Pet Bag Ranges
- FAQ
Most quality control spending happens at the wrong end of the process. The final inspection is staffed, scheduled and documented, while the operations that actually create defects run unobserved until their output reaches the packing table.
By then the cost of a defect has multiplied. A mis-cut panel at the cutting table costs one panel; the same panel discovered after assembly costs the whole bag, the labour already added to it, and the labour needed to make a replacement.
In-line quality control moves the checks to where the defects are born. It is less about inspecting more and more about inspecting at the right moment, at the right operation, with the right measurement.
This guide covers where checkpoints belong on a bag line, what each station should verify, how first-article approval works, how defects should be recorded and fed back, what in-line control costs to run, and the failure modes that make it ineffective.
Why Defects Are Cheaper to Catch Early
The economics of in-line control are simple and they drive every placement decision that follows.
Cost Escalation Down the Line
Every operation adds labour and material to the product. A defect that survives one operation carries its own cost plus the cost of everything done after it.
At the cutting table, a defective panel is replaced. After stitching, the same panel is embedded in a partially built bag. After hardware attachment, the bag carries plated parts that may be damaged during rework.
Rework Damage and Secondary Defects
Rework is not a neutral operation. Taking a bag apart to correct a fault stresses the leather, leaves stitch holes in panels, and risks damaging hardware and edge paint.
Secondary defects introduced during rework are a hidden cost of late detection. A correction that returns a bag to saleable condition is a good outcome; one that leaves a visible trace is not.
The Lesson From Sampling
Sampling at final inspection estimates the defect rate of a finished batch. In-line checks do something different: they interrupt the production of defective units before more of them exist.
The difference matters most where a defect is systematic. A wrong machine setting will produce defective units continuously until it is corrected, and only an in-line check stops that.
| Detection point | Cost per defect | Consequence |
|---|---|---|
| Material receiving | Lowest | Material returned to supplier |
| Cutting and preparation | Very low | Panel replaced |
| During stitching | Low | Component replaced, no rework scars |
| After assembly | Moderate | Bag dismantled or scrapped |
| At final inspection | High | Rework, sort, or reject a finished unit |
| At the customer | Highest | Return, refund, reputational cost |
Where In-Line Checks Belong
Checkpoints are not distributed evenly along the line. They cluster at particular kinds of operation, and the reasons are consistent.
Operations That Are Irreversible
Some operations cannot be undone without damaging the product: cutting, hole punching, edge painting, some bonding and welding, and any operation that sets a crease or a shape.
Checks before and immediately after irreversible operations catch errors while correction is still possible.
Operations With High Value Added
Where an operation adds significant cost, whether from expensive material or long labour, checks upstream of it protect that value. Attaching a premium hardware set to a panel with a hidden fault wastes both.
The principle applies to expensive linings, reinforcement layers and any component with a long lead time.
Operations That Repeat a Known Risk
Any operation with a history of defects deserves a checkpoint regardless of its position. History is better evidence than theory about where control effort should go.
This is where defect records earn their place. A checkpoint map built from the factory's own defect history is more effective than a generic list applied to every line.
| Operation type | Why it needs a checkpoint | Typical check |
|---|---|---|
| Cutting | Irreversible, sets the panel | Template match, grain and nap direction |
| Skiving and splitting | Irreversible, affects strength | Thickness, edge condition |
| Edge painting | Hard to correct cleanly | Coating coverage, colour match |
| Main seam stitching | High labour content | Stitch density, alignment, tension |
| Hardware attachment | Damages parts during rework | Function, finish, placement |
| Lining insertion | Hides earlier work | Correct lining, no trapped material |
| Packing | Last chance before shipment | Quantity, cleanliness, packing method |
The Checkpoint Map for a Bag Line
A checkpoint map states, for each operation, who checks, what they check, with what tool, and how often. Without the map, checks happen informally and inconsistently.
Building the Map
Start from the bill of materials and the assembly sequence, then mark every irreversible operation and every operation with a known defect history. Those become the mandatory checkpoints.
Then add the checks required by the finished product's own specification: closure function, strap attachment, dimensional conformity, colour and finish.
Frequency by Risk
Not every checkpoint needs to run every unit. A checkpoint might apply to every unit for a function-critical operation, or to the first unit of each bundle for a lower-risk one.
Where frequency is reduced, the reason should be recorded. A checkpoint that has quietly stopped happening is worse than one that was never planned, because the map still claims coverage.
Writing Roles and Tools
Each checkpoint line should name the role responsible: operator self-check, line inspector, or dedicated QC. It should also name the tool, since a check that requires judgement without a reference is not repeatable.
The map becomes part of the order documentation for the supplier, so that both sides know which checks are expected and where the records will come from.
| Operation | Check | Tool or reference | Frequency | Owner |
|---|---|---|---|---|
| Material receipt | Colour and thickness against standard | Master swatch, thickness gauge | Every roll or lot | QC |
| Cutting | Template match, direction of grain | Template, sealed sample | First of each bundle | Line inspector |
| Skiving | Thickness, edge quality | Gauge, visual standard | First of each bundle | Operator |
| Main seams | Stitch density, alignment | Seam gauge, sample | Every unit at start, then hourly | Operator |
| Hardware attachment | Function, placement | Go or no-go gauge | Every unit | Operator |
| Lining insertion | Correct component, no trapping | Work instruction | Every unit | Operator |
| Pre-packing | Function, cleanliness, quantity | Check list | Every carton | QC |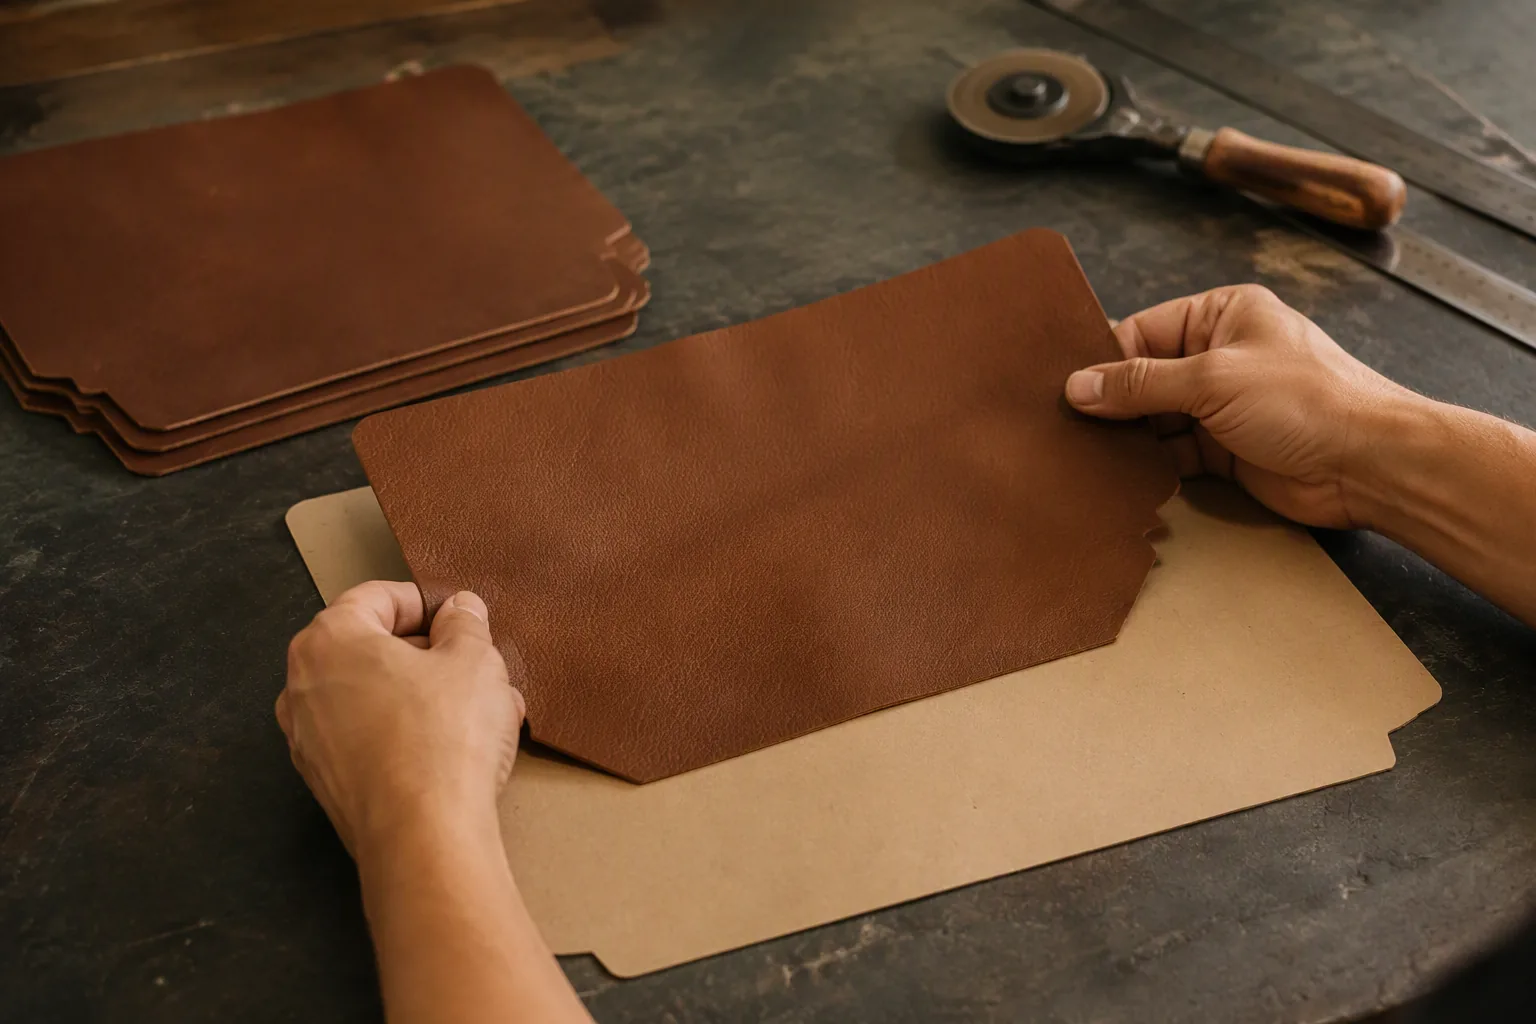
What Each Station Should Verify
Station checks work when they are short, specific and repeatable. A check that takes two minutes and yields a clear yes or no gets done; a general instruction to inspect quality does not.
Preparation Stations
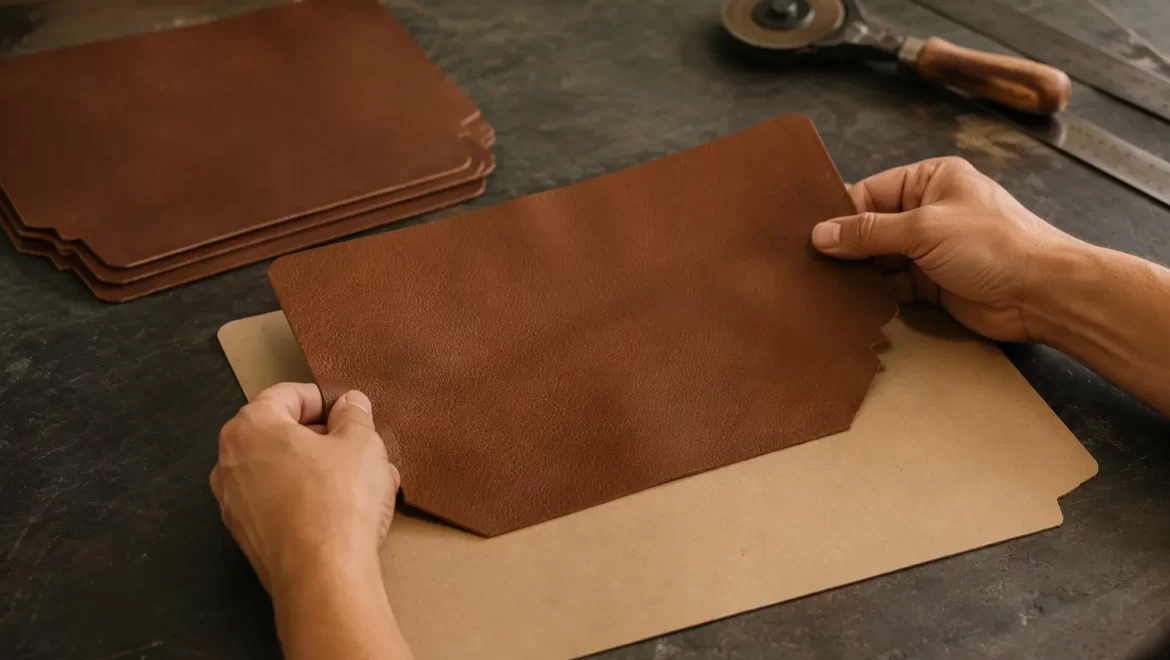
At cutting, the checks are template conformity, direction of grain or nap, and the absence of surface defects that will be visible on the finished bag. Panels intended for the front carry a stricter standard than hidden components.
At skiving and splitting, the checks are thickness against specification and edge condition. An over-skived edge looks correct and fails later, either at stitching or in use.
Assembly Stations
At the main seam, the checks are stitch density, seam alignment, thread tension and the absence of skipped stitches. A seam gauge makes density verifiable rather than approximate.
At hardware attachment, the checks are placement against the pattern, function of moving parts and the condition of the finish. Plated parts are easily marked at this stage, and marks found later are usually assumed to come from assembly.
Closing Stations
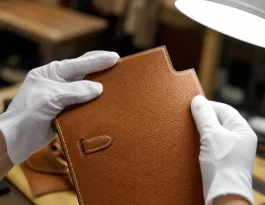
At lining insertion, the check is against the work instruction: correct component, correct orientation and no material trapped in a seam. Trapped lining is invisible from outside and shows up only when the bag is used.
At packing, the checks return to the specification: quantity, cleanliness, the presence of any inserts and the packing method. Packing is the last point at which a defect can be caught before shipment.
| Station | Verify | Typical failure if missed |
|---|---|---|
| Cutting | Template match, direction, surface | Panels reversed, shade mismatch |
| Skiving | Thickness, edge quality | Seam failure, ragged edge |
| Main seams | Density, alignment, tension | Weak or visibly uneven seam |
| Hardware | Placement, function, finish | Non-functioning closure, marked plating |
| Lining | Component, orientation, trapping | Wrong lining, distorted bag |
| Packing | Quantity, cleanliness, method | Short shipment, damage in transit |
First-Article Approval
First-article approval is the cheapest control in the whole system. It applies the full specification to one unit at the moment when correcting a problem still costs almost nothing.
What It Covers
The first article is checked against the sealed sample and the specification: dimensions, construction, materials, hardware and finish. It is a full check, not a sample of checks.
Because it happens before the run continues, the cost of a correction is limited to the setup rather than to the units already produced.
When to Repeat It
First-article approval should be repeated after any event that could change the process: a machine reset, a change of operator, a new bundle of material, a shift change, a repaired machine or a restart after a break.
Where a factory resists repeating it, the record shows why. A first article signed once at the beginning of a week-long order describes the state of the line on the first morning only.
Recording It
The first-article record should state the style, the operation, the date and time, the values measured, the name of the person approving and the sample reference used.
Where a measurement is outside tolerance, the record should state the correction made and the values after correction. A record that shows only a passing result tells a future reader nothing about what was fixed.
| Trigger for repeat | Reason | Record requirement |
|---|---|---|
| Start of order | Baseline approval | Full check with values |
| Shift change | Different operators | Repeat of key measurements |
| New material bundle | Batch variation | Colour and thickness against standard |
| Machine reset or repair | Setup may have changed | Stitch density and seam alignment |
| Restart after a break | Drift during idle | Visual and function check |
| Specification change | Different requirement | Full check against revised spec |
Operator Self-Check and Inspector Control
Both roles matter, and confusing them produces a system that looks controlled but is not.
The Limits of Inspection Alone
Inspectors sample. Even a frequent in-line inspection covers a fraction of units, and the units it does not see carry the same defects as the ones it does.
Where the inspector is the only control, quality depends on catching a systematic fault early through a sampled unit. That usually happens, but only after a number of defective units have been made.
What Self-Check Adds
Operator self-check applies to every unit, at the operation itself, and it is the only control that does. For function-critical operations, checking each unit is both faster and more reliable than inspecting a sample later.
Self-check needs three things: a clear standard, a tool or gauge where judgement is required, and a defined action when the check fails. Without the third, the operator knows something is wrong and has no route to stop it.
Making the System Independent of Individuals
Controls that live in one experienced person's attention disappear when that person moves to another line. Written checkpoints, fixed tools and recorded values keep the control in place.
Where a factory's quality depends on one inspector, the practical response is to move the control into the process: gauges at the station, first articles on record, and checkpoints written into the order.
| Control | Coverage | Cost profile | Best suited to |
|---|---|---|---|
| Operator self-check | Every unit | Low, built into operation time | Function-critical steps |
| Line inspector | Sampled units, hourly | Moderate | Multi-station oversight |
| First-article approval | One unit per event | Very low | Setup and restart control |
| Final inspection | Sample of finished batch | High per defect found | Shipment verification |
Measurement Tools at the Line
A check is only as repeatable as the tool behind it. Where the tool is missing, the check becomes an opinion and the record becomes a claim.
Gauges and Templates
Go and no-go gauges turn a dimensional check into a binary decision: the part fits the gauge or it does not. They are fast, require no judgement and can be used by any operator after minimal training.
Templates do the same work for cutting and marking. A template that the panel must match exactly removes the need to measure dimensions one by one.
Thickness and Density Checks
Handheld thickness gauges are the standard tool for skiving and splitting checks, and they should be used at the same point on every panel so results are comparable.
Where thickness is checked by feel, results vary between operators and between shifts. The gauge converts a subjective judgement into a number that can be recorded and trended.
Colour and Finish References
Colour checks need a physical standard and, ideally, a consistent viewing condition. A master swatch viewed under uncontrolled lighting produces disagreements that are about light rather than about leather.
For finishes that change with angle, such as brushed or antiqued hardware, a reference photograph taken under agreed lighting is more useful than a verbal description.
| Check | Tool | Why the tool matters |
|---|---|---|
| Panel dimensions | Template, steel rule | Removes per-operator measurement drift |
| Skived thickness | Handheld gauge | Turns feel into a recorded value |
| Stitch density | Seam gauge | Makes density verifiable |
| Hardware fit | Go or no-go gauge | Binary result, fast check |
| Colour | Master swatch, viewing box | Removes light and angle as variables |
| Closure function | Test weight, defined force | Standardises a functional judgement |
| Bag weight | Bench scale | Detects missing or extra components |
Capturing Defects: Records and Feedback
In-line control produces information every hour. That information is wasted unless it reaches someone who can act on it within the same shift.
Simple Defect Recording
Records should be quick enough to complete at the station: defect type, quantity, operation and time. Long forms produce either resentment or fiction, and neither improves quality.
A short list of defect codes, agreed in advance and printed on the station sheet, keeps recording consistent across operators and shifts.
Daily Feedback
Defect counts should be summarised daily and shown at the line, not filed for a monthly review. The purpose is to correct a trend while the order is still running.
Where a defect appears today and the analysis happens next month, the entire order has already been produced under the condition that caused it.
The Corrective Loop
A defect record without a corrective action is a diary entry. Each recurring defect needs an owner, an action and a verification step that confirms the action worked.
Verification matters more than the action itself. A machine adjustment believed to have fixed a problem, without a check afterwards, often reappears at the next first-article approval.
| Element | Purpose | Frequency |
|---|---|---|
| Station check sheet | Captures defect type and count | Every check |
| Daily defect summary | Reveals trends within the order | Daily at line |
| Corrective action note | Records response to recurring defects | Per recurring defect |
| Verification check | Confirms the action worked | After the fix |
| Order-level review | Informs the next order | End of order |
| Defect library | Builds inspection standards | Continuous |
What In-Line Control Costs
In-line control consumes time, and time on a production line is money. Pretending otherwise makes the system the first casualty of a busy month.
Where the Time Goes
Every check adds seconds to the operation, and every first article adds minutes. Where a checkpoint is designed without regard to takt time, operators skip it when the line is under pressure.
The practical rule is to keep per-unit checks short enough to be performed without breaking the flow, and to place the longer checks where they apply to a bundle rather than to each unit.
Why It Still Pays
The saving comes from defects that never become finished bags. Rework time, replacement materials, secondary damage and the management time spent on sorting all fall when defects are caught at their source.
The return is highest where defect rates are currently high or where a defect is systematic. Where a line is already at a very low defect rate, additional checkpoints add cost without changing the outcome.
Avoiding Over-Inspection
Adding checkpoints beyond the necessary ones dilutes attention. Where operators face twenty checks, all twenty receive less care than five well-chosen ones.
The checkpoint map should be revisited with the defect data: checkpoints that have never found a defect across several orders are candidates for removal.
| Cost element | Driver | Typical response |
|---|---|---|
| Per-unit check time | Number of checkpoints | Keep checks short, prioritise by risk |
| First-article time | Frequency of process changes | Record, then reduce change events |
| Gauges and tools | Checks requiring measurement | One-off cost, reusable |
| Recording time | Forms and paperwork | Short codes, station-level sheets |
| Management review | Corrective actions and analysis | Tie to the daily summary |
| Over-inspection | Too many checkpoints | Remove checkpoints with no findings |
Failure Modes That Make It Useless
In-line control fails in a small number of predictable ways, and each has a visible symptom on the line.
Checks That Do Not Happen
The commonest failure is a checkpoint that exists on paper and not in practice. It usually looks fine in a report, because the sheet is filled in at the end of the shift rather than during it.
Signs include identical values repeated across many rows, check sheets completed in one hand for a whole day, and results that never record a failure.
Checks Placed Too Late
A checkpoint positioned after the operation it is meant to protect adds cost without reducing it. Checking a stitched seam after the lining has been inserted means any correction carries the lining with it.
Placement should be tested by asking what remains possible when the check fails. If the answer is only rework, the checkpoint is in the wrong place.
Checks That Depend on One Person
Where a single inspector holds the whole system in their head, the control disappears on their day off. Written checkpoints, fixed tools and recorded values remove that dependency.
This is worth stating plainly when auditing a supplier: a system described as efficient but undocumented is a system that ends when the person leaves.
Checks With No Consequence
Where a failed check produces no action, operators learn that the check is decorative. The system must include a route to stop the line, adjust the setup, or escalate to a supervisor.
The route can be simple, but it must exist and be used at least occasionally. A checkpoint that has never caused anything to change is not controlling anything.
| Failure mode | How it shows up | Correction |
|---|---|---|
| Paper-only checks | Uniform values, no failures recorded | Spot-check records against units |
| Late placement | Corrections require rework | Move the check before the operation |
| Single-person dependency | Quality varies with attendance | Write checkpoints and fix tools |
| No consequence | Failures recorded and ignored | Define the escalation route |
| Too many checkpoints | Perfunctory checks | Reduce to the risk-based set |
| Stale standards | Old sample used as reference | Verify the reference periodically |
Rolling It Out With a New Supplier
In-line control is a process, not a form. Introducing it with a new supplier takes a sequence of steps and a willingness to check that each one happened.
Agreeing the Checkpoint Map
The map should be proposed by the brand, revised with the factory and agreed before production begins. A map written in isolation usually ignores how the line actually works.
Where a supplier proposes a change, the reason should be recorded. A supplier that understands why a checkpoint exists will maintain it better than one that received a list.
Training and Tools
Each checkpoint needs the responsible person, the tool and, where judgement is involved, a short demonstration of what acceptable and unacceptable look like.
Physical examples are more effective than descriptions. A sample of an unacceptable seam, kept at the station, removes most ambiguity.
Verifying That It Happens
The first order should include a verification step: an independent check of whether the records match physical evidence. Comparing the check sheet against the units in the carton takes minutes and reveals paper-only compliance immediately.
Where the verification finds gaps, the response is corrective rather than punitive in the first instance. The objective is a system that works on the next order, which requires the factory to report problems rather than hide them.
| Rollout step | Purpose | Verification |
|---|---|---|
| Propose the map | Match checks to the actual line | Factory can explain each checkpoint |
| Agree owners and tools | Make checks performable | Tools present at stations |
| Train with examples | Define acceptable and not | Operator can describe the standard |
| First-order verification | Confirm execution | Records matched against units |
| Corrective follow-up | Close the gaps found | Gaps resolved before next order |
| Review after two orders | Adjust the map | Checkpoint list refined with data |

Escalation Rules When a Defect Repeats
A single defect is an event. The same defect appearing again is a process problem, and it needs a different response.
Defining the Trigger
Escalation should be triggered by a rule rather than by irritation. A common form is three occurrences of the same defect within a defined period, or any occurrence of a defect classified as critical.
Stating the trigger in advance removes the argument about whether a response is warranted and prevents small faults from accumulating until they become a batch problem.
What Escalation Should Produce
The first response is containment: identify the units already affected and hold them before they move further down the line. Containment is usually cheaper than sorting later.
The second is correction: adjust the process, then verify with a check that the adjustment worked. The verification should be recorded, with the values after correction.
Closing the Loop
Where a defect is traced to a specific operation, the checkpoint at that operation should be reviewed. If the check existed and did not catch the fault, the check needs changing rather than repeating.
The loop closes when the next order runs without the same defect. Until then, the corrective action is a claim rather than a result.
| Trigger | Immediate response | Follow-up |
|---|---|---|
| Single critical defect | Stop and contain | Correct, verify, record |
| Three occurrences in a shift | Contain affected units | Investigate operation, adjust setup |
| Recurring across shifts | Line-level review | Identify common cause |
| Recurring across orders | Supplier-level review | Change the checkpoint or the process |
| Found again after correction | Re-open the analysis | Escalate to supplier management |
In-Line Checks for Pet Bag Ranges
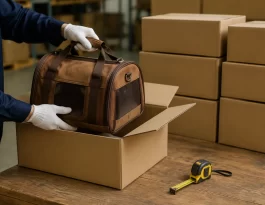
Pet carriers and pet travel bags carry function risks that general bag lines do not, and the checkpoint map should reflect them rather than reuse a generic template.
Structure and Load Points
Carriers are lifted while occupied, so handle and strap attachment points need a per-unit check rather than a sampled one. Base panels should be checked for correct insertion before closure, since a missing board is invisible afterwards.
Where a carrier has a rigid frame or a shaped opening, the check follows the shape rather than the panels: opening geometry, frame seating and any gap between frame and body.
Ventilation and Interior Surfaces
Mesh panels need a check for correct aperture specification, attachment security and freedom from loose threads that could catch claws. Edges should be verified for sharp transitions before the bag is closed.
Interior surfaces specified as wipe-clean should be checked for the correct component and completeness of coverage, especially at corners and around zip openings where coverage is easiest to miss.
Hardware and Closures
Closure function is worth checking on every unit, because a carrier whose closure releases under load has failed at its purpose regardless of appearance. Zips should be run through their full travel before packing.
Hardware attachment points should be checked for burrs and for the correct fastener, since substituted fasteners are indistinguishable in a photograph and can fail in use.
| Pet-specific risk | In-line check | Frequency |
|---|---|---|
| Handle and strap load points | Attachment integrity under load | Every unit |
| Base board presence | Board inserted before closure | Every unit |
| Mesh panel integrity | Aperture, attachment, loose threads | Every unit |
| Sharp edges and burrs | Visual and touch check | Every unit |
| Closure function | Open and close with defined force | Every unit |
| Interior coating coverage | Component and coverage at corners | First of bundle, then hourly |
FAQ
What is in-line quality control?
A: Checks carried out during production at specific operations, rather than only on finished goods. Its purpose is to catch defects while correction is still cheap.
How is it different from final inspection?
A: Final inspection samples a finished batch and decides whether to ship it. In-line checks interrupt the production of defective units, so they reduce the number of defects rather than filtering them.
Where should checkpoints be placed on a bag line?
A: Before and after irreversible operations such as cutting and edge painting, upstream of high-value operations such as hardware attachment, and at any operation with a history of defects.
What is first-article approval?
A: A full check of the first unit at an operation against the specification and sealed sample, carried out before production continues. It is the cheapest control available.
When should first-article approval be repeated?
A: After a machine reset, an operator change, a shift change, a new material bundle, a repair, or a restart after a break, because each of those can change the process.
How often should in-line checks be performed?
A: Frequency follows risk. Function-critical checks apply to every unit, while lower-risk checks may apply to the first unit of each bundle or hourly.
Do in-line checks replace operator self-check?
A: No. Self-check covers every unit at the operation itself, while inspector checks provide oversight across stations. Both are needed and they do different jobs.
What makes an in-line check effective?
A: A clear standard, a tool or gauge where judgement is involved, and a defined action when the check fails. Without a consequence, the check is decorative.
How should defects be recorded at the line?
A: Quickly and in short codes: defect type, quantity, operation and time. Long forms produce incomplete or retrospective records.
Why does daily feedback matter?
A: Because a trend corrected today affects today's production, while a trend analysed next month has already shaped the whole order.
What is the most common failure of in-line control?
A: Paper-only compliance. The sheet is completed at the end of the shift, values never vary and no failure is ever recorded.
How can paper-only compliance be detected?
A: By comparing the check sheet with the physical units. Identical repeated values, one handwriting for a whole day and an absence of failures are all visible quickly.
Does in-line control always reduce cost?
A: No. It pays where defect rates are meaningful or a fault is systematic. On a line already at a very low defect rate, extra checkpoints add cost without changing the outcome.
When should a checkpoint be removed?
A: When it has found nothing across several orders, or when its position no longer matches where the risk sits. The map should be reviewed with the defect data.
What triggers escalation?
A: A rule set in advance, typically three occurrences of the same defect in a defined period, or any critical defect, which requires containment and a verified correction.
Are in-line checks different for pet bags?
A: Yes in emphasis. Load points, base board presence, mesh integrity, sharp edges and closure function are checked per unit because failure makes the product unusable.
Ready to move quality control to where defects actually happen? Build the checkpoint map from the bill of materials and the defect history, keep each check short and measurable, require a record that names values rather than opinions, and verify on the first order that the checks are real rather than documented.