From Hide to Handbag: The Complete Leather Bag Manufacturing Process
Every leather bag tells a story — but not the one printed on its label. Long before a bag reaches a store, it passes through the hands of hide inspectors, cutters, skivers, stitchers, edge finishers, hardware setters, and quality controllers, each step adding or subtracting from the final product's value. A $50 bag and a $500 bag are often made from surprisingly similar materials; the difference is the discipline of the process that turns a raw hide into a finished handbag.
For brands sourcing leather bags, understanding this process is not academic. It tells you what to look for in factory audits, what to specify in your tech pack, where defects actually come from, and why two factories quoting on the same design can differ so much in price. This guide walks through the complete manufacturing journey — from the tannery's hide to the packed carton — the way our own production team sees it, stage by stage.
Stage 1: Hide Sourcing and Inspection
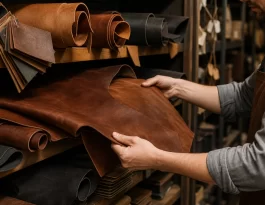
The process begins before a single panel is cut: with the raw material. Hides arrive at the factory from tanneries either as finished leather (already tanned, dyed, and finished) or as crust leather (tanned but unfinished, to be colored and finished in-house). For most bag production, finished leather is standard; crust gives brands more control over color and finish but adds lead time and requires finishing capability.
On arrival, every hide is inspected on a light table — a backlit surface that reveals defects invisible to the naked eye: holes, thin spots, grain damage, scars, and stretch marks. The inspector grades each hide (A/B/C) and marks defective zones with chalk so cutters know exactly where to avoid. This inspection is the first quality gate: a factory that skips it is shipping the defect risk downstream, where it becomes rejects, rework, and customer complaints.
Two things matter here that buyers rarely consider. First, moisture content: leather should arrive at 12–15% moisture; too dry and it cracks, too wet and it will warp. Second, batch consistency: panels from different hides in the same order must be color-matched, which is why the factory should hold and inspect the whole order's leather together before cutting begins.
Stage 2: Splitting, Skiving, and Prepping
Before cutting panels, the leather must be brought to the right thickness for each part of the bag — and that means two related operations.
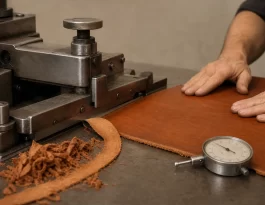
Splitting levels the entire hide to a uniform thickness using a band-knife splitting machine. A "4 oz" hide arrives thicker in some zones than others; splitting evens it out so every panel is the same gauge. Some factories skip full splitting for efficiency, which produces bags with inconsistent panels — a hidden quality difference you can feel but not see in photos.
Skiving thins specific areas — the edges to be folded, the seams to be joined, the straps to be wrapped — down to half or even a quarter of the panel thickness. Skiving is where craftsmanship lives: a hand-skived edge folds cleanly and sews flat; a machine-skived edge is faster but less refined. The thickness map of the bag is decided here, and it is dictated by your tech pack: fold lines at 0.8 mm, seams at 1.0 mm, main panels at 1.4 mm, and so on.
Stage 3: Cutting and Panel Marking
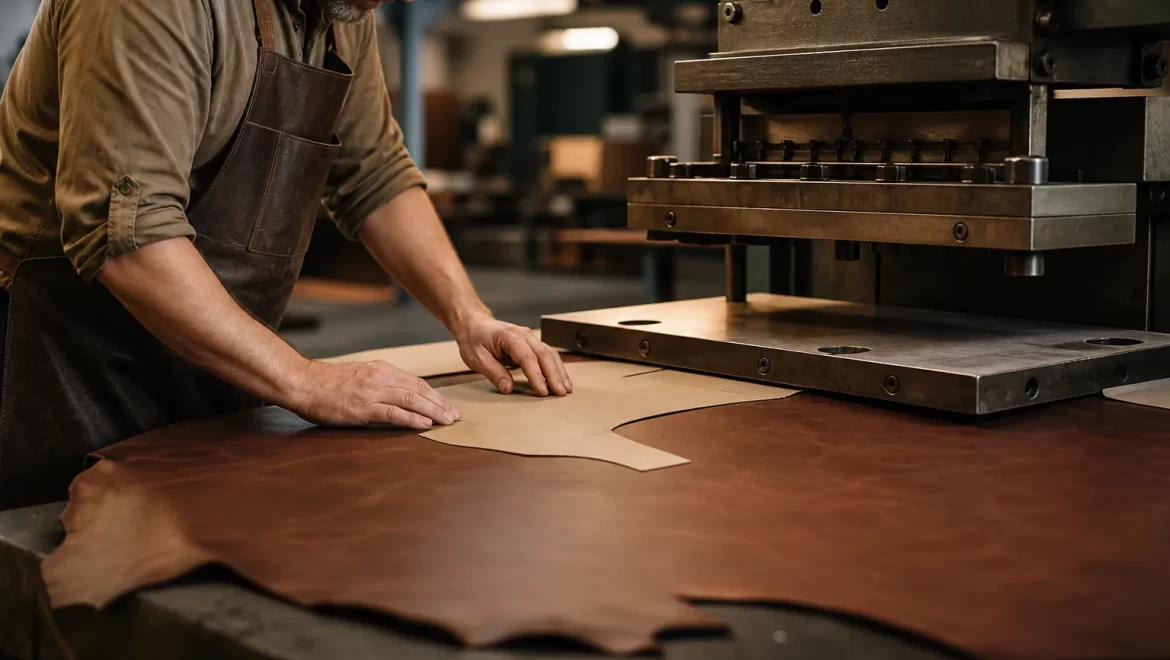
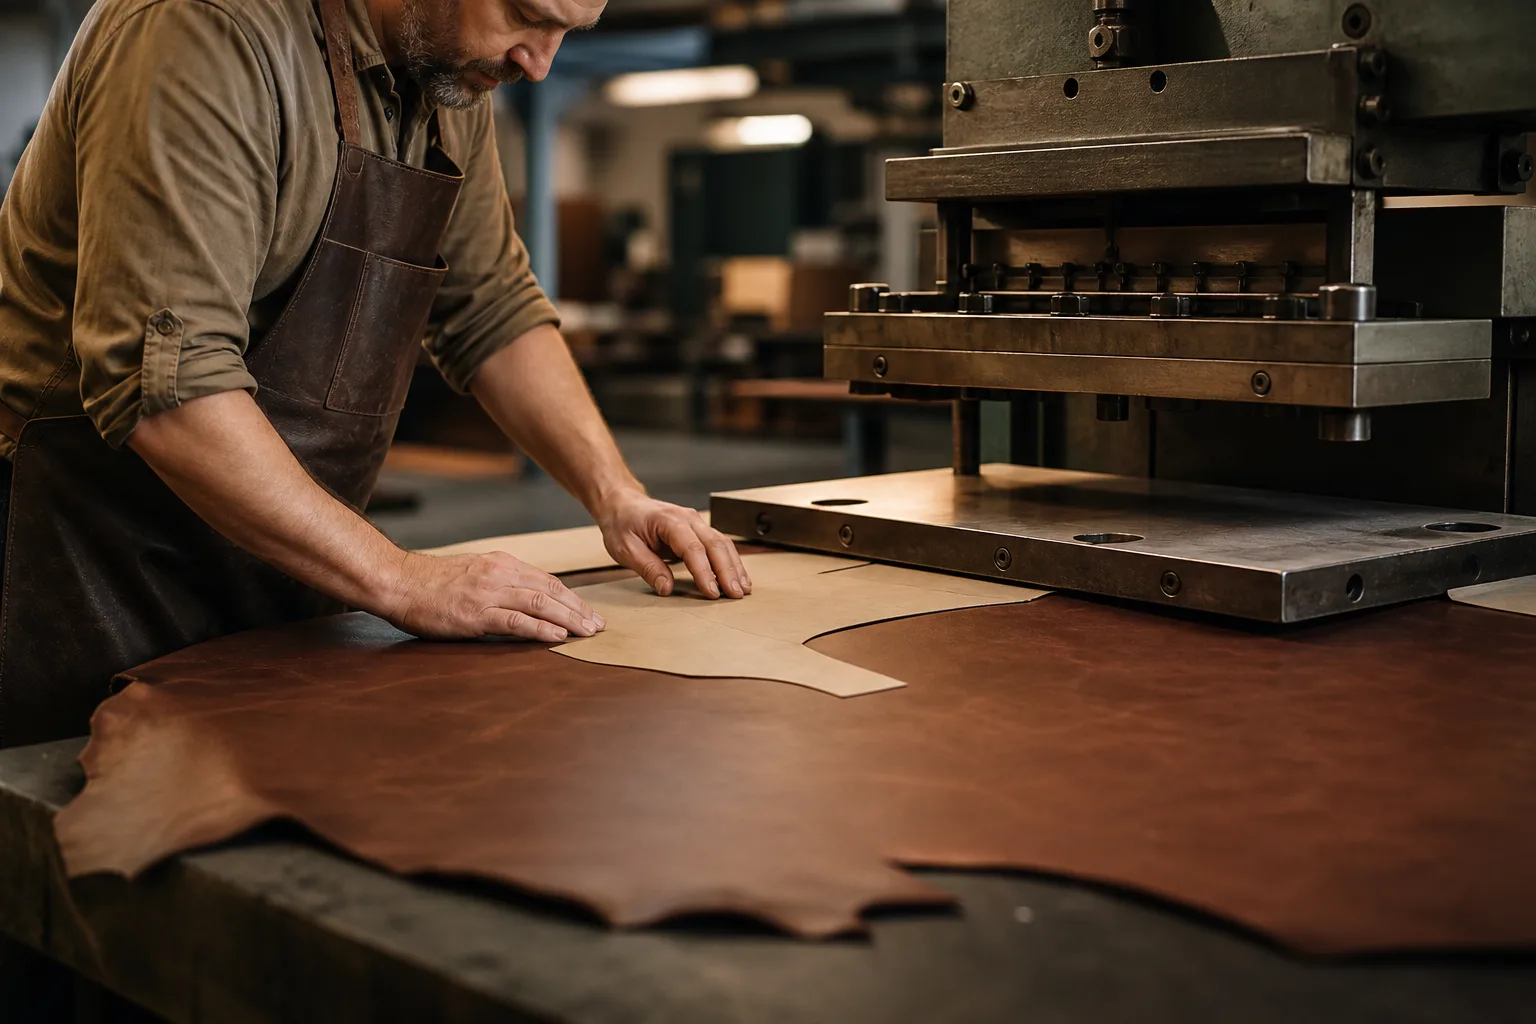
Cutting is where the hide becomes a bag. The factory lays out the pattern pieces on the hide — nesting them to maximize yield while respecting grain direction, color zones, and defect-free areas — then cuts them out.
There are two cutting methods. Die cutting uses a steel rule die (a cookie-cutter shape) pressed by a hydraulic press; it is fast, consistent, and ideal for repeat production of the same pattern. Hand cutting uses a craft knife against a pattern; it is slower but gives the cutter freedom to match grain and avoid defects hide by hide. High-end bags are almost always hand-cut or die-cut with hand adjustment for exactly this reason.
Panel marking matters just as much as cutting. Every panel is marked with its position (front, back, gusset, handle), grain direction arrows, and stitch lines — usually by skiving or a light crease, never by ink that could bleed through. Correct marking is invisible in the finished bag but determines whether everything lines up at assembly.
| Cutting method | Speed | Precision | Best for |
|---|---|---|---|
| Die cutting | Fast | High repeatability | Volume production, standard shapes |
| Hand cutting | Slow | Grain-matched, defect-avoiding | Premium bags, irregular panels |
| Hybrid (die + hand) | Medium | Both advantages | Most mid-premium lines |
Stage 4: Edge Preparation
Every leather edge that will be visible in the finished bag must be prepared before assembly, because it is far easier to finish a flat edge than a sewn one. This stage is invisible in the final product but determines 80% of the bag's perceived quality at the edges.
For burnished edges (common on vegetable-tanned leather), the edge is first skived or sanded smooth, then treated with an edge gum or wax and rubbed with a wooden or linen slicker until it becomes hard, glossy, and sealed. Multiple passes — often three to six — build the final finish.
For painted edges (common on chrome-tanned and fashion leather), the edge is painted with edge paint (a flexible polyurethane or acrylic compound), dried, sanded, and painted again. A quality painted edge has three to six coats, each sanded between applications, ending with a clean, rounded, crack-resistant seal.
The number of coats and the sanding between them is the difference between an edge that looks factory-fresh for years and one that chips in the first month. When you evaluate a sample, run your finger along the edges: a quality edge feels smooth and rounded; a cheap one feels sharp, bumpy, or tacky.
Stage 5: Stitching and Assembly
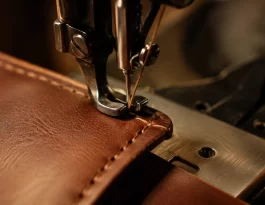
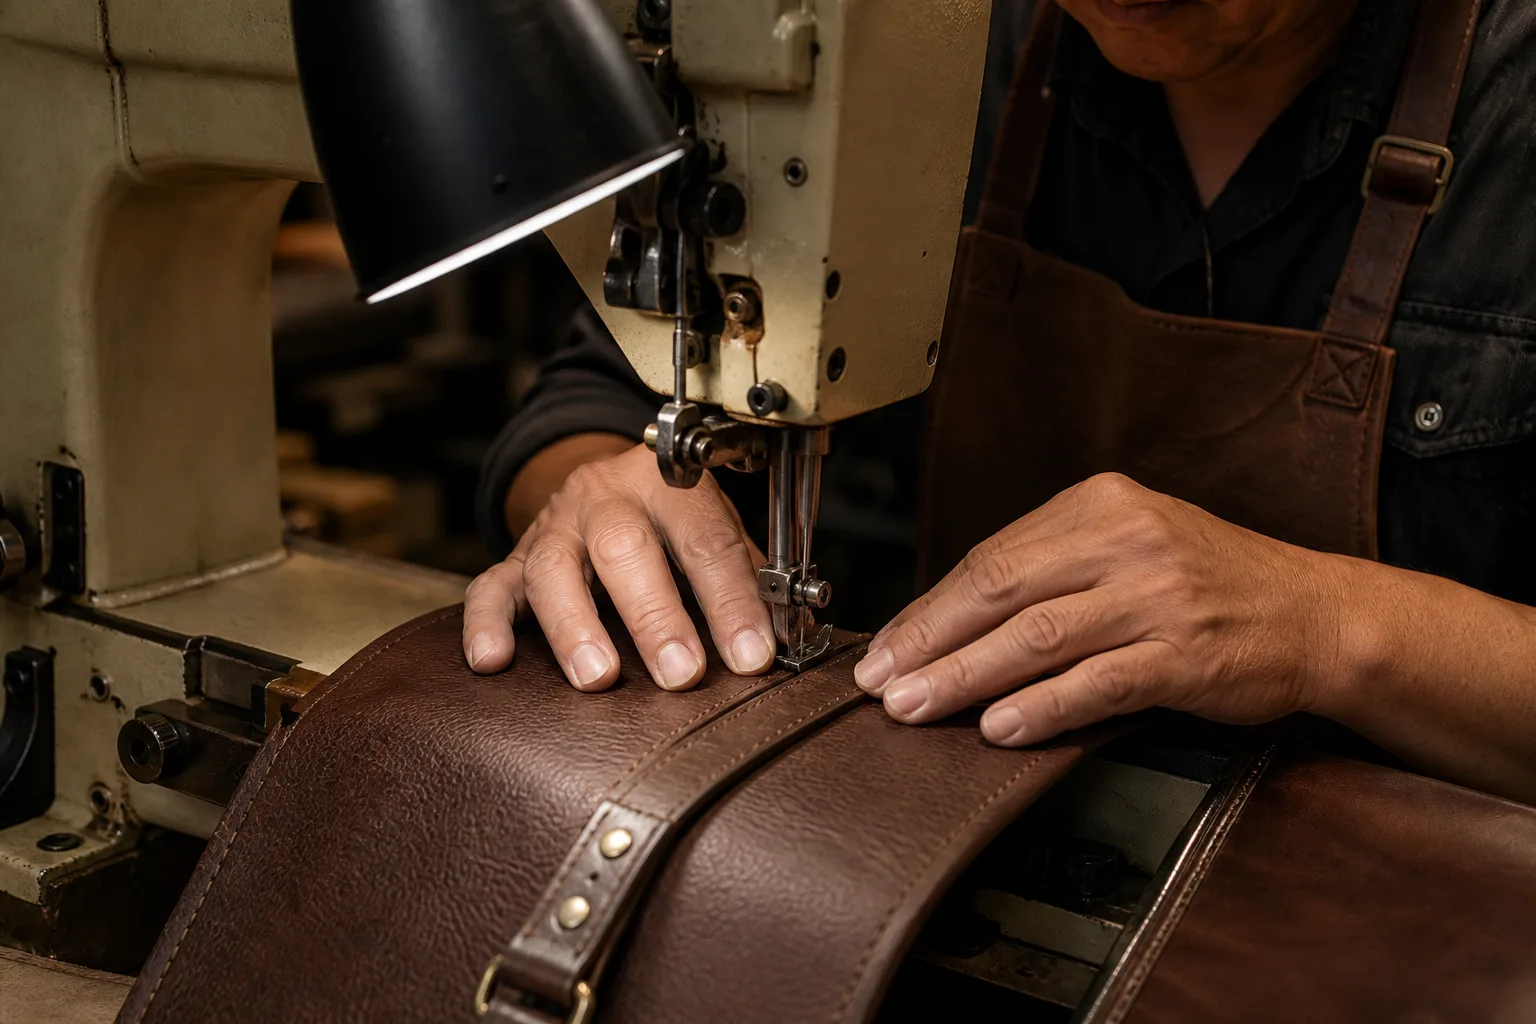
Stitching is the heart of bag manufacturing — the stage where most of the labor hours go and where most visible quality is won or lost. Two families of stitching dominate:
Lockstitch (flatbed sewing). The standard industrial method: two threads, top and bottom, interlocked in the middle of the leather. Fast, strong, and used for most bag construction. Quality is defined by stitch density (SPI — stitches per inch), thread tension, and consistency.
Saddle stitch (hand stitching). Two needles, one thread, passed through each hole alternately. Slower and costlier, it produces the classic slanted "hand-stitched" look and is prized in heritage and luxury bags. A saddle-stitched seam does not unravel if a thread breaks — a genuine durability advantage.
The specifications that matter: SPI (typically 6–10 for bags; more stitches per inch generally means finer, tighter seams), thread type (bonded nylon for strength, polyester for color stability, waxed linen for heritage looks), needle size matched to leather thickness (too small = skipped stitches and tunneled seams; too big = holes that weaken the leather), and tension balance (a perfect seam lies flat with identical stitches on both sides).
Assembly is sequenced so that interior linings, pockets, and zippers are installed before the outer shell is closed — each sub-assembly is stitched flat, then joined. A zipper that is sewn into a curved gusset is a genuine skill test: pucker-free zipper installation is one of the clearest signs of an experienced stitching team.
Stage 6: Hardware Setting
Hardware — zippers, buckles, rivets, D-rings, feet, and magnetic snaps — is fitted at two points: some elements are sewn in during assembly (zippers, straps), and others are set after (rivets, feet, buckles). The hardware stage is where the bag either gains its "expensive" feel or loses it.
The critical skill is rivet setting: the rivet must be the right length for the leather stack (too short = loose, too long = deformed head), the setting pressure must be calibrated per material, and the hardware must be aligned exactly. Mis-set rivets are a top source of returns — they pull out, scratch contents, or loosen within weeks.
Quality hardware checks buyers should request: plating test (brass, zinc alloy, or stainless; plating thickness determines tarnish resistance), pull test (handles and D-rings must withstand the bag's stated load), and zip cycle test (hundreds of open-close cycles without failure). A factory that cannot show these test results is asking you to trust them on faith.
Stage 7: Final Assembly and Lining
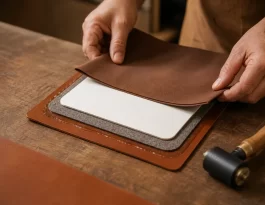
After the outer shell is stitched and hardware partially set, the bag goes through final assembly: the lining is inserted, the top frame or zipper closure is attached, handles and straps are fixed, and the bag is turned right-side out (or closed in the case of lined construction).
This is where alignment is proven. The lining must sit without wrinkles, the top edge must be even all the way around, handles must be anchored to reinforced panels, and the bag must close and sit correctly. The turn — the operation where a sewn-inside-out bag is turned through its opening — is delicate: a rushed turn strains seams and distorts panels. Factories that spend time on this stage produce bags that "sit" correctly; rushed ones produce bags that look slightly off no matter how good the leather is.
Stage 8: Quality Control, Inspection, and Packaging
The final gate is quality control — and a proper QC system has multiple checkpoints, not one final glance. A professional factory runs:
| Checkpoint | What is verified |
|---|---|
| Incoming inspection | Hide grade, defects, thickness, moisture |
| Cutting QC | Panel count, grain direction, defect-free zones |
| Pre-assembly QC | Edge prep, skiving, marking accuracy |
| In-process QC | Stitch quality, tension, zipper function |
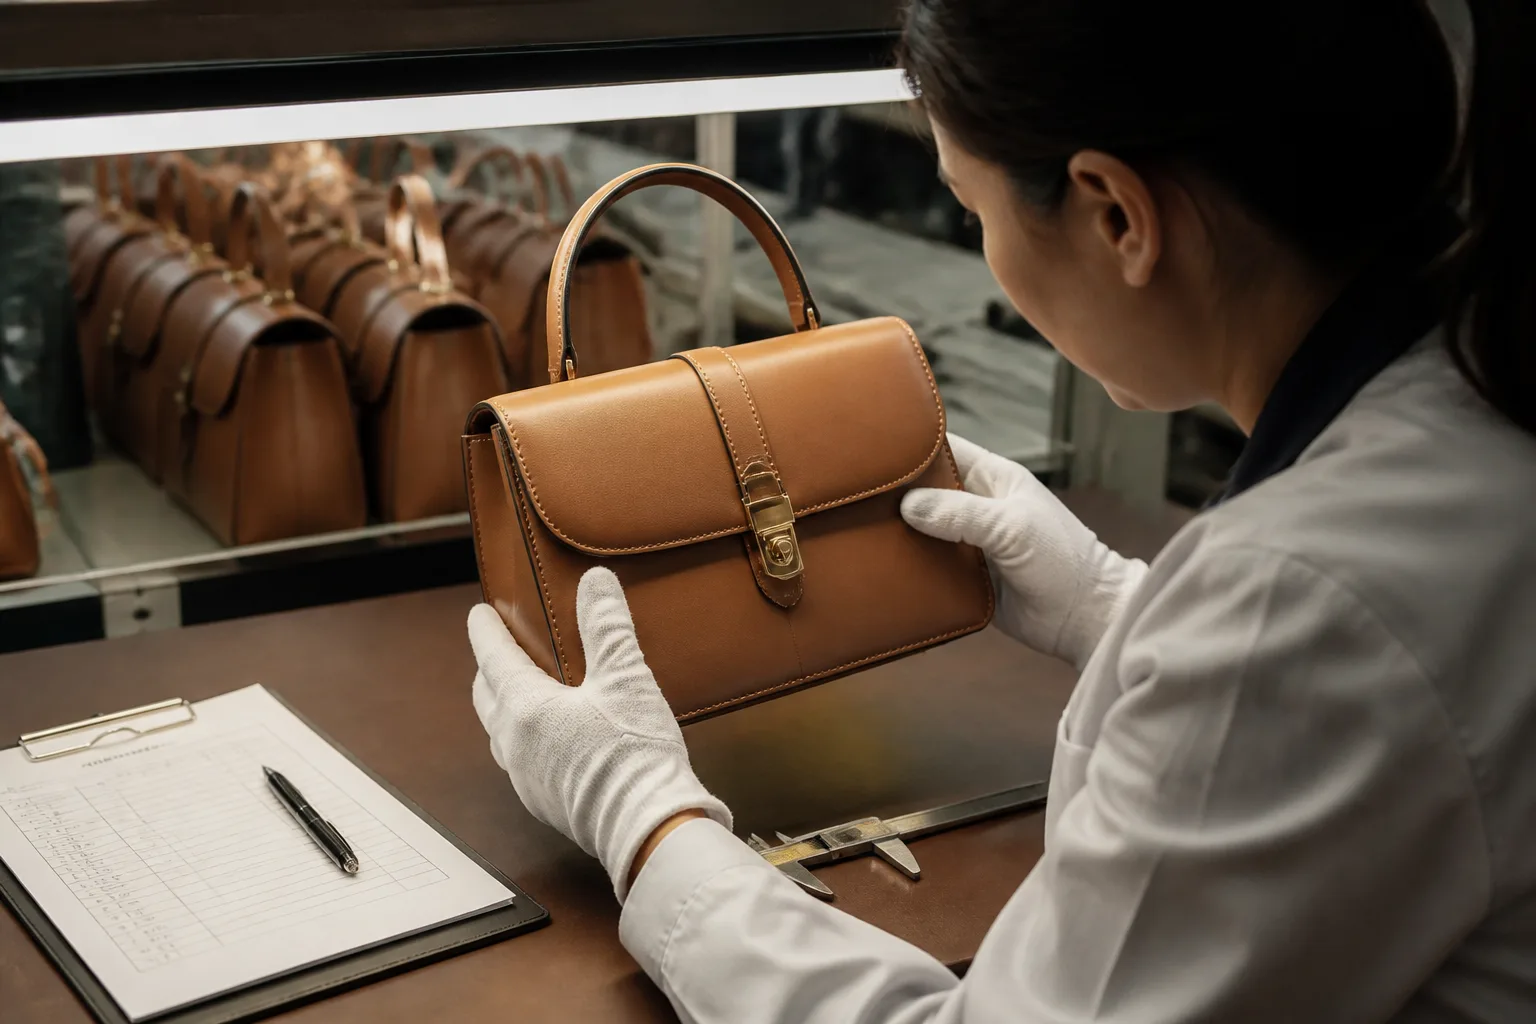
| Final inspection (AQL) | Full bag check: stitching, hardware, alignment, finish |
| Pre-shipment inspection | Packed units, accessories, labels, carton condition |
The AQL (Acceptable Quality Limit) system governs final inspection: a sample is drawn from the lot, checked against a defect list, and the lot passes or fails based on the number of defects found. Serious buyers write the AQL levels into their contract (commonly 2.5 for major defects) and can send a third-party inspector for pre-shipment checks. Defects are classified as critical (unusable), major (functional or highly visible), or minor (cosmetic), and only the agreed classes are accepted.
Packaging matters more than most brands think: each bag should be stuffed, wrapped in acid-free tissue, protected with soft corners, and packed in a carton with proper cushioning. A beautiful bag that arrives crushed or scratched creates a return even though the factory's work was excellent. Moisture protection in the carton (silica gel) prevents mildew during ocean transit — a real risk that brands learn about the expensive way.
The Factory Timeline: From Order to Delivery
| Stage | Typical lead time |
|---|---|
| Tech pack review and quoting | 3–7 days |
| Sampling (1–3 rounds) | 2–4 weeks |
| Material sourcing and confirmation | 1–2 weeks |
| Production planning and cutting | 1–2 weeks |
| Sewing and assembly | 2–4 weeks (per 1,000 units) |
| QC, inspection, packaging | 3–7 days |
| Total (typical) | 8–14 weeks |
Rush orders compress this timeline but raise the defect rate — especially in the stages that cannot be rushed: edge finishing coats need drying time, and QC needs time to actually inspect. A factory that quotes an impossibly fast delivery is telling you which stage it plans to skip.
Where Quality Is Won or Lost: A Summary
| Quality factor | Where it is decided |
|---|---|
| Leather feel and durability | Hide grade, tannery, thickness spec (Stages 1–2) |
| Shape and structure | Cutting, skiving, interlining (Stages 2–3) |
| Edge finish longevity | Edge prep and coat count (Stage 4) |
| Seam strength and look | Stitch SPI, thread, tension (Stage 5) |
| Hardware longevity | Hardware grade, rivet setting (Stage 6) |
| Overall alignment | Assembly and turn (Stage 7) |
| Consistency across units | QC discipline and AQL (Stage 8) |
The pattern is clear: most of a bag's perceived quality is decided in the stages that cost the most labor and cannot be rushed — cutting discipline, edge prep, stitching, and QC. When a factory undercuts a competitor by 30%, this is usually where the difference comes from.
Common Defects and Their Root Causes
Every recurring bag defect traces back to a specific stage of the process — and knowing the root cause tells you which factory stage to scrutinize. Here is the defect map our QC team uses:
| Defect | Root cause stage | How to prevent |
|---|---|---|
| Surface scratches, holes | Stage 1 (hide inspection missed) | Light-table inspection, grade every hide |
| Panels of uneven thickness | Stage 2 (splitting skipped) | Require full splitting to spec |
| Misaligned panels at assembly | Stage 3 (marking errors) | Check grain direction and stitch marks |
| Edge paint cracking or chipping | Stage 4 (too few coats, no sanding) | Specify 3–6 coats with sanding between |
| Puckered zipper seams | Stage 5 (tension/technique) | Experienced zipper operators, tension checks |
| Skipped or tunneled stitches | Stage 5 (needle/thread mismatch) | Match needle to leather thickness |
| Loose or pulled-out rivets | Stage 6 (wrong length/pressure) | Rivet length spec, calibrated press |
| Wrinkled lining | Stage 7 (rushed turn/assembly) | Adequate turn time, lining QC |
| Bags arriving with odor or mildew | Stage 8 (moisture in packaging) | Silica gel, breathable wrap, dry cartons |
The pattern worth noting: most defects are not "bad luck" — they are skipped process steps. When a batch comes back with a recurring defect, the fix is almost never to inspect harder at the end; it is to restore discipline at the stage that caused it.
The Role of the Tech Pack
The tech pack (TP) is the contract that binds all eight stages together. It is not a sketch — it is the complete specification a factory needs to reproduce your design exactly, and its quality predicts the quality of your production run.
A professional bag tech pack includes: design drawings with measurements and proportions; materials spec (leather type, thickness with tolerance, lining, hardware with plating, thread); construction notes (stitch SPI, edge treatment, skiving zones, reinforcement points); colorways with Pantone or physical references; packaging spec; and QC criteria (AQL levels, defect classification, test requirements).
Two practical rules: first, never approve production from a tech pack you have not fully reviewed — an ambiguous line ("standard stitching") invites interpretation, and factories interpret in their own favor. Second, lock the TP at the production-level sample — changes after that point cost time and raise the defect rate, because the factory must reset its process. Brands that invest in a complete tech pack get cleaner samples, faster production, and fewer surprises. Brands that "trust the factory to figure it out" discover, sooner or later, that the factory figured it out differently than intended.
FAQ
How long does it take to manufacture a leather bag?
A: For a typical order, 8–14 weeks from confirmed tech pack to delivery, including sampling. Rush orders can shorten this to 5–8 weeks at higher defect risk.
What is the minimum order quantity (MOQ) for leather bags?
A: Commonly 300–1,000 units per design depending on the factory, with higher MOQs for die-cut (volume) production and lower for hand-cut premium lines. Material costs and cutting yield drive the minimum.
What is the difference between die cutting and hand cutting?
A: Die cutting uses a steel press for fast, repeatable panels; hand cutting uses a craft knife for grain-matched, defect-avoiding cutting. Premium bags favor hand cutting or a hybrid.
How many samples should I expect before production?
A: Typically 1–3 rounds: a fit sample, a material/color sample, and a production-level sample. Each round takes roughly a week. Never skip the production-level sample — it is your last chance to catch differences before mass production.
What is AQL inspection?
A: Acceptable Quality Limit — a statistically sampled final inspection that decides whether a lot passes. Buyers typically contract AQL 2.5 for major defects and can use third-party inspectors.
What causes edge paint to crack?
A: Too few coats, insufficient sanding between coats, or applying paint to unprepared edges. Quality edges have 3–6 coats with sanding between; cheap edges are a single thick coat that flexes and cracks.
How do I check stitch quality on a sample?
A: Count stitches per inch (6–10 is normal for bags), check that stitches are even and lie flat on both sides, and pull the seam gently — it should not pucker or gape. Look at the zipper seams for puckering, the hardest seam to sew cleanly.
What causes bags to arrive with a bad smell?
A: Usually trapped moisture during transit — leather and glue residues are organic. Proper packaging with silica gel and breathable wrapping prevents it. Ask your factory about their moisture-control packaging before the first ocean shipment.
How to Evaluate a Factory's Process
When you audit a factory, you are not looking at machines — you are looking at process discipline. Here is a short checklist based on the stages above:
- Watch the light table: does incoming leather get inspected and graded before cutting?
- Check the cutting room: are panels nested for yield, and are defects marked and avoided?
- Feel the edges on a finished sample: smooth, rounded, multi-coat edges mean the factory invests in Stage 4.
- Ask for stitch specs: SPI, thread type, and needle sizes for your design.
- Demand test data: plating tests, pull tests, zip cycle tests for the hardware.
- Review the QC plan: checkpoints in writing, AQL levels, and third-party inspection options.
- Inspect a packed carton: stuffing, tissue, cushioning, silica gel — packaging discipline predicts overall discipline.
Conclusion
A leather bag is the sum of eight disciplined stages, and each stage is an opportunity to add value or to cut a corner. The hides are inspected, split, skived, cut, edged, stitched, assembled, and checked — and the difference between a good bag and a great one is rarely a single dramatic step. It is the quiet consistency of a factory that does every stage properly, every time, and has the documentation to prove it.
For a brand, the practical lesson is simple: source the process, not just the price. Ask the questions in this guide, request the test data, approve the production-level sample, and write the QC levels into your contract. The factory that can walk you through all eight stages with confidence is the factory that will deliver your design exactly as you imagined it — and keep your customers coming back for the next one.
Planning a leather bag line and want to see the process in action? Contact our factory — we will walk you through each stage with a live production tour, provide samples from your actual production batch, and share our QC documentation before you commit.