How Should Scratch and Scuff Resistance Be Verified on Pet Bag Leather?
- Why Claws Test Leather Differently
- Three Kinds of Surface Damage
- The Finish System and What Resists
- Choosing a Test Method
- What Abrasion Testers Miss
- Designing a Stylus Test for Claws
- Wet and Dry Rub
- Defining Failure Before Testing
- Sampling by Body Location
- Direction and Grain
- Thickness, Temper and Support
- Coupling With Coating Adhesion
- Ageing Before Re-Test
- Recording and Grading Results
- Writing It Into the Purchase Specification
- Linking Test Data to Complaints
- Verifying at Sampling
- Verifying in Bulk
- Briefing the Tannery
- Briefing the Bag Factory
- Common Traps in Scratch Specifications
- Test Cost and Laboratory Choice
- Retesting After a Design Change
- What Buyers Should Ask For
- A Worked Comparison of Two Articles
- Limits of Any Test
- FAQ
A pet bag is exposed to claws, harness clips, crate mesh handlers and car boots, and the surface damage that results is the most visible ageing a leather bag will show. Verifying resistance to that damage is a testable engineering question.
It becomes unmanageable when buyers and factories use different words for different failures. A scuff, a scratch and an abrasion mark are three distinct events, and each needs its own test before it can be specified.
Why Claws Test Leather Differently
A claw is not an abrasive wheel and not a knife. It is a hard point moving across a flexible surface at an unpredictable angle, and that combination produces a failure mode no single laboratory test reproduces exactly.
Point Load Rather Than Area Load
Abrasion spreads force over an area; a claw concentrates it on a few square millimetres. That is why a leather can pass an abrasion test and still mark visibly the first time a cat jumps onto it.
The Substrate Moves
A bag panel flexes under the claw, so the surface is stretched while it is being cut. A rigid test plate understates the damage, because it removes the flex that turns a light mark into a torn finish.
Repeated Light Contact
Most claw damage is not one deep event but dozens of light ones on the same area, near a base corner or a side panel where an animal enters. The cumulative effect is what a customer sees.
| Damage type | Mechanism |
|---|---|
| Scratch | Point cut |
| Scuff | Rubbing transfer |
| Abrasion | Surface removal |
| Flex cracking | Repeated bending |
Three Kinds of Surface Damage
Naming the damage correctly is the first step in testing it, because each type fails against a different property of the leather.
Scratching
A scratch cuts into the finish or the grain and leaves a line. It is resisted by surface hardness and by the toughness of the finish film rather than by the thickness of the hide.
Scuffing
A scuff transfers material or burnishes the surface, leaving a dull or lighter patch. It is resisted by pigment fastness and by the slip of the finish, and it is often reversible.
Abrasion and Fibre Loss
Abrasion removes material progressively and eventually exposes the fibre structure. It is resisted by the finish's wear resistance and by the density of the grain layer.
| Type | Test focus |
|---|---|
| Scratch | Stylus |
| Scuff | Rub |
| Abrasion | Wheel |
| Flex | Bend |
The Finish System and What Resists
Resistance is decided by the surface system rather than by the hide, and the surface is the part that can be specified most precisely.
Pigmented Finishes
A pigmented finish covers the grain with a film, and its resistance depends on the film's hardness and adhesion. It resists scuffing well and can show a scratch as a pale line where the pigment is removed.
Aniline and Semi-Aniline
Aniline surfaces show scratches readily because the colour sits in the leather rather than on it. The mark is often a burnish rather than a cut, which can be buffed but will return.
Pull-Up and Oiled Leathers
These surfaces are designed to mark, and the marks are part of the intended appearance. Verifying them against a scratch standard written for pigmented leather would fail a material that is behaving correctly.
| Finish | Scratch | Scuff |
|---|---|---|
| Pigmented | Moderate | Good |
| Semi-aniline | Low | Moderate |
| Aniline | Low | Low |
| Pull-up | Marks by design | Low |
Choosing a Test Method
No single method covers claw damage, so a workable verification uses two or three complementary tests and states which property each one measures.
Abrasion Wheels
A wheel test measures how much surface is lost under repeated rubbing. It is well standardised and reproducible, and it says nothing about a single sharp point.
Rub and Crock Tests
A rub test measures transfer and colour loss under a defined pressure and cycle count, wet and dry. It maps closely to harness wear and to handling marks.
Stylus and Point Tests
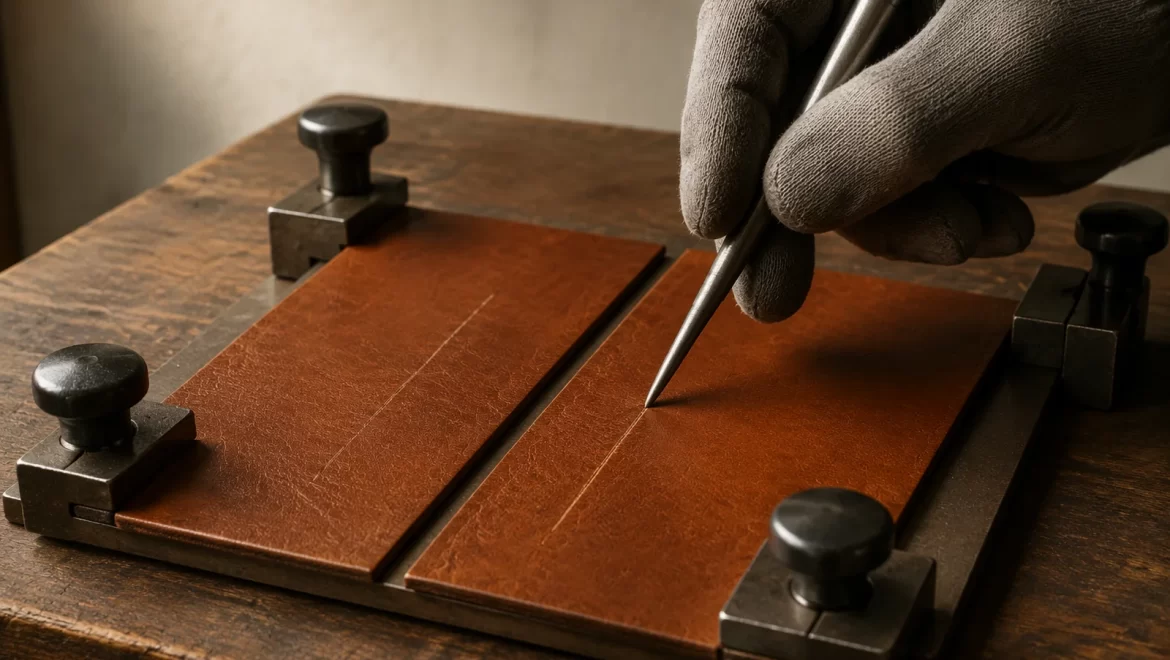
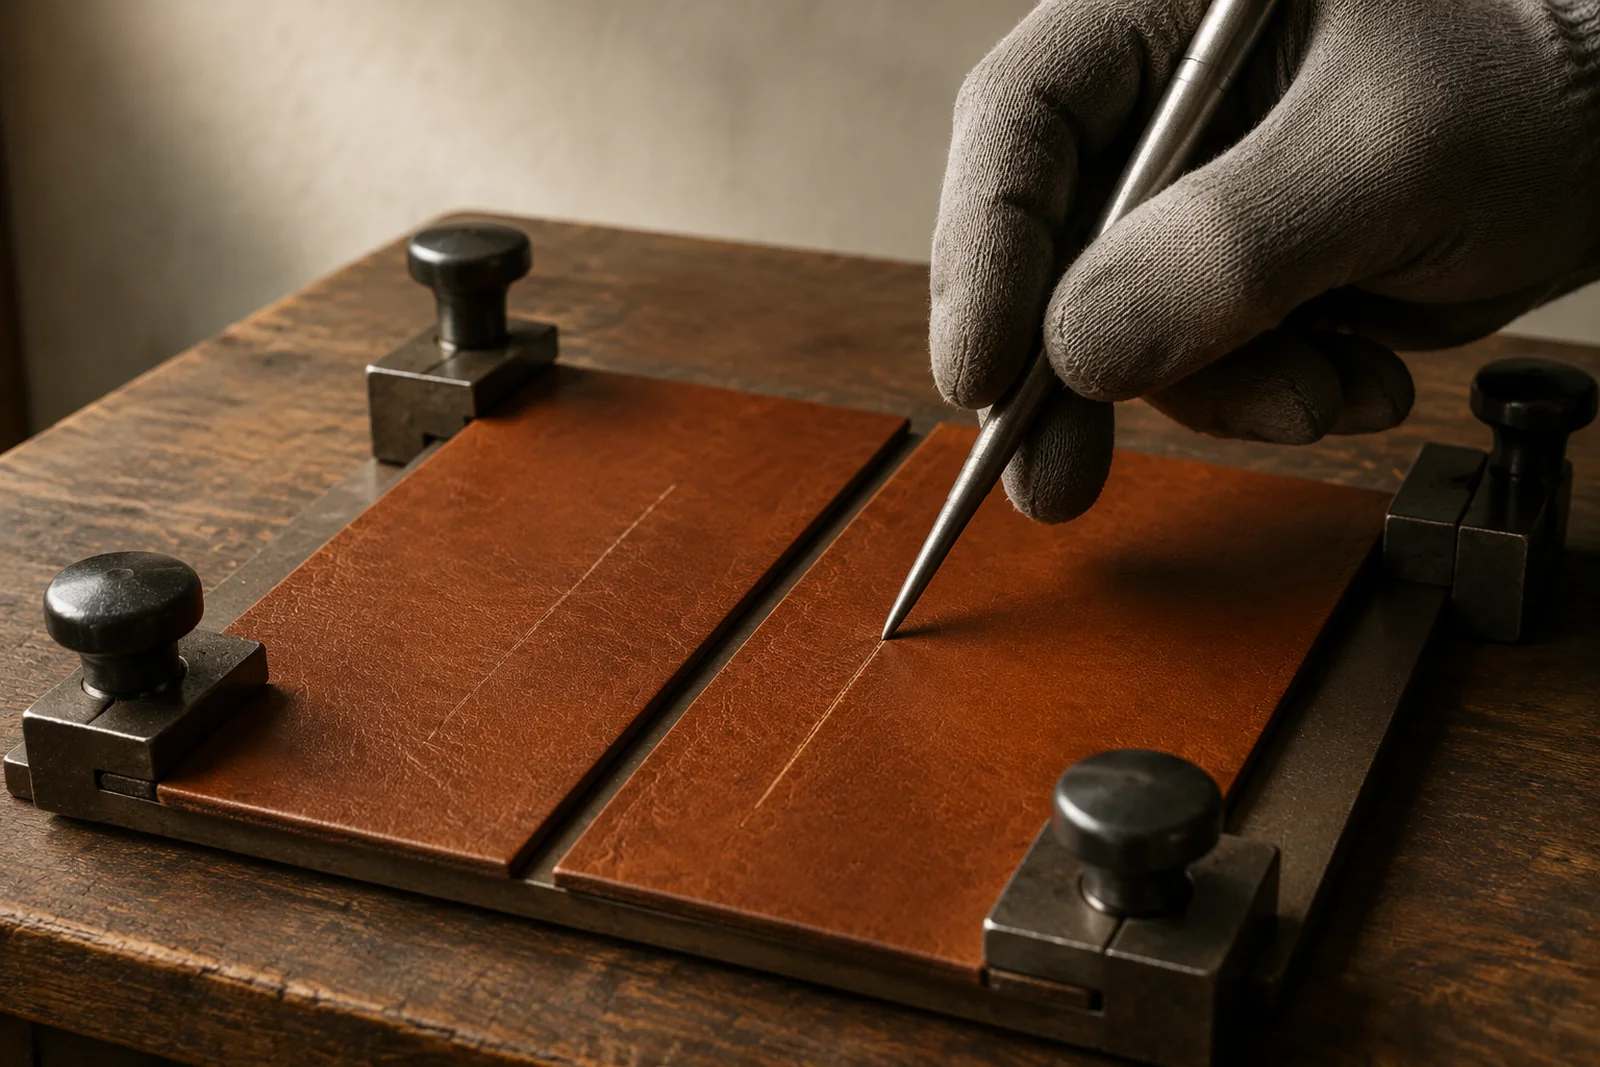
A stylus drawn across the surface under a defined load measures scratch resistance directly. It is the closest available proxy for a claw, provided the load is chosen from real use.
| Method | Measures |
|---|---|
| Wheel | Material loss |
| Rub | Transfer, colour |
| Stylus | Point cut |
| Flex | Cracking |
What Abrasion Testers Miss
Wheel testers are the default in most specifications and the least relevant to claw damage, which is why a specification built only on them can pass a leather that marks immediately.
The Rubber Wheel Problem
A rubber wheel abrades uniformly and reports a cycle count at a defined endpoint. A claw does not abrade uniformly, and the endpoint it produces is a visible line rather than a hole.
Rigid Mounting
Test specimens are usually mounted flat and rigid, which removes the flex that a bag panel has. A leather that cracks on a flexed panel can test well on a rigid one.
Numbers Without a Visual
A cycle count says how long a surface survived, not how it looked. Two leathers with the same count can differ completely in how a light scratch reads at arm's length.
| Limitation | Consequence |
|---|---|
| Uniform wheel | Misses points |
| Rigid mount | Misses flex |
| Count only | No appearance |
| Dry only | Misses transfer |
Designing a Stylus Test for Claws
A stylus test is only meaningful if the load and the tip are chosen from something closer to a claw than to a laboratory convenience.
Tip Geometry
A rounded tip produces a burnish and a sharp tip produces a cut, and a claw sits between the two. A tip diameter stated in millimetres makes the test reproducible and comparable between suppliers.
Load Selection
Load should be derived from real use, estimated by pressing a comparable point onto a panel until the mark appears. A load that marks every leather proves nothing.
Stroke and Speed
One slow stroke and ten fast ones produce different results on the same leather. The number of strokes and the speed belong in the method description, not in a footnote.
| Parameter | Must be stated |
|---|---|
| Tip diameter | Yes |
| Load | Yes |
| Strokes | Yes |
| Speed | Yes |
Wet and Dry Rub
A pet bag meets moisture constantly, and a finish that resists dry rubbing well can fail immediately when rubbed damp.
Dry Rub
A dry rub measures transfer of pigment and finish under pressure, and it corresponds to harness and strap contact. It is the baseline test and the easiest to reproduce in a factory.
Wet Rub
A wet rub softens the finish film and reveals adhesion weaknesses that a dry test cannot. A finish that chalks under a damp cloth will look worn within weeks of outdoor use.
Solvent and Sanitiser Rub
Pet owners clean carriers, and cleaning agents are harsher than water. A rub with a common cleaning solution is a realistic addition for any bag marketed for travel.
| Rub type | Reveals |
|---|---|
| Dry | Transfer |
| Wet | Adhesion |
| Solvent | Chemical resistance |
| Repeated | Wear |
Defining Failure Before Testing
A test without a failure definition produces a number that nobody can act on, and the definition should be visual as well as numerical.
The Viewing Distance
Damage that is invisible at two metres is a different commercial problem from damage visible in the hand. Defining the viewing distance makes the judgement repeatable.
Depth and Recovery
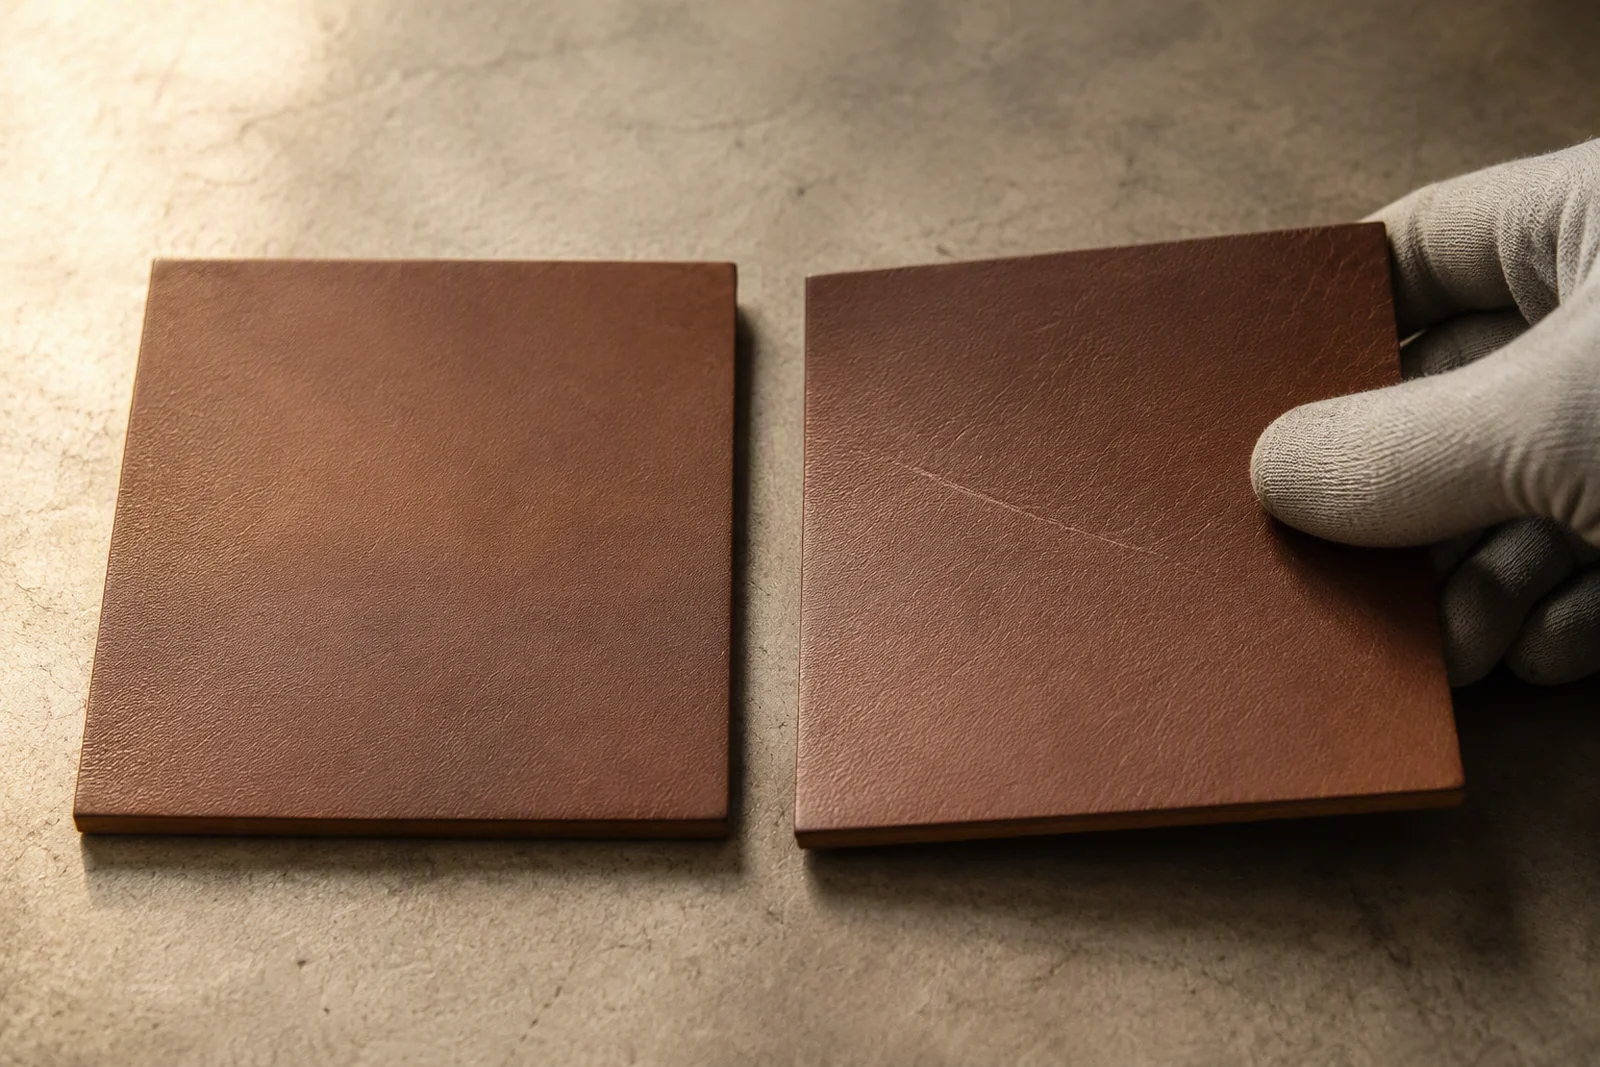
A mark that recovers overnight is a burnish; a mark that remains is a cut. Recording recovery after a stated interval separates the two without extra equipment.
A Four-Point Scale
Grade as no visible mark, visible only at an angle, visible in the hand, and visible at a distance. Four grades map directly onto release, accept, review and reject.
| Grade | Meaning |
|---|---|
| Zero | No mark |
| One | Angle only |
| Two | In hand |
| Three | At distance |
Sampling by Body Location
A hide is not uniform, and a result taken from the wrong place describes a different material from the one a customer will touch.
Back and Neck
The back carries the tightest grain and the best resistance, so a test on the back flatters the material. It is the correct location only if the bag is actually cut from the back.
Belly and Flank
Belly and flank are looser, thinner and more likely to mark. A bag that uses flank for a side panel should be tested on flank, whatever the back would show.
Marking the Sample
Record the location on the specimen and on the report. A result without a location cannot be compared between lots or between suppliers.
| Location | Resistance |
|---|---|
| Back | Highest |
| Neck | High |
| Flank | Moderate |
| Belly | Lowest |
Direction and Grain
Leather resists a stroke differently along the grain than across it, and a test that ignores direction produces results that cannot be reproduced.
Along the Grain
A stroke along the grain follows the fibre and tends to burnish rather than cut. It is the direction of most casual contact and the more forgiving of the two.
Across the Grain
A stroke across the grain lifts fibre and cuts more readily. It is the direction of a claw dragging sideways and the one a test should include.
Recording the Direction
State the direction on the report, and test both if the part is likely to be contacted from either side. Two directions double the information for one extra specimen.
| Direction | Behaviour |
|---|---|
| Along | Burnish |
| Across | Cut |
| Diagonal | Mixed |
| Both | Recommended |
Thickness, Temper and Support
A thicker or firmer panel resists a point load partly because there is more material behind it, and that effect is measurable.
Substance and Backing
A 1.4 mm panel over a board resists scratching far better than the same leather unsupported. The specification should state the construction, not the leather alone.
Temper and Looseness
A soft, loose leather deflects under a claw and tears its finish, while a firm one absorbs the load. Temper is a material property and should be named alongside thickness.
Where Support Stops
At a panel edge there is no backing, so the same leather marks more readily. An edge test on an unsupported strip is a useful addition for bags with exposed rims.
| Factor | Effect |
|---|---|
| Thickness | Higher resistance |
| Firmness | Higher resistance |
| Board behind | Much higher |
| Unsupported edge | Lowest |
Coupling With Coating Adhesion
Most visible scratches on pigmented leather are not cuts in the hide but failures of the film, so adhesion and scratch resistance should be tested together.
Film Failure First
Where the film is poorly anchored, a light scratch lifts pigment and leaves a pale line. The hide underneath is intact, which is why retesting the hide alone will not explain it.
Adhesion Test
A simple tape or rub test on a scored area shows whether the film holds. It takes minutes and explains most scratch complaints that a wheel test cannot.
The Repair Question
A surface whose film lifts cannot be repaired invisibly, while a burnish on aniline often can. That difference belongs in the aftercare guidance as much as in the specification.
| Finding | Meaning |
|---|---|
| Film lifts | Adhesion fault |
| Hide cuts | Material fault |
| Burnish only | Finish character |
| Chalking | Film breakdown |
Ageing Before Re-Test
A finish that resists scratching when new may not do so after a season of light and handling, and the difference is large enough to matter commercially.
Light Exposure
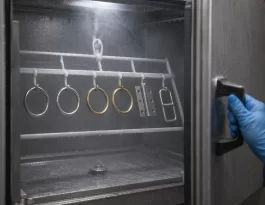
Ultraviolet light hardens and embrittles a finish film, and an embrittled film scratches into flakes rather than a line. A short exposure before re-test approximates a season outdoors.
Plasticiser Migration
Softening agents migrate over time, and a migrated surface can become tacky and easier to mark. Testing only on new stock misses the condition a customer experiences at month six.
Handling and Oils
Skin oils and cleaning products change the surface. A wipe with a common lotion before re-test is crude but closer to use than a pristine specimen.
| Ageing | Change |
|---|---|
| Light | Embrittles |
| Time | Migration |
| Handling | Oiling |
| Cleaning | Softening |
Recording and Grading Results
A result is only useful if another person can reproduce it, and that requires more fields than most test reports carry.
The Fields That Matter
Article reference, hide location, finish type, thickness, direction, tip, load, strokes, grade and a photograph. Ten fields turn a number into evidence.
Photographs Under Fixed Light
A photograph taken at a stated angle and distance is the only way to compare a scratch between two lots. A hand-held phone picture under changing light is not evidence.
A Retained Specimen
Keep the tested piece, labelled, for the life of the order. When a complaint arrives, a physical comparison settles the argument faster than any report.
| Record | Purpose |
|---|---|
| Location | Comparability |
| Direction | Reproducibility |
| Grade | Decision |
| Photograph | Evidence |
Writing It Into the Purchase Specification
A scratch requirement belongs in the specification as a method plus a grade, because an adjective cannot be rejected at goods inward.
Method and Grade Together
State the tip diameter, the load, the stroke count, the direction and the acceptable grade. Five parameters and one grade are enough to make the requirement enforceable.
Named Locations
Specify which parts of the hide will be used for which panels, and require the test to be taken from that location. A back-only result cannot qualify a flank panel.
Construction, Not Just Leather
State the backing and thickness that the result applies to. A result obtained on unsupported leather does not describe a panel bonded to a board.
| Spec element | Enforceable |
|---|---|
| Tip and load | Yes |
| Grade limit | Yes |
| Location | Yes |
| Construction | Yes |
Linking Test Data to Complaints
Test results and complaint data describe the same property from two directions, and comparing them is how a specification improves.
The Mismatch Signal
Where the laboratory result is good but complaints continue, the test is measuring the wrong thing. That mismatch is more informative than either data set alone.
Complaint Photography
Ask for photographs with the complaint, taken in daylight at a stated distance. A description of a mark is nearly useless, while a photograph can be graded.
Closing the Loop
Feed the grade from real complaints back into the specification limit. A limit that permits a grade the market rejects is a limit that will keep producing returns.
| Source | Use |
|---|---|
| Lab result | Baseline |
| Complaint | Field grade |
| Photograph | Comparison |
| Revised limit | Improvement |
Verifying at Sampling
Sampling is where a leather can still be changed, and the scratch test belongs in the same week as the first fit sample rather than after approval.
Test the Candidate, Not the Winner
Test two or three candidate articles from the tannery before choosing. A comparison at sampling costs a few specimens and prevents a season of complaints.
Record the Baseline
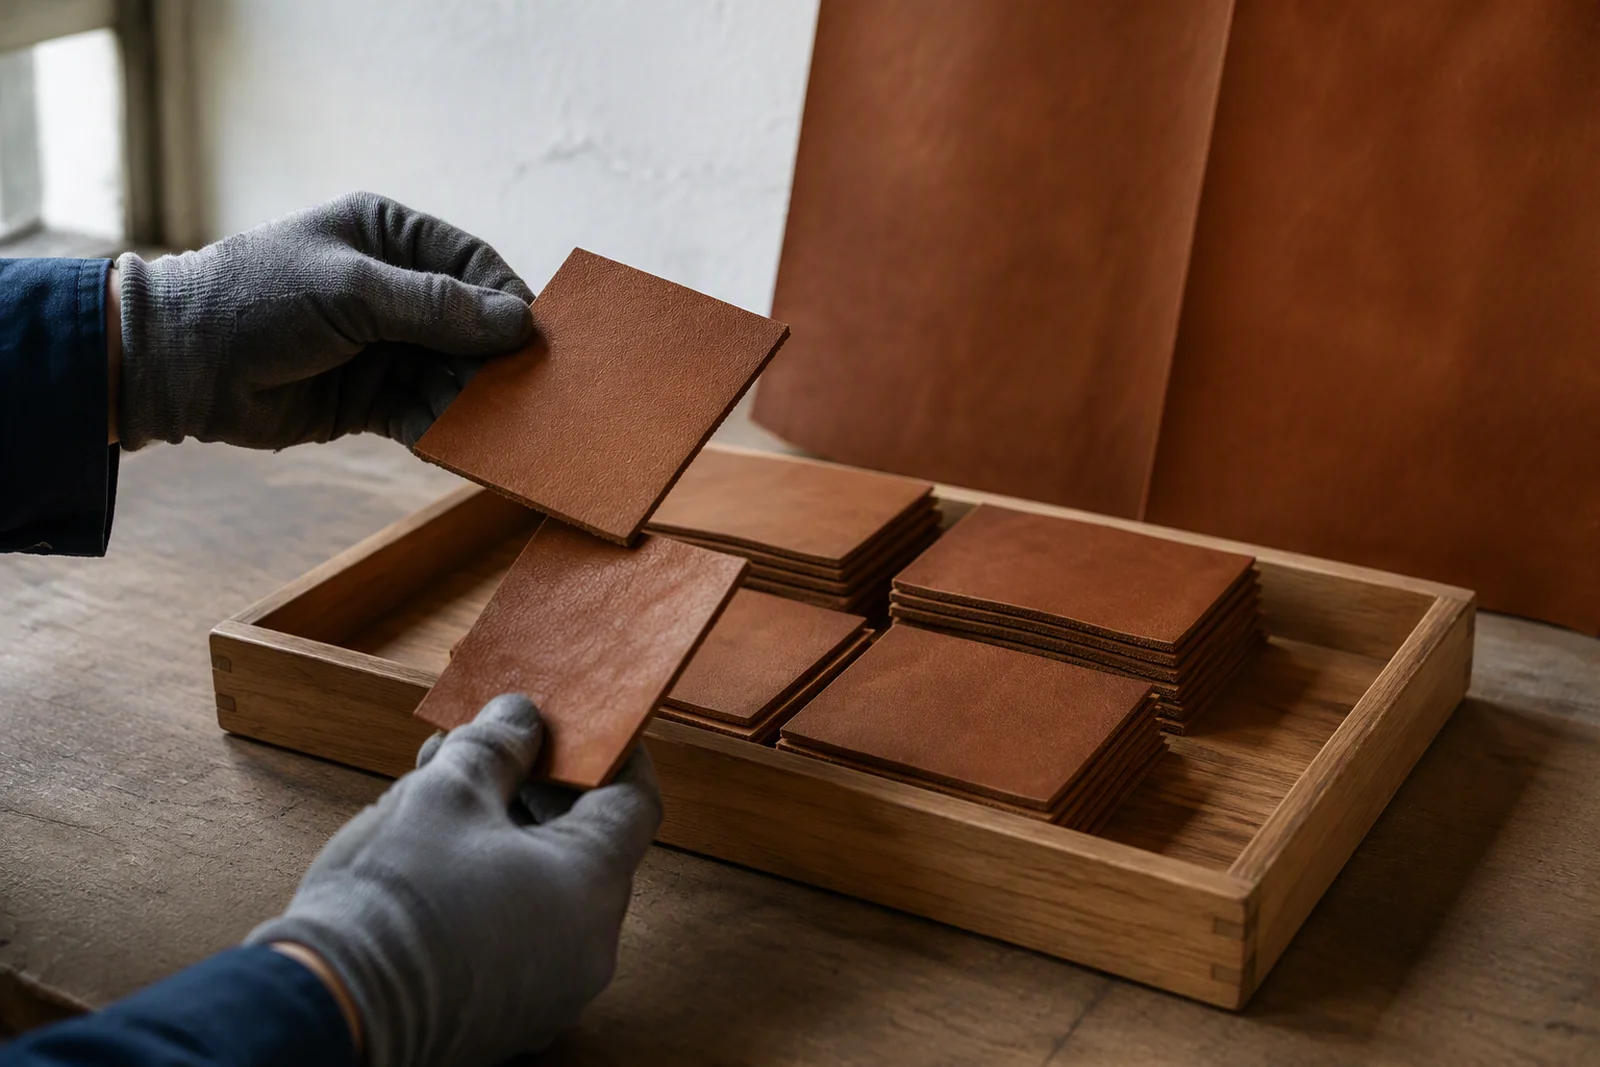
Keep the graded specimen with the approved sample. It becomes the reference against which every later lot is compared, and it survives staff changes.
Confirm the Construction
Test on the actual panel build, with the board and lining in place. A result on bare leather describes a material that is not what the customer will hold.
| Stage | Action |
|---|---|
| Candidate | Compare |
| Approved | Record |
| Construction | Confirm |
| Reference | Retain |
Verifying in Bulk
Bulk verification is not a laboratory programme, and the practical version is a comparison against the retained reference.
A Simple Line Check
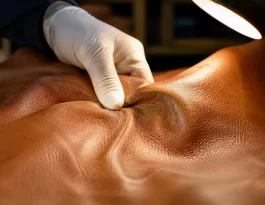
Press a defined point onto an offcut from each lot and compare the mark against the reference specimen under the same light. It takes a minute and catches a change of finish.
Per-Lot Specimens
Cut one specimen from each lot received and keep it labelled. When two lots differ, the specimens show where the change happened rather than that it happened.
When to Send to a Lab
Send to a laboratory when a line check disagrees with the reference, or when a new tannery is being qualified. Routine laboratory testing on every lot is expensive and rarely changes a decision.
| Check | Frequency |
|---|---|
| Line point test | Every lot |
| Reference compare | Every lot |
| Lab test | On change |
| Full audit | Seasonal |
Briefing the Tannery
The tannery controls the surface system, so a scratch requirement has to reach it as a finish specification rather than as a complaint.
Ask for the Finish Stack
Request the finish system: base coat, pigment coat, top coat and their chemistries. A tannery that can describe the stack can also explain why a batch behaves differently.
Compare Like With Like
Ask for the same finish on the same substance when comparing articles. A comparison between a pigmented corrected grain and an aniline full grain measures two different products.
State the End Use
Say the leather will be used on a pet carrier that meets claws and cleaning. A tannery that knows the end use can propose a finish rather than quote a catalogue number.
| Request | Purpose |
|---|---|
| Finish stack | Diagnosis |
| Same substance | Fair comparison |
| End use | Better proposal |
| Sample grade | Proof |
Briefing the Bag Factory
The factory cannot change the finish, but it can change what happens to the surface after the hide arrives, and those changes are often the real cause.
Handling and Stacking
Panels stacked face to face before drying can transfer plasticiser and soften the finish. A simple interleaf protects a surface that the tannery spent money on.
Heat and Pressing
A press that is too hot will harden a top coat, and a hardened coat scratches into flakes. Temperature limits belong in the pressing instruction as well as in the tannery brief.
Cleaning Solvents on the Line
Solvent used to remove marks during assembly can strip the top coat locally, which produces a scratch-prone patch that appears only on some units.
| Factory action | Surface effect |
|---|---|
| Stacking | Softening |
| Overheating | Embrittlement |
| Solvent wipe | Local stripping |
| Interleaf | Protection |
Common Traps in Scratch Specifications
Five mistakes recur across programmes, and each one is cheap to avoid at the specification stage.
Copying a Number From Another Product
A scratch requirement written for upholstery or footwear describes a different loading. The number may be far stricter than the bag needs, or far weaker.
Testing Only New Stock
A finish that passes when new can fail in month six. Ageing before re-test is the single change that most improves the correlation with complaints.
Judging in Poor Light
Two assessors in a dim room will grade the same mark differently. Fixed light and a fixed distance are part of the method, not a convenience.
Ignoring Recovery
A burnish that recovers overnight is graded as damage and drives a material change that was never necessary.
No Retained Specimen
Without a physical reference, every subsequent dispute starts from memory and ends in opinion.
| Trap | Cost |
|---|---|
| Copied number | Wrong target |
| New stock only | Late failure |
| Poor light | Inconsistent grades |
| No recovery check | Over-reaction |
| No specimen | Unresolvable dispute |
Test Cost and Laboratory Choice
Testing is inexpensive relative to a return, but the choice of laboratory matters more than the price of the test.
What Drives Cost
Specimen preparation, ageing time and the number of methods drive cost far more than the instruments. A three-method programme on two articles is a small budget item.
Choosing a Laboratory
Choose one that will state the method rather than only the result, and that will return the specimens. A report without the method parameters cannot be reproduced.
In-House Capability
A press, a defined point and a lamp will support a line check without a laboratory. In-house capability is for screening; the laboratory is for qualification.
| Option | Use |
|---|---|
| In-house point test | Screening |
| External lab | Qualification |
| Ageing service | Correlation |
| Retained specimens | Disputes |
Retesting After a Design Change
A design change that touches the surface — a new finish, a new board, a new pressing temperature — invalidates the earlier result, and the retest is often skipped.
What Triggers a Retest
A change of finish, substance, board, lining adhesive or pressing temperature. Any of those can change how the surface responds, and none is visible on the drawing.
What Does Not
A change of colour within the same finish system, or a change of hardware, does not normally require a retest. Separating the two lists prevents unnecessary testing.
Recording the Trigger
Note the retest trigger on the specification, so that a future change is checked rather than assumed. A trigger that lives in someone's memory is not a control.
| Change | Retest |
|---|---|
| New finish | Yes |
| New board | Yes |
| Colour only | No |
| Hardware | No |
What Buyers Should Ask For
A buyer can verify a scratch programme with four requests, and none of them requires a laboratory of their own.
The Reference Specimen
Ask for a graded specimen from the approved lot, labelled with location and direction. It is the single most useful object in any dispute about surface wear.
The Method Paragraph
Ask for the method in writing: tip, load, strokes, direction, grade. A supplier who cannot state these has not tested to a standard that can be repeated.
The Field Comparison
Ask how a complaint grade is converted into a specification limit. That question reveals whether the programme learns from returns or only from the laboratory.
| Request | Reveals |
|---|---|
| Specimen | Reference |
| Method | Reproducibility |
| Comparison | Learning loop |
| Location | Fair sample |
A Worked Comparison of Two Articles
A short example shows how the pieces combine, comparing two pigmented articles offered for the same carrier.
The Test Set
Both articles are tested on flank and back, across the grain, at a stated tip and load, and both are re-tested after a short light exposure.
The Result
Article A grades one on the back and two on the flank; article B grades two on the back and three on the flank, and both worsen after ageing. B is cheaper and unsuitable for a side panel.
The Decision
The specification allows grade two on visible panels. B is accepted for a base that is rarely touched and rejected for the side, which is a decision the data supports.
| Article | Back | Flank |
|---|---|---|
| A | One | Two |
| B | Two | Three |
| Limit | Two | Two |
| Outcome | Both pass | A only |
Limits of Any Test
Every method in this list is an approximation, and being clear about the approximation keeps a specification honest.
It Is Not a Claw
A stylus is harder and more regular than a claw, and it does not flex or twist. It ranks materials reliably and it does not predict the exact mark an animal will leave.
Ranking Rather Than Prediction
The practical use of a test is to separate a good article from a poor one. Treating a cycle count as a service life in months is a misuse of the data.
That is why a specification should be revised on evidence rather than defended on principle. A limit that no longer matches what comes back from customers is not a standard, it is a habit, and the test exists to serve the market rather than to replace it.
The Field Is the Final Judge
Complaint grades from real use are the only validation that matters. A test earns its place by agreeing with them, and loses it when it stops.
| Limitation | Consequence |
|---|---|
| Synthetic tip | Ranks, not predicts |
| Fixed load | Single condition |
| Small specimen | Local result |
| No animal | Field validates |
FAQ
Why does a scratch test matter more than an abrasion test for a pet bag?
A: A claw concentrates force on a point, while an abrasion wheel spreads it over an area. A leather can pass an abrasion test and still mark the first time an animal jumps onto it.
What is the difference between a scratch, a scuff and abrasion?
A: A scratch cuts the finish or grain and leaves a line, a scuff transfers or burnishes the surface, and abrasion removes material progressively. Each needs a different test.
Which leather finish resists claw marks best?
A: A pigmented finish on a firm, well-backed panel resists best. Aniline and pull-up leathers mark readily, and pull-up marks by design, so judging them against a pigmented standard is unfair.
Can a scratch be tested in a bag factory?
A: A screening check can be done with a defined point, a fixed load and a lamp. Qualification of a new article should still go to a laboratory that states the method parameters.
What load should a stylus test use?
A: A load derived from real use, estimated by pressing a comparable point onto a panel until a mark appears. A load that damages every leather proves nothing about the material.
Should the test be run along or across the grain?
A: Across the grain, because that is the direction a claw drags and the direction that cuts most readily. Testing both directions is better where the part can be contacted from either side.
Which part of the hide should be sampled?
A: The part that will be used in the visible panel. Back flatters a leather, belly and flank are harder, so a result from the wrong location describes a different material.
How is failure defined?
A: By grade at a stated viewing distance, plus a note on whether the mark recovers. A mark visible only at an angle is a different commercial problem from one visible at two metres.
Why does a mark sometimes disappear overnight?
A: Because it was a burnish rather than a cut. Recording recovery after a stated interval separates the two without any additional equipment.
Does a thicker leather always resist scratching better?
A: Not by itself. A firmer panel over a board resists far better than the same leather unsupported, so the construction belongs in the specification alongside the substance.
Why do scratches sometimes appear as pale lines?
A: Because the finish film has lifted or been removed rather than the hide being cut. That is an adhesion problem, and an adhesion test explains it faster than a scratch test.
Should tests be run on new stock only?
A: No. Light exposure embrittles a finish and plasticisers migrate, so a leather that passes when new can fail at month six. Ageing before re-test improves correlation with complaints.
How often should bulk lots be tested?
A: A one-minute point check against a retained reference on every lot, with a laboratory test when the check disagrees or when a new tannery is qualified.
What should be kept after testing?
A: The graded specimen, labelled with location, direction and date, plus a photograph taken at a fixed angle and distance. Together they settle disputes that a report alone cannot.
Does a colour change require a new test?
A: Only if the finish system changes. A colour within the same system, or a hardware change, normally does not require a retest.
What should a buyer ask for before approving a leather?
A: A graded reference specimen, the method paragraph with tip, load and strokes, the location sampled, and an explanation of how complaint grades feed back into the specification limit.
Ready to stop guessing which leather will survive a claw? Define the damage type, fix the tip, load and direction, sample the panel you actually cut, grade at a stated distance with a recovery check, and keep a labelled specimen beside the approved sample. Then compare every lot against it and let the field grades move the limit.