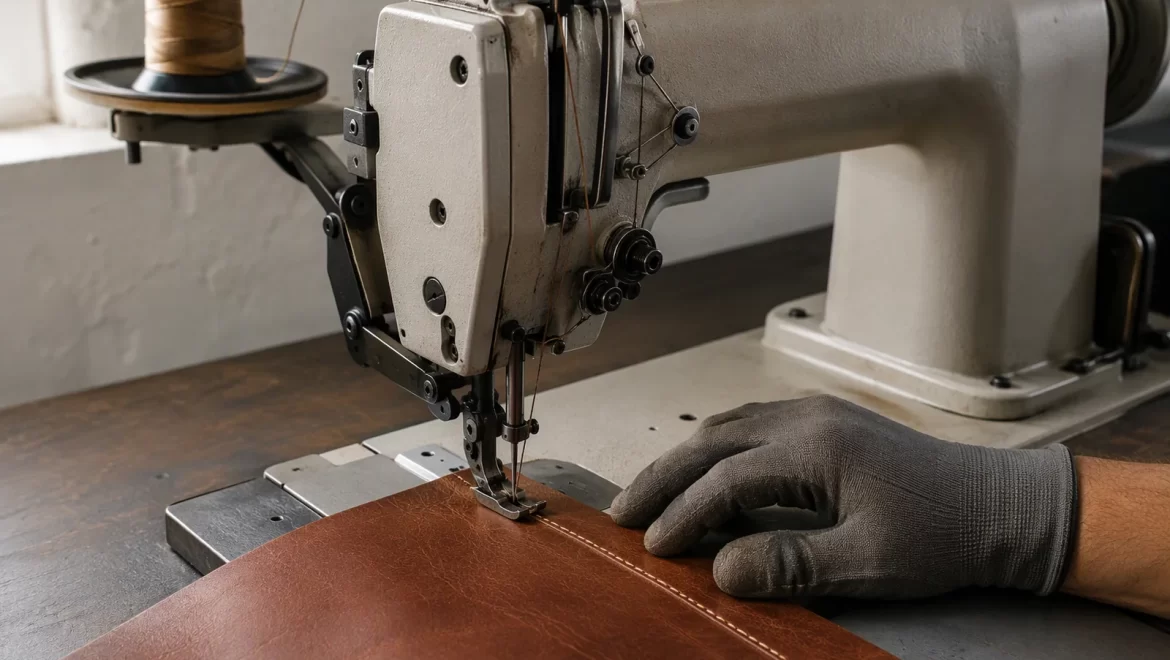
How Should a Sewing Machine Be Set Up for Heavy Bag Materials?
- Why Heavy Materials Need Different Set-Up
- Choosing the Machine Class First
- Needle Selection for Heavy Work
- Thread Sizing and the Upper-to-Lower Match
- Tension: Setting It as a Pair
- Presser Foot Pressure
- Feed: Dogs, Plates and Differential
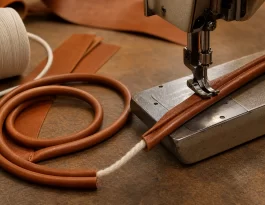
- Walking Foot and Climbing Seams
- Reading Stitch Defects as Set-Up Signals
- Starting and Finishing a Seam
- Layers, Steps and Thickness Transitions
- Leather-Specific Set-Up
- Coated and Bonded Materials
- A Set-Up Procedure That Repeats
- Changeover Between Styles
- Maintenance and Needle Life
- Training Operators to Recognise Set-Up Faults
- Common Set-Up Errors and Their Cost
- Speed, Control and Needle Temperature
- Measuring Whether the Set-Up Is Correct
- When the Machine, Not the Setting, Is the Limit
- Set-Up in Sampling Versus Bulk
- Working With a Supplier on Set-Up
- A One-Page Set-Up Card
- FAQ
Machine set-up decides whether a heavy bag seam holds, and the same operator on the same machine will produce a sound seam or a failing one depending on five settings that are rarely recorded anywhere.
Needle, thread, tension, pressure and feed are a system. Changing one to fix a defect usually moves the fault somewhere else, which is why set-up should be approached as a combination rather than as a list of adjustments.
Why Heavy Materials Need Different Set-Up
A light fabric forgives a machine set for light fabric. A heavy one does not, and the failures appear late.
The Forces Are Higher
Thick leather and coated textile resist the needle, so penetration needs more force and the thread loop needs more room to form. A setting that forms a clean loop in shirting will form it late in a bag panel.
The Margin Is Narrower
There is less room between a seam that holds and one that skips, because the material does not compress. What is a minor imperfection in a garment is a structural gap in a carrier.
Defects Surface After Delivery
A skipped stitch in thick leather may not show at inspection. It shows when the bag is loaded, which places the failure in the customer's hands rather than the factory's.
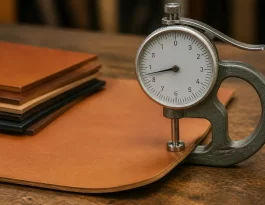
| Material | Typical thickness | Set-up sensitivity |
|---|---|---|
| Lining fabric | Under 1 mm | Low |
| Coated textile | 1 to 2 mm | Medium |
| Split leather | 1.2 to 1.8 mm | High |
| Full grain panel | 2 mm and above | High |
| Multi-layer seam | 4 mm and above | Very high |
Choosing the Machine Class First
No set-up can compensate for a machine that is the wrong type, and the first decision is therefore structural.
Flat-Bed, Cylinder and Post
A flat bed suits panels that lie flat. A cylinder bed suits tubes and gussets, and a post bed suits curves and small radii where the operator needs to see the seam.
Walking Foot Versus Drop Feed
A walking foot moves the material from above and below together, which stops layers from shifting. Drop feed alone will slide a lining against leather on any seam longer than a hand span.
Compound and Triple Feed
Compound feed adds needle feed, and triple feed adds a walking foot as well. For multi-layer bag seams, the extra control is the difference between an aligned panel and a stepped one.
| Machine | Best use | Limitation |
|---|---|---|
| Flat bed drop feed | Linings, light panels | Layer shift |
| Flat bed walking foot | Heavy panels | Awkward on tubes |
| Cylinder bed | Gussets and tubes | Panel access |
| Post bed | Curves and corners | Slow on long runs |
Needle Selection for Heavy Work
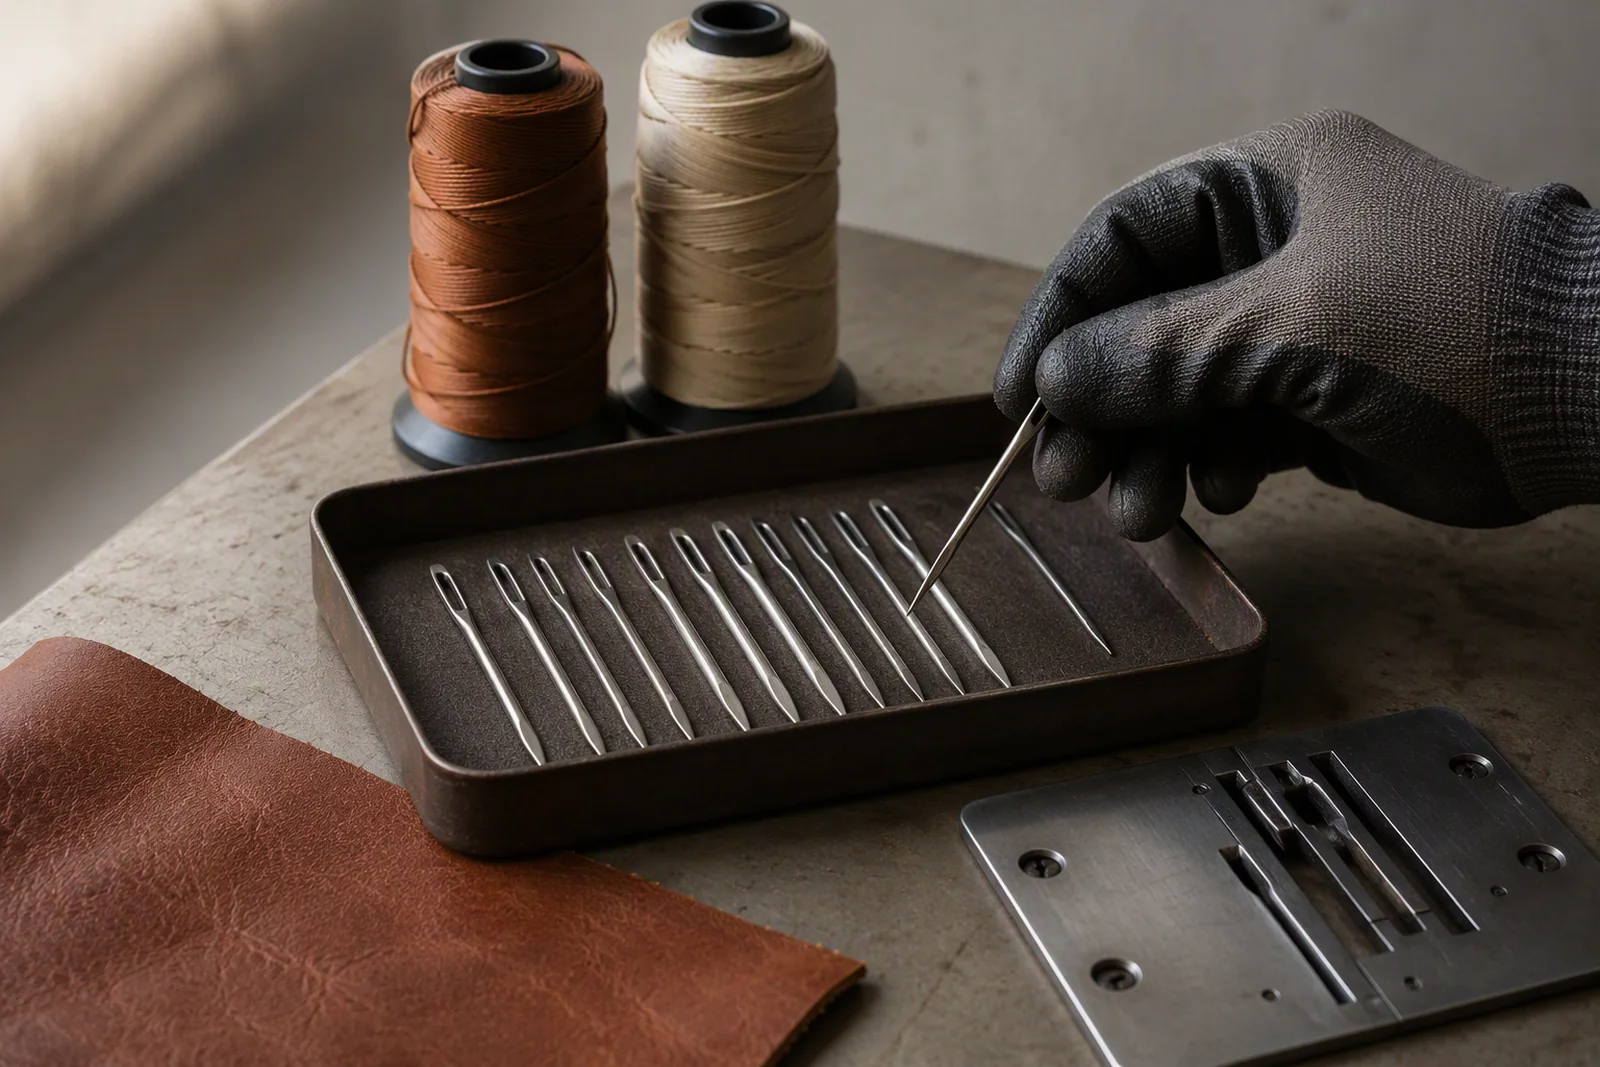
The needle is the cheapest component and the one most often blamed for a fault caused elsewhere.
Needle System and Shank
Bag work usually runs on a round-shank industrial system rather than a domestic flat shank. The system determines the maximum needle size the machine will accept without deflection.
Point Shape
A leather point cuts a small wedge, which allows penetration without tearing. A sharp point suits woven fabric and coated textile, and using it on leather produces a cut that propagates along the seam.
Size Against Thread
The needle should carry the thread in its scarf without crowding. A needle too small for the thread causes fraying and skipped loops; one too large leaves a visible hole that weakens the panel.
| Material | Point | Typical size |
|---|---|---|
| Lining | Sharp | 80 to 90 |
| Coated textile | Sharp | 90 to 100 |
| Split leather | Leather point | 100 to 110 |
| Full grain 2 mm | Leather point | 110 to 120 |
| Multi-layer seam | Leather point | 120 to 140 |
Thread Sizing and the Upper-to-Lower Match
Thread carries the load, and its size has to be chosen with the needle and the seam rather than after them.
Reading Thread Size
Industrial thread is sold by ticket number or by tex, and the two scales run in opposite directions. Ticket 40 is heavier than ticket 60, while tex 60 is heavier than tex 40, so a substitution made on the number alone will change the seam.
Matching Bobbin to Spool
The bobbin thread is usually one size finer than the top thread in heavy work. A matched pair produces a balanced lock; a mismatched pair produces a knot on one face that cannot be tuned away.
Twist and Abrasion
More plies and a tighter twist resist abrasion at the seam edge, which matters where the bag rubs against a body or a vehicle seat. A softer thread sews more smoothly but wears through sooner.
| Use | Top thread | Bobbin thread |
|---|---|---|
| Lining seams | Ticket 60 | Ticket 60 |
| Panel seams | Ticket 40 | Ticket 50 |
| Load-bearing joints | Ticket 30 | Ticket 40 |
| Topstitch | Ticket 30 | Ticket 40 |
Thread Path and Tensioners
The path from spool to needle has more influence than most operators expect. A spool that unwinds against its natural direction adds twist and produces small loops that look like a tension fault.
Tension: Setting It as a Pair
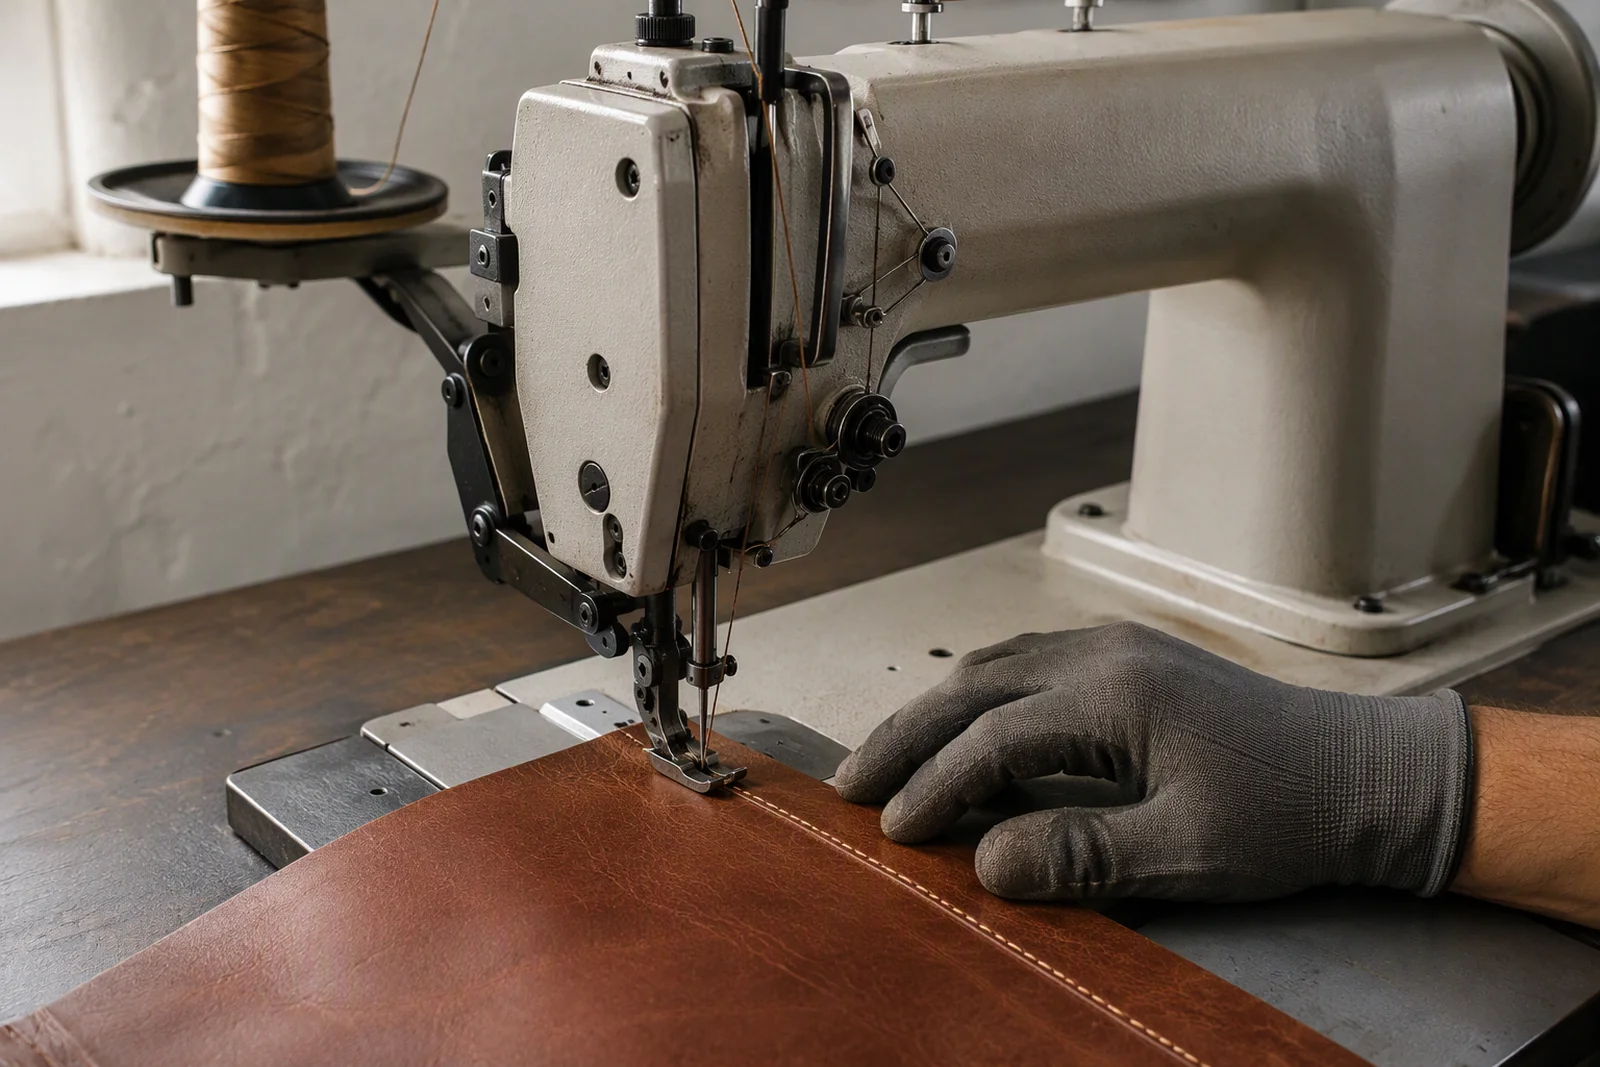
Tension is not a number to be copied from a manual; it is the balance between two tensions that meet inside the material.
The Lock Should Sit Inside
The upper and lower threads should interlock in the middle of the material, invisible from both faces. In heavy work the lock often sits high, which is the most common cause of a seam that looks correct and fails under load.
Adjusting in the Right Order
Set the bobbin tension first, because it is the reference, then bring the upper tension to meet it. Adjusting the upper first produces a setting that drifts as the bobbin is later corrected.
Testing on the Real Stack
Tension must be tested on the actual combination of layers, not on a single ply. A setting balanced on one layer of leather will show loops as soon as a lining and an interlining join the stack.
| Symptom | Likely cause |
|---|---|
| Loops on top face | Upper tension too loose |
| Loops on bottom face | Bobbin tension too loose |
| Knot visible on top | Upper tension too tight |
| Puckered seam | Both too tight |
Presser Foot Pressure
Pressure holds the material down while the needle withdraws, and too much of it is as damaging as too little.
What Pressure Actually Does
The presser foot keeps the stack from lifting with the needle. On thick material the needle grips the panel as it rises, and without pressure the panel lifts and the next stitch forms short.
Signs of Excess Pressure
Excess pressure flattens foam, marks coated surfaces and compresses the seam so the feed cannot move the stack. The visible result is a seam that is tight at the start and loose later, with foot marks along the edge.
Setting by Material, Not by Habit
Set pressure on an offcut of the actual stack and check that the material advances without slipping and without marking. Record the setting against the style, because the next operator will not guess it correctly.
| Material | Pressure | Note |
|---|---|---|
| Lining | Light | Avoid seam puckering |
| Coated textile | Light to medium | Prevent surface marks |
| Split leather | Medium | Hold the stack |
| Full grain | Medium to firm | Control lift |
| Foam-backed | Light | Avoid crushing foam |
Feed: Dogs, Plates and Differential
Feed determines whether the layers arrive at the needle together, and misalignment is a feed problem more often than a sewing problem.
Tooth Height and Pattern
Taller teeth grip leather but leave marks; finer teeth suit coated surfaces and slip on thick stacks. The tooth pattern should be chosen with the face of the material in mind, not only its weight.
Needle Plate Opening
A plate opening sized for a small needle lets thick material drop and produces a skipped stitch at every seam crossing. Matching the plate to the needle and the material is a one-minute change that removes a whole class of defect.
Differential Feed
Differential feed stretches or gathers as it advances, which is useful on knits and linings. On leather it is usually set neutral, because stretching a panel changes its dimensions permanently.
| Feed element | Heavy material setting |
|---|---|
| Tooth height | Raised, but checked for marks |
| Tooth pattern | Coarse for leather |
| Plate opening | Matched to needle |
| Differential | Neutral on leather |
Walking Foot and Climbing Seams
Where a seam crosses from two layers to six, the feed has to keep the same stitch length through the step or the seam puckers at the transition.
The Climb Problem
A standard foot rides up the step and holds the material while the needle tries to advance, producing three or four short stitches. The defect is always in the same place on every bag, which makes it look like an operator error.
Alternating Pressure
An alternating foot lifts and lowers with the needle so one foot is always in contact. It costs a machine adjustment and removes the short-stitch cluster entirely.
Setting the Step Itself
Where possible, the pattern should be designed so thickness changes happen away from a visible seam. Set-up cannot fix a step placed in the middle of a topstitch line.
| Transition | Set-up response |
|---|---|
| Two to four layers | Alternating foot |
| Four to six layers | Alternating foot and slower speed |
| Folded edge | Reduce pressure |
| Hardware tab | Hammer the step flat |
Reading Stitch Defects as Set-Up Signals
Every defect points to a specific setting, and the diagnosis is faster when the defect is read as a symptom rather than a sewing fault.
Skipped Stitches
Skipping usually means the needle is too fine, the point is wrong for the material, or the plate opening lets the material drop. It is rarely a tension problem, although tension is the first thing adjusted.
Broken Thread
Breakage at the needle means heat, a burr, or a needle too small for the thread. Breakage above the needle plate points to the tensioner or a rough guide.
Loops and Knots
Loops on one face indicate that face's tension is loose, or that the thread is not seated in the tensioner. A knot visible on the upper face means the upper tension is over-tight relative to the bobbin.
Puckering and Waviness
Puckering comes from too much tension, too much pressure, or a feed that has stretched one layer against another. On leather it can also mean the needle is dragging rather than cutting.
| Defect | First check |
|---|---|
| Skipped stitch | Needle size and point |
| Thread break at needle | Heat and burr |
| Loop on top | Upper tension |
| Loop underneath | Bobbin tension |
| Puckered seam | Tension and pressure |
| Uneven stitch length | Feed and foot |
Starting and Finishing a Seam
The ends of a seam carry concentrated load, and a good set-up is wasted if the first and last centimetres are not controlled.
Backtack Depth
A backtack that runs past the seam edge leaves a cluster of holes in leather that will tear. Set the backtack length to the seam allowance and check it on the first piece, not on the tenth.
Layers, Steps and Thickness Transitions
A bag is a series of stacks, and the machine has to be set for the thickest one while still sewing the thinnest.
The Thickest Stack Wins
Setting for the average produces skipping at the thick point and marking at the thin one. Set for the thick stack and reduce pressure for the thin sections, or split the work between two machines.
Reducing Thickness by Design
Splitting, skiving and turning edges reduce the stack before it reaches the needle. The most reliable set-up improvement is a pattern that removes a layer rather than a machine that pushes through it.
Foam and Padding
Foam compresses under pressure and recovers afterwards, which changes the seam shape. Set pressure light and expect the seam to sit differently after a day than it did on the bench.
| Stack | Response |
|---|---|
| Two layers, no interlining | Standard settings |
| Panel with board | Reduce speed |
| Foam-backed panel | Light pressure |
| Six-layer joint | Alternate foot |
Leather-Specific Set-Up
Leather behaves unlike textile because it does not recover, and three adjustments follow from that single fact.
Needle Heat
A needle running fast in dense leather generates heat that can glaze the edge and weaken the thread. Slower speed, a finer needle where the thread allows, and a lubricated needle reduce it.
Preventing Stick
Leather grips a plain foot and drags. A smooth or coated foot, and a plate with a polished surface, allow the panel to advance without the operator pulling it.
Holes Are Permanent
Every needle penetration stays visible, so a mis-stitched seam cannot be re-sewn a millimetre away. Set-up verification on an offcut matters more here than on any woven material.
| Issue | Adjustment |
|---|---|
| Needle heat | Reduce speed |
| Material sticking | Coated foot |
| Visible holes | Test on offcut |
| Edge glazing | Lubricated needle |
Coated and Bonded Materials
Coated textile and bonded leather add a surface that can be marked, melted or delaminated by the wrong set-up.
Coating and Needle Friction
A coated face generates more friction than leather and heats the needle faster. A sharp point with a slightly larger size reduces drag, at the cost of a more visible hole.
Delamination at the Seam
If the coating separates from its backing along a seam, the cause is usually too small a stitch length combined with too much tension. Longer stitches and lighter tension spread the load.
A Set-Up Procedure That Repeats
Set-up becomes reliable when it is written as a sequence that ends with a physical test rather than with an opinion.
Step One: Identify the Stack
Write the layer combination for the seam that will be sewn, including interlining and board. Everything after this step depends on it.
Step Two: Fit the Needle and Plate
Choose the needle system, point and size for the stack, and fit the plate whose opening matches. Change both together, because a new needle in a worn plate still skips.
Step Three: Set the Bobbin Reference
Load the bobbin, check it unwinds in the correct direction, and set bobbin tension to the reference. Only then bring the upper tension into balance.
Step Four: Pressure and Feed
Set pressure on an offcut, check that the stack advances without slipping, and confirm the stitch length by measuring a run of ten stitches.
Step Five: Sew a Physical Sample
Sew a sample of the real stack, inspect both faces, pull the seam, and keep the sample with the style record. A set-up that has not produced a sample has not been verified.
| Step | Output |
|---|---|
| Identify stack | Layer list |
| Needle and plate | Matched pair |
| Bobbin reference | Balanced lock |
| Pressure and feed | Steady advance |
| Physical sample | Retained evidence |
Changeover Between Styles
A line that runs three styles a week spends much of its time between styles, and the changeover is where settings get lost.
What Actually Has to Change
Needle, plate, thread, pressure and stitch length change between styles; tension usually does not, once the bobbin reference is fixed. Knowing which settings travel with the machine prevents unnecessary re-tuning.
Colour Changes and Thread Path
A thread colour change is an opportunity to check the path, because the old thread hides wear on guides. Cleaning the path during the change costs minutes and prevents a run of fine loops.
Recording the Setting
A card per style, with needle, thread, tension, pressure and stitch length, turns changeover into a lookup. Without it, each changeover is a re-invention.
| Change | Rework required |
|---|---|
| Same style, new thread | Re-check tension |
| Same style, new material lot | Test on offcut |
| New style, same stack | Needle and plate |
| New style, new stack | Full procedure |
Maintenance and Needle Life
A setting that was correct on Monday drifts by Friday, and most drift is mechanical rather than operator-induced.
Needle Replacement Interval
A needle dulls gradually and the seam changes with it. Replacing at a fixed interval, rather than on visible failure, keeps the stitch consistent through a long run.
Burrs and Plate Wear
A burr on the needle plate catches thread and produces intermittent breakage that no tension adjustment will fix. Inspect the plate whenever breakage appears without an obvious cause.
Cleaning and Lubrication
Lint and leather dust collect in the bobbin case and change the bobbin tension. Cleaning at the start of each shift is cheaper than diagnosing the resulting defect later.
| Interval | Action |
|---|---|
| Each shift | Clean bobbin case |
| Each style change | Inspect plate and foot |
| Fixed needle interval | Replace needle |
| Weekly | Check timing and belts |
Training Operators to Recognise Set-Up Faults
An operator who can name the fault stops the line; one who cannot will adjust the tension and make it worse.
Teach the Sample, Not the Manual
Training works best when the operator is given three samples: a good seam, a skipped seam and a looped seam. Naming what they see is faster than learning a parameter list.
Authority to Stop
Set-up faults recur when operators are not allowed to stop for a needle change. A written rule that a defect found twice stops the machine converts a habit into a control.
Who Owns the Setting
One person per line should own the settings card and the changeover. Shared ownership of a machine setting produces a machine that nobody can explain.
| Training element | Purpose |
|---|---|
| Physical samples | Recognition |
| Fault catalogue | Diagnosis |
| Stop authority | Containment |
| Setting owner | Accountability |
Common Set-Up Errors and Their Cost
The same handful of mistakes appear in almost every new heavy-material line, and each has a predictable cost.
Copying a Setting From Another Style
Leather lots vary in thickness and temper, so a setting that worked on the last lot will skip on this one. The cost is a run of skipped seams discovered at final inspection.
Fixing Tension Before Checking the Needle
Most skipping is a needle or plate issue. Adjusting tension first creates two faults, because the original one remains and the balance has been disturbed.
Leaving Pressure High
High pressure compensates for a feed problem and marks the material. The marks appear after finishing, when the panel cannot be replaced cheaply.
No Record of the Setting
Without a card, the next run starts from scratch. The cost is not the ten minutes of set-up but the variability across runs.
| Error | Cost |
|---|---|
| Copied setting | Skipped seams |
| Tension first | Two faults |
| High pressure | Marked surfaces |
| No record | Run-to-run variation |
Speed, Control and Needle Temperature
Speed is a set-up variable, not only a productivity target, because it changes what happens at the needle.
Heat Rises With Speed
A needle at high speed in dense material reaches a temperature that glazes leather and weakens synthetic thread. Reducing speed on thick sections is a technical decision, not a concession.
Control at Corners
Slow speed gives the operator time to pivot without distorting the seam. The few seconds lost per corner are recovered at inspection.
Measuring Whether the Set-Up Is Correct
Correctness is a measurement, and three simple checks cover most of what matters.
Stitch Density
Count stitches over a measured length on the actual stack. Comparing that count to the specification catches drift before it reaches a customer.
Seam Strength by Pull
A destructive pull on a sample seam shows whether the thread or the material fails first. If the thread breaks before the leather tears, the seam is balanced.
Face Inspection
Both faces of the seam should show an even line with the lock hidden. Photographing the sample on both faces gives the next run a reference.
| Check | Frequency |
|---|---|
| Stitch count | Start of run |
| Pull test | Start and mid run |
| Face inspection | Every piece |
| Sample retained | Per style |
When the Machine, Not the Setting, Is the Limit
Some seams cannot be sewn cleanly on a given machine however it is adjusted, and recognising that saves weeks of tuning.
Beyond the Machine's Capacity
A stack that exceeds the machine's rated thickness will deflect the needle and produce skipped stitches at every cross seam. Deflection also bends the needle, which then produces a second fault.
Access and Geometry
A flat bed cannot reach the inside of a narrow gusset. The limit is geometric, and a cylinder bed is the answer rather than a different foot.
When to Add a Machine
If a style needs three settings that the line's machines cannot hold at once, a second machine is cheaper than the rework. The decision should be made on defect rate, not on machine price.
That comparison is more useful than it first appears, because a second machine also carries a floor space, an operator and a maintenance habit. It is still the cheaper option whenever rework on one style exceeds the cost of holding a machine that is set correctly and left alone.
| Limit | Response |
|---|---|
| Thickness beyond rating | Different machine class |
| Poor access | Cylinder or post bed |
| Conflicting settings | Second machine |
| Needle deflection | Reduce stack or size up |
Set-Up in Sampling Versus Bulk
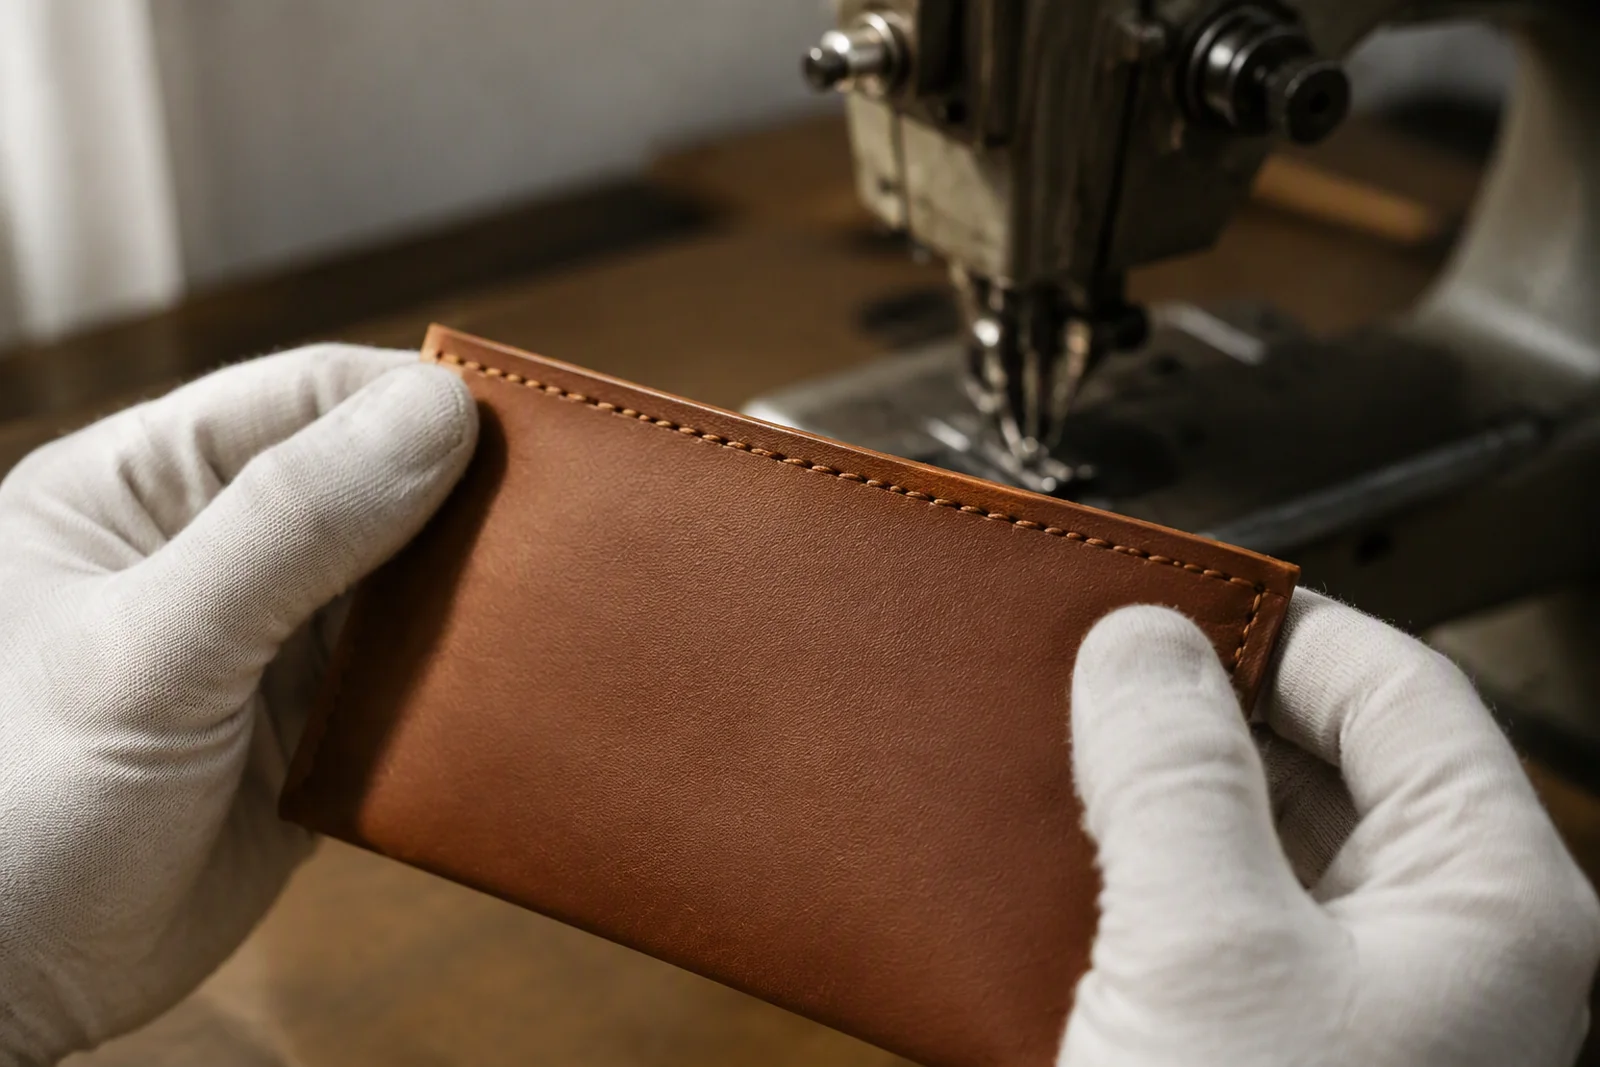
The sample room and the line are different environments, and a setting verified in one does not automatically transfer.
Sampling Tolerates Slower Speed
Sample room operators adjust continuously and often sew below production speed. A seam approved there may not survive the line's pace.
Bulk Reveals Drift
Production runs expose needle wear, thread lot variation and machine drift that a single sample never shows. The first hundred pieces are the real verification.
Transferring the Setting
Transfer the setting as a written card plus a physical sample, and re-verify on the line before the run starts. The re-verification takes one piece and prevents a run of rework.
| Environment | Risk |
|---|---|
| Sample room | Speed masking |
| First bulk run | Setting drift |
| Steady state | Needle wear |
| Style change | Lost setting |
Working With a Supplier on Set-Up
Buyers rarely set machines, but they can ask for the two things that make set-up verifiable.
Ask for the Stitch Sample
A retained sample of the actual stack, sewn with production settings, is the only proof that a line is set up. It costs the supplier one piece and gives the buyer a reference.
Ask for the Defect List
A supplier who can name the defects seen last season has a diagnosis habit. One who cannot will describe every issue as an operator problem.
Specify Seam Density in the Purchase Order
Stitch density per centimetre, thread specification and needle size belong in the technical annex. Without them, acceptance becomes a matter of opinion.
| Request | What it reveals |
|---|---|
| Stitch sample | Whether set-up happened |
| Defect list | Diagnosis capability |
| Density specification | Whether it was agreed |
| Needle specification | Material understanding |
A One-Page Set-Up Card
The card is the artefact that makes everything above repeatable, and it is shorter than most factories expect.
What Belongs on It
Style code, stack description, needle system and size, point type, top and bobbin thread, stitch length, tension reference, pressure setting and speed range. Twelve fields cover the whole set-up.
Where It Lives
Attached to the machine, not filed in an office. A setting that has to be looked up in another room is a setting that will be guessed.
FAQ
Which needle should be used for heavy bag leather?
A: A leather point needle in a size that matches the thread and the stack, usually between 110 and 140 for panels above two millimetres. A sharp point on leather cuts a slit that propagates along the seam.
Why does the machine skip stitches only at cross seams?
A: The stack thickness at a crossing lifts the material, so the needle cannot form a loop reliably. An alternating foot, a plate opening matched to the needle and lower speed at the crossing address it.
Should the bobbin thread be the same size as the top thread?
A: Usually one size finer in heavy work, for example a ticket 40 top with a ticket 50 bobbin. A matched pair gives a balanced lock that sits inside the material.
How is tension set correctly?
A: Set the bobbin first, because it is the reference, then adjust the upper tension until the lock sits inside the stack. Test on the real combination of layers, not on a single ply.
What pressure should the presser foot use on leather?
A: Enough to keep the stack from lifting with the needle and no more. On leather, excess pressure leaves marks that cannot be removed during finishing.
Why does the material stick to the foot?
A: Leather grips a plain foot and drags, which produces short stitches and operator strain. A coated or smooth foot and a polished plate resolve it without changing tension.
How often should the needle be changed?
A: At a fixed interval rather than on visible failure, because a dull needle changes the seam before it breaks. Many heavy-material lines change at every shift or every style change.
Why does thread break at the needle?
A: Heat, a burr on the needle or plate, or a needle too small for the thread. Breakage above the plate points instead to the tensioner or a rough guide.
What causes loops on the upper face?
A: Upper tension too loose, thread not seated in the tensioner, or a spool unwinding against its natural direction and adding twist.
Is a walking foot necessary for bag work?
A: For multi-layer seams it is close to essential, because drop feed alone lets the lining slide against the leather. On single-layer linings a standard foot is adequate.
Can puckering be eliminated by tension alone?
A: Not always. Puckering can come from pressure, from a feed that has stretched one layer, or from the needle dragging rather than cutting. Tension is only one of four causes.
How is stitch length verified?
A: Count the stitches over a measured length on the actual stack and compare with the specification. Counting ten stitches is faster than measuring one.
Why does the seam look different after finishing?
A: Foam and padding recover after compression, and leather relaxes. A seam that sits flat on the bench may show a slight wave a day later, so set pressure light on padded panels.
Should settings be the same in sampling and bulk?
A: They should be written the same way, then re-verified on the line. Sample room work often runs slower, which masks faults that appear at production speed.
What causes delamination along a coated seam?
A: A short stitch length combined with high tension concentrates stress at each penetration. Longer stitches and lighter tension spread the load along the seam.
When is a second machine cheaper than better set-up?
A: When a style needs settings the existing machine cannot hold at once, or when the stack exceeds its rated thickness. The decision should be made on defect rate rather than machine price.
Ready to make set-up a controlled step rather than an operator's memory? Write the stack down, fit needle and plate as a pair, set the bobbin as the reference, test tension and pressure on the real layers, and keep a sewn sample with the style record. Then measure stitch density at the start of every run and let the defect list tell you which setting drifted.