How Should Mesh Tear Strength Be Specified for Carriers?
- Why Mesh Needs Its Own Specification
- What Tear Strength Actually Measures
- Reading a Mesh Construction
- Warp and Weft Are Not Interchangeable
- Coating, Lamination and Stiffness
- Tear Versus Burst and Puncture
- Naming the Test Method
- Units, Conditioning and Direction of Load
- Slit Propagation at Seams
- Panel Position and Load Path
- Mesh Types Used in Carrier Construction
- Edge Finish and Cut Stability
- Reinforcement and Patches
- Airflow and Strength Trade-off
- Writing the Specification
- Sampling and Lot Acceptance
- Incoming Verification
- Equipment and Setup
- Recording and Reporting
- Common Traps
- Supplier Comparison
- Cost and Grade
- Cleaning, Chemicals and Ageing
- Documenting Failure Modes
- When Mesh Should Not Carry Load
- Limits of the Specification
- Working With the Mill
- Reviewing the Specification Over Time
- FAQ
Mesh is the panel that fails first in a soft carrier. It is also the panel most often bought on a description rather than a number, because "strong mesh" reads well on a quotation and means nothing at goods-in.
A tear specification fixes that. It names a direction, a method, a value and a sampling rule, and it turns a vague expectation into something a mill can price and a buyer can check. This guide sets out how a bag manufacturer should write and verify one.
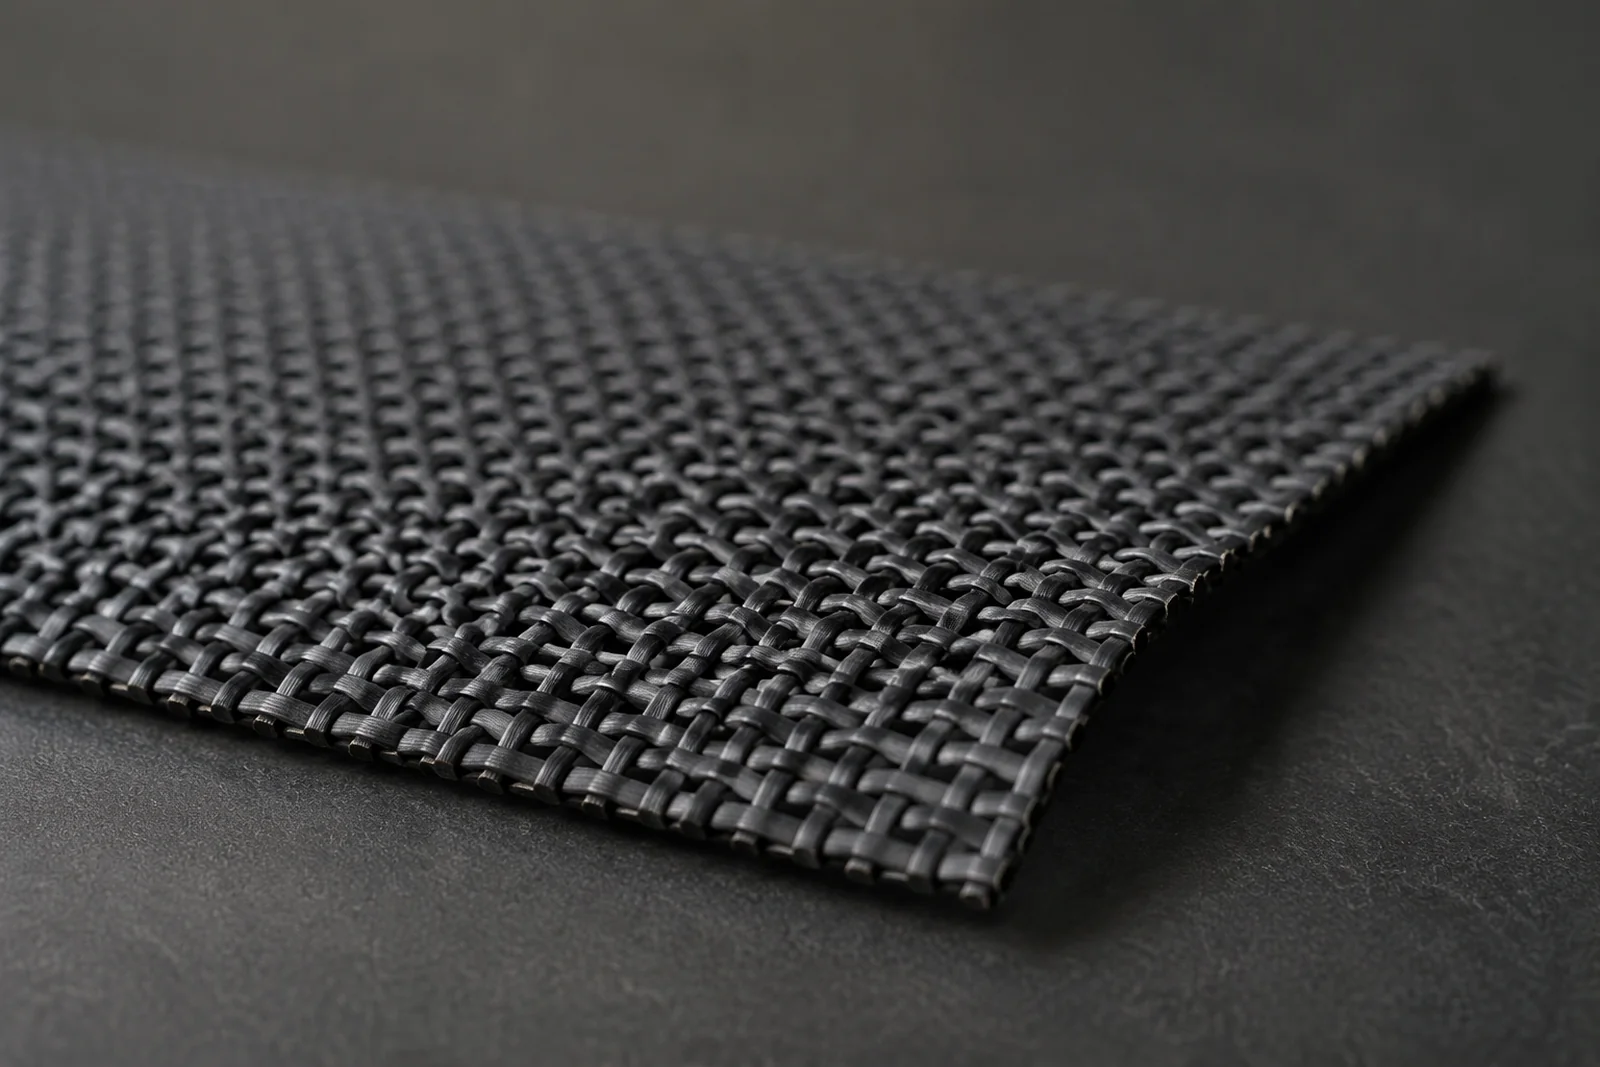
Why Mesh Needs Its Own Specification
Leather panels are graded by appearance and by thickness. Mesh has neither, so it needs a measurement instead of a visual grade.
No Grain to Grade
A mesh has no grain, no hide zone and no visible density. Two samples that look identical can differ by a third in tear strength depending on yarn and weave.
The Failure Is Sudden
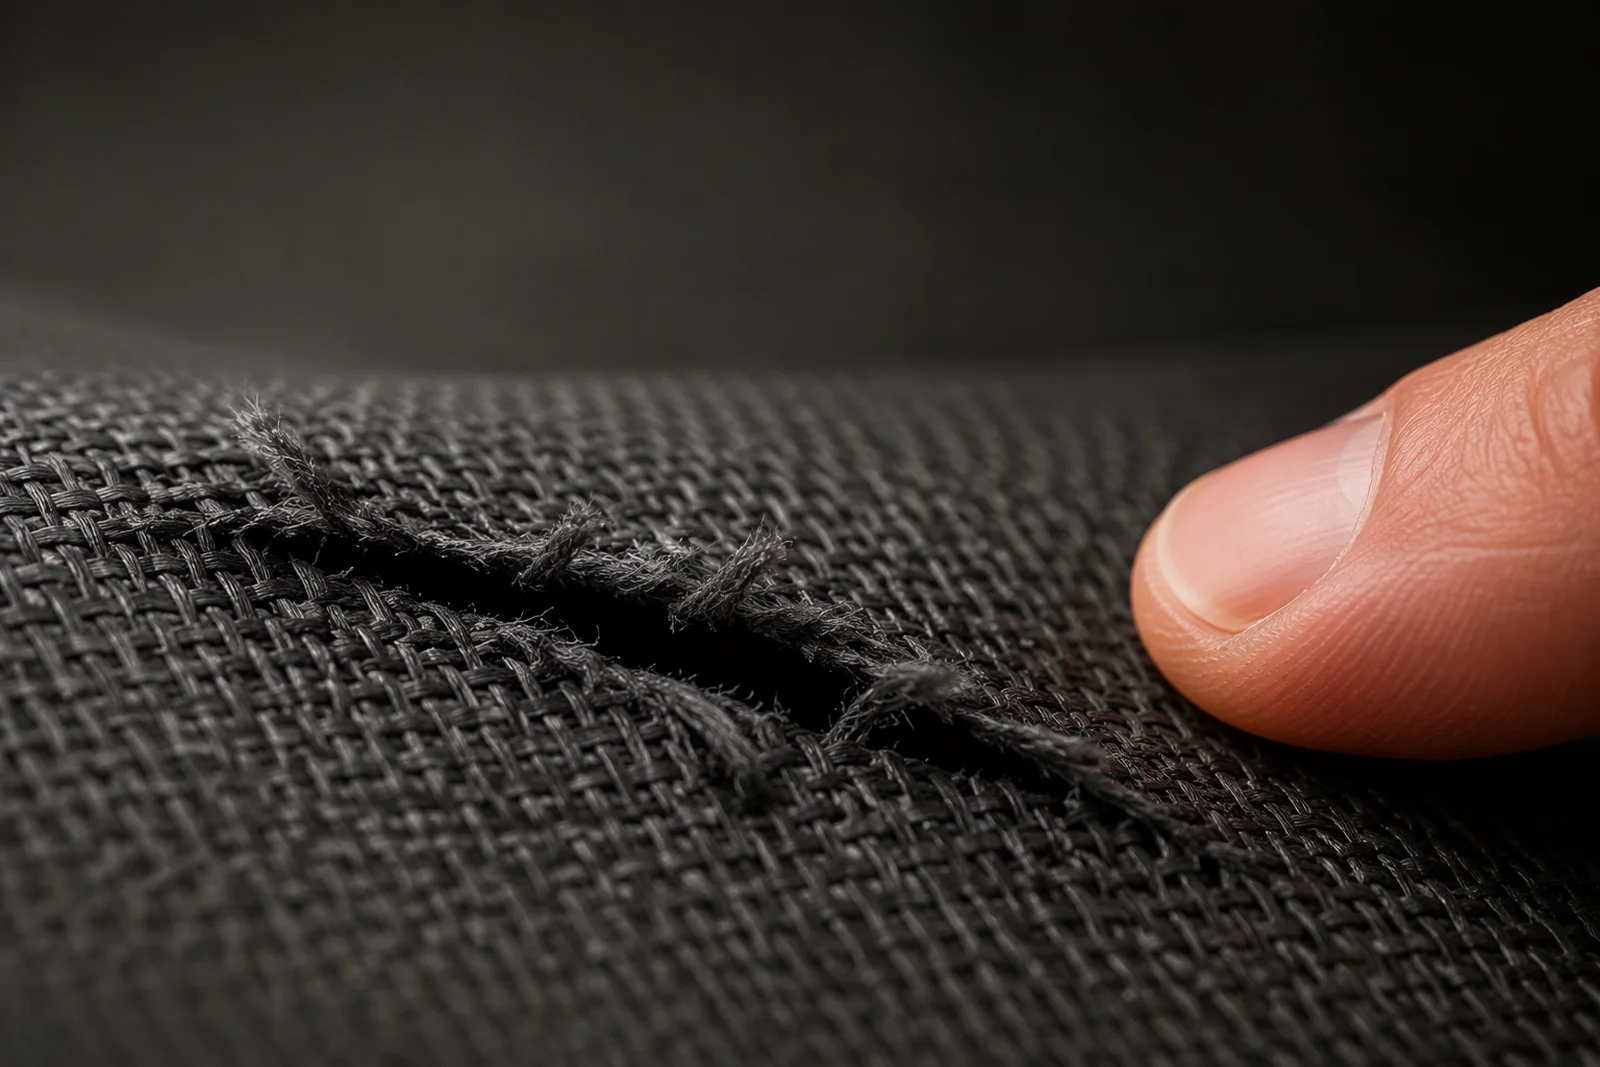
Leather wears before it fails. Mesh holds until a slit starts, then runs, which means a small specification error becomes a large field failure.
The Panel Is Structural
In many carriers the mesh carries part of the load at the top and side. It is not decoration, and it should not be specified as if it were.
What Tear Strength Actually Measures
Tear strength is the force needed to continue an existing cut, not the force needed to start one. That distinction decides which test answers which question.
Propagation, Not Initiation
A tear test begins with a prepared slit and measures the force to extend it. The result describes how a damaged panel behaves, which is what matters once a claw or a zip has opened a nick.
Why It Differs From Tensile Strength
Tensile strength pulls a whole strip and measures the load at break. A woven fabric can be strong in tension and weak in tear, because tear concentrates stress at the slit tip.
What It Predicts
Tear strength predicts whether a small damage becomes a large one. That is the single most useful durability question for a carrier mesh.
Reading a Mesh Construction
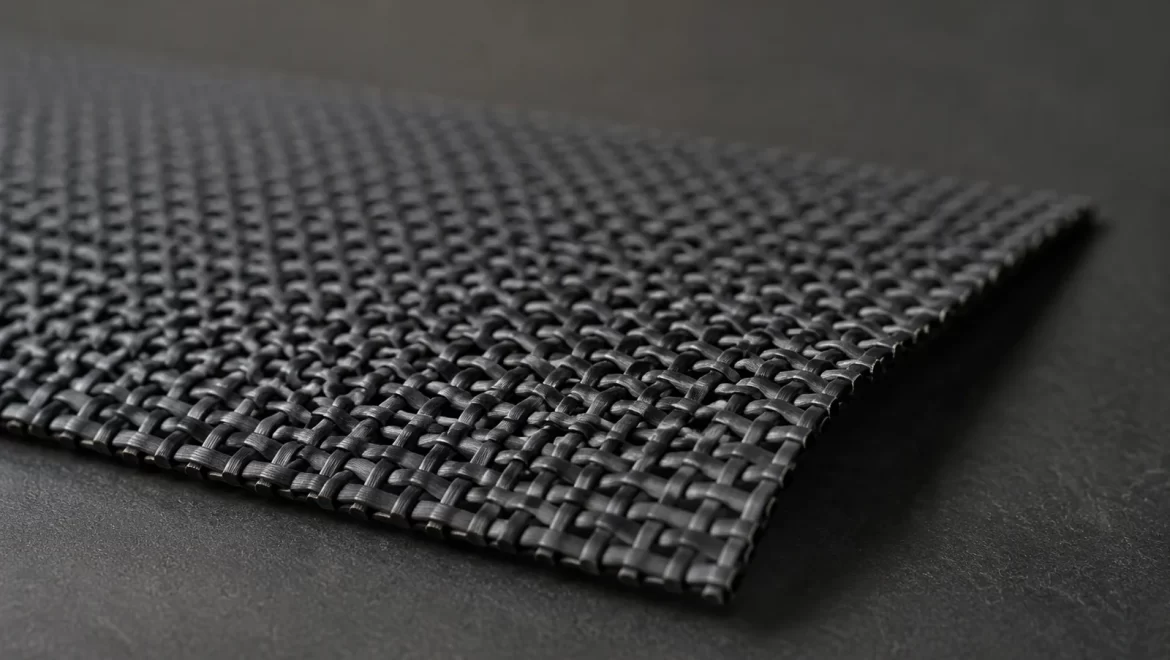
Before a number means anything, the construction has to be described, because tear strength is a property of the build rather than of the polymer.
Yarn and Denier
Denier states the weight of the yarn per fixed length. Heavier yarn gives more material at the slit tip and generally higher tear values at the same count.
Count and Aperture
Count is the number of yarns per unit length; aperture is the open size between them. A coarse count closes the aperture and raises strength while reducing airflow.
Weave and Coating
Plain weave is stable and predictable; a ripstop grid interrupts propagation. Coating adds stiffness and usually raises tear values until it makes the panel brittle.
Warp and Weft Are Not Interchangeable
A woven mesh has two directions and they rarely test alike, so a single figure without a direction is an incomplete specification.
Which Direction Tears
Tearing along the warp behaves differently from tearing across it, because the load path meets a different number of yarn crossings per unit length.
What Panels Do
A side panel loaded vertically tears along the weft more often than the warp. Specify the direction the panel actually experiences rather than the direction that tests higher.
Reporting Both
Ask for both values and set the requirement on the lower one. A specification written on the better direction is a specification written to pass, not to protect.
| Direction | Typical use | What to require |
|---|---|---|
| Warp | Vertical load, top edge | Value, method stated |
| Weft | Horizontal load, side panels | Value, method stated |
| Both | Any structural panel | Lower of the two |
Coating, Lamination and Stiffness
Coating raises tear numbers and changes failure mode, so a coated mesh cannot be specified with an uncoated figure.
The Initial Gain
A coating bonds yarns at their crossings and forces the tear to work harder. The result is a real improvement that shows up immediately in a test.
The Later Penalty
The same coating reduces the ability of the mesh to flex. In a panel that folds, a stiff coating cracks, and a cracked coating releases the yarns that gave the gain.
Lamination and Backing
A laminated backing raises tear values and blocks airflow. When a carrier needs both ventilation and strength, the specification should say which panel may be laminated.
Tear Versus Burst and Puncture
Three tests are routinely confused, and each answers a different question about the same panel.
Tear
Force to extend a prepared slit. Answers: how bad does a small damage become?
Burst
Pressure to rupture an intact area. Answers: how much distributed load does the panel take before it fails as a sheet?
Puncture
Force to drive a point through. Answers: what happens when a claw or a zip tooth pushes in?
Choosing One
Most carrier mesh problems appear as propagating tears, so tear strength is the primary number. Burst and puncture belong on panels exposed to claws or to zip contact.
| Test | Input | Result | Use on |
|---|---|---|---|
| Tear | Prepared slit | Force to extend | Structural panels |
| Burst | Pressure on area | Rupture point | Large unsupported panels |
| Puncture | Point load | Penetration force | Claw and zip contact |
Naming the Test Method
Two laboratories can both report "tear strength" and disagree by a third, because the method is part of the result rather than a footnote.
Tongue Tear
A slit strip is pulled with the two legs separating in opposite directions. The method suits flexible coated fabrics and is the usual choice for carrier mesh.
Trapezoid Tear
A trapezoidal specimen is clamped and loaded so the tear crosses the short edge. It gives different numbers on the same material and is common on heavier industrial fabrics.
Elmendorf
A pendulum method recording resistance to a propagating slit. Fast and repeatable, but its result is not interchangeable with a constant-rate tensile tear.
Stating It Fully
Name the standard, the specimen size, the rate and the direction. A method named without parameters will be run differently by every mill that quotes it.
Units, Conditioning and Direction of Load
A tear value is a number with units, a conditioning state and a direction, and leaving any of the three out makes it unusable.
Units
Report in the units the method specifies, and state the specimen width the value refers to. A figure quoted without its normalisation cannot be compared with another supplier's.
Conditioning
Textiles pick up moisture, and a conditioned specimen tests differently from a dry one. State temperature and humidity so results are comparable across lots.
Humidity and Coating
A coated mesh is less sensitive to humidity than an uncoated one but more sensitive to temperature. Testing in an unconditioned workshop produces numbers nobody can compare later.
| Field | Why it matters | Example form |
|---|---|---|
| Units | Comparability | Force per stated width |
| Conditioning | Repeatability | Stated temperature and humidity |
| Direction | Relevance | Warp and weft reported |
| Method | Interchangeability | Standard name and rate |
Slit Propagation at Seams
A seam is where a mesh is already perforated, so it is the place a tear begins and the place a specification must consider.
The Perforation Effect
Every stitch hole is a small stress concentration. A mesh with good tear strength still fails at a seam if the stitch line is dense enough to act as a perforation.
Seam Allowance
A narrow seam allowance puts the stitch line close to the cut edge, and the edge yarns take the load. A wider allowance moves the load into continuous fabric.
Binding and Tape
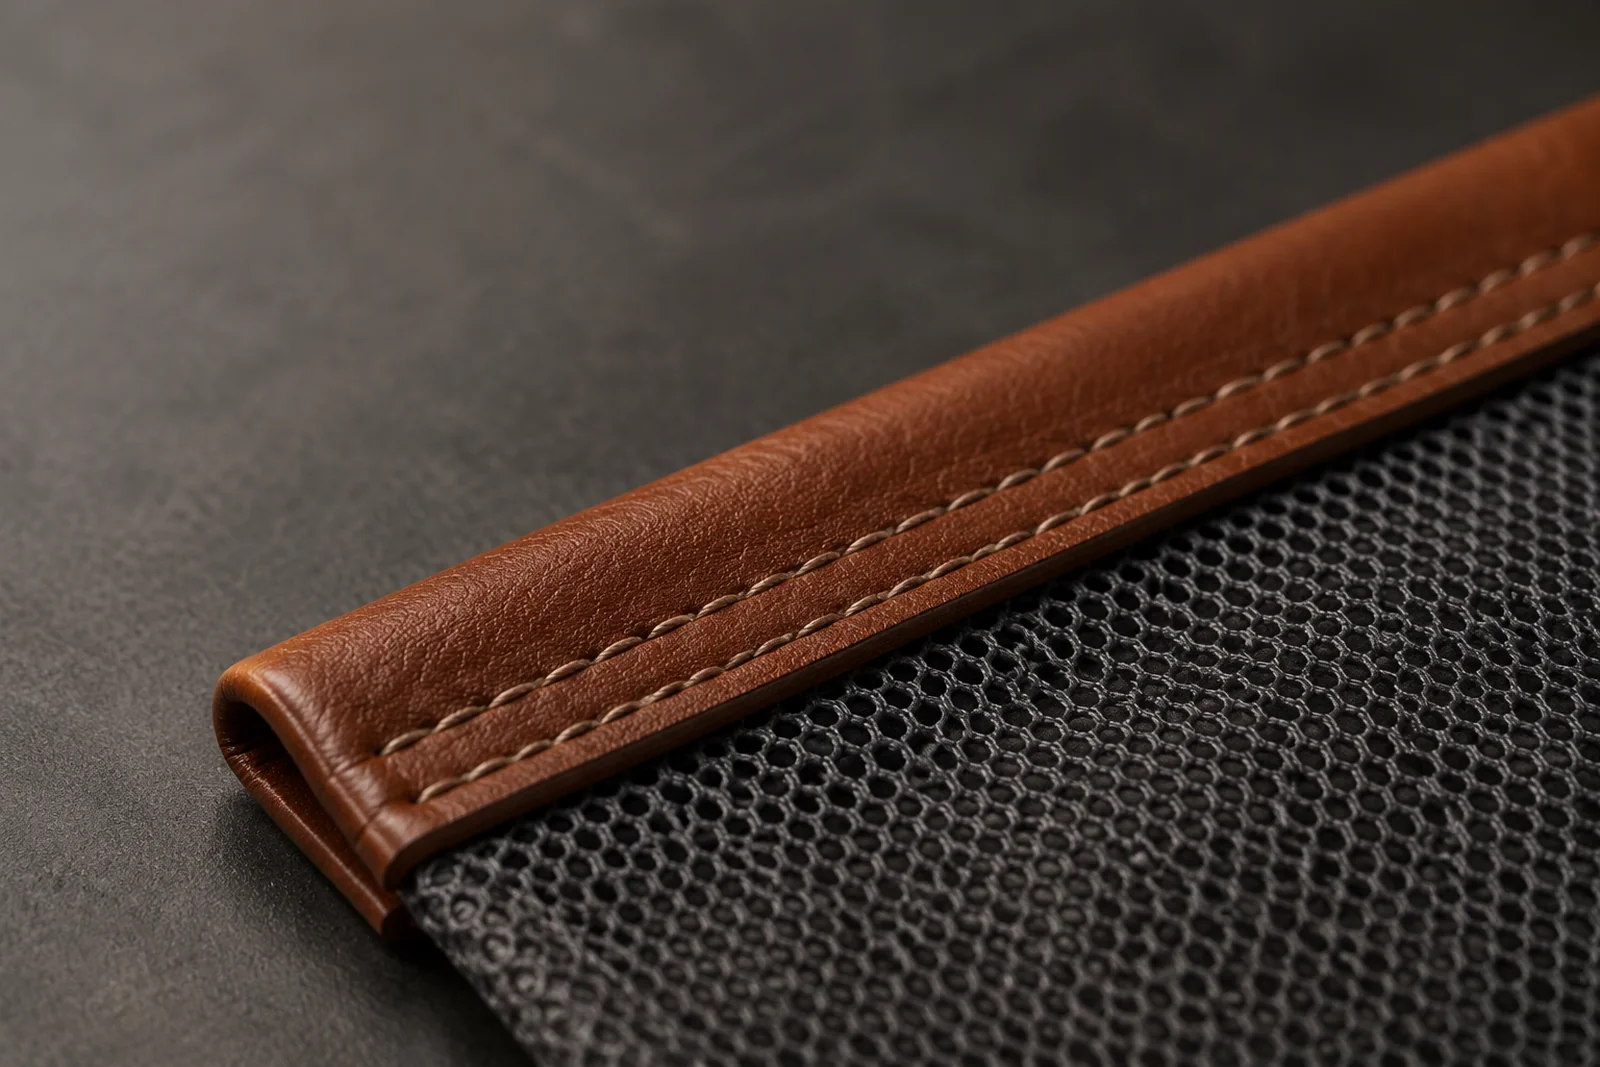
A bound edge distributes load and prevents the cut ends from unravelling. It also adds a stiff line at the boundary, which can start a tear if the binding is much stronger than the mesh.
Panel Position and Load Path
The same mesh deserves different numbers depending on where it sits, and grading per position is what keeps cost aligned with risk.
The Top Opening
The mesh at the top carries the animal's exit load and is pulled every time the carrier is opened. It is the highest-stress mesh panel in most designs.
Side Walls
Side panels take distributed pressure and leaning contact. Tear strength still matters but the load is spread, so a mid grade is often sufficient.
Bottom and Base Corners
A mesh base takes weight plus abrasion and cannot be replaced. Either specify the top grade or support the panel with a board and leather.
| Position | Dominant load | Grade |
|---|---|---|
| Top opening | Pull and exit | Highest |
| Side walls | Distributed pressure | Medium |
| Base corner | Weight plus abrasion | Highest or reinforced |
| Ventilation window | Contact only | Medium |
Mesh Types Used in Carrier Construction
Four mesh families cover most carriers, and each carries a different expectation for tear behaviour.
Coated Woven Mesh
A woven base with a polymer coating, used for structure and ventilation. Tear values are good and predictable, and the coating decides most of the difference between suppliers.
Spacer Mesh
A three-layer knit with a compressible middle. Comfortable against an animal and weak in tear, so it belongs on contact panels rather than load-bearing ones.
Ripstop Mesh
A grid of heavier yarn interrupts a propagating slit. It is the cheapest structural improvement available and should be named in the specification.
Stretch Mesh
Elastic mesh is used at pockets and gussets where movement is required. Its tear values are the lowest in the family and it should never be specified at a load path.
Edge Finish and Cut Stability
An edge is where a woven panel is most vulnerable, and the finish decides whether a cut end becomes a tear.
Hot Cut and Sealed Edges
A heat-sealed edge fuses the yarns and stops unravelling. It also creates a stiff line that can concentrate stress if it is much harder than the panel.
Bound and Taped Edges
Binding wraps the raw ends and distributes load, and it is the most durable finish for a load-bearing edge at a modest cost.
Raw Cut Edges
A raw edge is acceptable only where the panel is enclosed in a seam. Exposed raw edges unravel and, once a yarn pulls out, the weave opens.
| Edge finish | Cut stability | Recommended use |
|---|---|---|
| Hot cut | High | Exposed internal edges |
| Bound or taped | High, plus load spread | Openings, load edges |
| Ultrasonic | Medium to high | Coated mesh |
| Raw | Low | Enclosed seams only |
Reinforcement and Patches
Where the mesh grade cannot rise, reinforcement carries the load instead, and it is usually the cheaper answer per bag.
Stitch-Bonded Patches
A patch of the same mesh bonded over a stress point doubles the material and spreads the load. It also hides the perforation line that would otherwise start a tear.
Leather or Webbing Straps
A leather strip along the top edge moves the pull into leather and out of the mesh. This is the standard solution at the opening of a carrier.
Bar Tacks at Corners
Short dense stitch blocks at the corner of a mesh window stop a slit from running around the corner. They are a low-cost addition that changes the failure mode entirely.
Airflow and Strength Trade-off
Ventilation is the reason the panel exists, and every strength increase closes aperture, so the specification has to state the minimum airflow it will accept.
Open Area
The share of open area in a mesh decides airflow and, inversely, strength. Requiring both a high open area and a high tear value produces an expensive specification or a false claim.
Aperture Size
Small apertures raise strength and reduce airflow. The right size follows the animal: a small pet needs airflow more than containment, a large one the reverse.
Where to Compromise
Compromise on the ventilation window and not on the load-bearing panel. Two mesh grades in one bag is a legitimate and often cheaper design.
Writing the Specification
A mesh specification fits in a short table, and its brevity is what makes it usable at a mill that receives dozens of similar documents.
The Required Lines
Construction with count and denier, test method with direction, minimum tear value on the weaker direction, and the sampling rule. Four lines cover a mesh requirement.
What Not to Write
Avoid words like strong, durable or heavy duty. They cannot be tested and every supplier interprets them in the direction of lower cost.
Attaching a Reference
Keep a retained sample of an accepted lot for each grade. A physical reference resolves the interpretation that words leave open.
Sampling and Lot Acceptance
A tear value describes a specimen; acceptance describes a lot, and the two need a rule that connects them.
Sample From the Roll
Take specimens at intervals across the roll width and along its length. A single specimen from the centre describes the centre and nothing else.
Number of Specimens
Ask for a stated number per roll or per lot and require the report to show every result rather than an average. Variation across a roll is the useful information.
The Acceptance Rule
Set the rule on the lower of the results, not the mean. A lot that passes on average and fails at the selvedge will fail in production at the place a panel is cut.
| Element | Requirement form | Why |
|---|---|---|
| Specimens | Stated count per roll | Captures variation |
| Positions | Across width, along length | Detects weak zones |
| Decision | Lower value, not mean | Protects the worst panel |
| Record | All results reported | Allows trend analysis |
Incoming Verification
A goods-in check needs a small bench cutter and a tensile machine, and it prevents a whole order from being cut from a weak roll.
Cutting the Specimen
Cut the tongue specimen to the standard shape with a die rather than by hand. A hand-cut specimen varies in width and produces variation unrelated to the material.
Running the Check
Clamp, set the rate, run, and record the peak force with the direction. Ten minutes per lot is enough where the mill report is trusted and still catches a substitution.
Comparing With the Mill
Check the goods-in value against the mill certificate. A repeatable gap between the two means a method difference, and it should be resolved before the next order.
Equipment and Setup
Most tear disagreement between two factories is a setup difference, not a material difference, and setup is easy to standardise.
Clamping Pressure
Slack clamps let the specimen slip and report a higher force. Mark the correct pressure on the machine and check it at the start of each session.
Rate of Pull
A faster rate reports a higher force on most coated fabrics. Fix the rate to the method and never adjust it to reach a target value.
Specimen Alignment
A specimen loaded off-axis tears at an angle and reads low. A simple alignment jig removes the operator variable entirely.
| Setup variable | Effect if wrong | Control |
|---|---|---|
| Clamp pressure | Reads high, specimen slips | Marked setting |
| Pull rate | Reads high, not comparable | Fixed to method |
| Alignment | Reads low, tears at angle | Alignment jig |
Recording and Reporting
A test result is only useful if it can be compared with the next lot, and comparison needs a fixed record format.
What to Record
Construction, method, direction, every specimen value, conditioning and the machine rate. Six fields make a result traceable a year later.
Retaining Specimens
Keep the tested specimens with the record. A torn specimen shows whether the failure was yarn breakage, coating peel or weave distortion.
Trend Over Lots
Plot the values across lots rather than checking each against the minimum. A slow decline matters more than a single pass, because it predicts the failure before it happens.
Common Traps
Eight traps account for most mesh complaints, and each is fixed on the specification or the cutting plan rather than in sewing.
Specifying the Mean
A mean hides the weak end of a roll, and the weak end is where the panel gets cut. Specify the minimum and require every result.
One Grade for the Bag
A single mesh grade across a carrier either overspends on a window or underspends at the top opening. Position decides the requirement.
Ignoring Direction
A value without a direction is not comparable and not enforceable. State warp and weft and set the rule on the lower one.
Naming a Method Loosely
"Tear test" without a standard, rate and specimen size will be run differently by each mill. The method belongs in the specification.
Forgetting the Coating
A coated and an uncoated mesh are different materials for tear purposes. Specify the coating as part of the construction.
Overlooking the Seam
A strong mesh with a dense stitch line still fails at the seam. Seam allowance and stitch density belong in the same document.
Buying on Appearance
Mesh that looks heavy can be a coarse weave over a light yarn. Only the test distinguishes the two.
No Reference Sample
A grade described only in words drifts between lots and suppliers. One retained sample per grade prevents the drift.
Supplier Comparison
Two mills can quote the same construction name and deliver materially different tear values, so comparison has to run on test data.
Same Name, Different Yarn
Construction names travel faster than specifications. A mill may match the description with a lighter yarn and still call it the same article.
The Comparison Set
Test the same method, the same direction and the same conditioning on both samples. Anything else compares the test rather than the material.
Retaining the Winner
Once a mill passes at a grade, keep its accepted sample as the reference for that grade. The reference then encodes a real result rather than a description.
Cost and Grade
Mesh cost tracks yarn weight and coating, which means the cheapest way to hit a tear target is usually construction rather than price negotiation.
Where the Cost Sits
Heavier yarn, denser count and coating all raise cost. The cheapest route to a target is normally a ripstop grid, which adds strength with minimal material.
Design Instead of Grade
Moving a load path into leather webbing can be cheaper than upgrading the mesh. A strap along the top edge often removes the need for the top grade entirely.
Two Grades, One Bag
Using a structural mesh at the opening and a comfort mesh at the window is usually cheaper than one premium mesh throughout, and it performs better.
| Route to a target | Cost signal | Durability effect |
|---|---|---|
| Heavier yarn | Medium | Direct |
| Denser count | Medium | Direct, reduces airflow |
| Ripstop grid | Low | Interrupts propagation |
| Leather webbing | Low | Removes load from mesh |
| One premium mesh | High | Uniform, sometimes wasted |
Cleaning, Chemicals and Ageing
A carrier interior is cleaned, and cleaning changes the panel, so the specification should anticipate the care it will receive.
Solvent Contact
Harsh solvents soften coating and lower tear values over repeated exposure. A neutral cleaner keeps the tested performance and belongs in the care instruction.
Abrasion From Cleaning
Brushing a mesh window abrades the yarn at the crowns of the weave, which is where the load path is thinnest. Recommend a soft brush rather than a stiff one.
Ageing and UV
Coated mesh ages by coating embrittlement rather than by yarn decay. A panel that tests well when new can crack at a fold after a year outdoors.
Documenting Failure Modes
A tear value predicts one failure mode, and a programme that records the others learns faster than one that only tracks the test.
Yarn Breakage
The yarns break cleanly across the slit. This is the mode a tear test measures and the one a higher denier improves.
Coating Peel
The coating separates from the weave and the yarns slip. Tear values fall sharply after peel, and the visible sign is a pale patch at the fold.
Weave Distortion
The weave opens around a stitch line and the panel loses shape before it loses strength. This is a seam design problem rather than a material one.
Recording Which One
Photograph the failed area and note the mode beside the tear value. Over time the record shows whether material or construction is the limiting factor.
| Failure mode | Visible sign | Usual fix |
|---|---|---|
| Yarn breakage | Clean cut ends | Heavier yarn, ripstop |
| Coating peel | Pale patch at fold | Flexible coating, thinner film |
| Weave distortion | Opened structure at seam | Wider seam allowance |
| Edge unravelling | Loose yarns at cut | Sealed or bound edge |
When Mesh Should Not Carry Load
Mesh is a ventilation material that is sometimes structural, and confusing the two produces carriers that fail at the opening.
High Point Loads
Where a strap or handle meets the bag, a mesh panel cannot distribute the load. Leather or webbing must take it, with the mesh only closing the space.
Sharp Contact
Zip tapes, metal frames and hard edges cut mesh yarns. A mesh panel should be separated from a hard edge by a leather strip or a bound tape.
Long Unsupported Spans
A wide mesh window without a support behind it drums and distorts. A narrow window or a light backing keeps the panel flat and the weave stable.
Limits of the Specification
A number improves the odds; it does not remove variation, and a specification should be honest about what it cannot control.
Roll Variation
Within one roll the selvedge and the centre differ. A minimum value accepted at the centre may still be absent where the panel is cut.
Method Differences
Two factories using different methods will report different values for the same fabric. Specifying the method reduces the gap but does not eliminate it.
What It Cannot Replace
A tear value does not replace seam design, edge finishing or a leather reinforcement. The cheapest durability gain in most carriers is a construction change, not a heavier mesh.
Working With the Mill
A tear specification is a conversation with a mill, and the conversation goes better when the requirement is one page with a sample attached.
What to Send
Send the construction, the method, the minimum value on the weaker direction, the sampling rule and the retained sample. Nothing else is needed, and extra words invite interpretation.
Asking the Right Question
Ask which yarn and count the mill would use to reach the requirement, not whether it can. The first question produces a construction; the second produces a yes.
Handling a Counter-Offer
A mill offering a lower value with a heavier yarn has usually changed the weave. Compare on the same method and the offer becomes a straight comparison rather than a claim.
| Mill question | What it reveals | How to answer |
|---|---|---|
| Which direction? | Whether the method is understood | Weaker direction, stated |
| Which method? | Equipment available | Name standard and rate |
| How many specimens? | Sampling discipline | Stated count per roll |
| Can we use lighter yarn? | Cost pressure | Only if the value holds |
Reviewing the Specification Over Time
A specification written once and never reviewed drifts away from the product, and the drift shows up as field complaints.
Review Triggers
Review after a complaint, after a supplier change and after a design change at the panel. Those three events change the load or the material and invalidate the old number.
Tightening and Loosening
Tighten when complaints trace to tears; loosen when the grade has passed for several lots without a single failure and cost is visible.
Keeping the History
Keep each version with its date and its reason. A specification without history cannot be defended to a customer who asks why the value changed.
FAQ
What is a realistic tear requirement for a carrier mesh?
A: It depends on position. The top opening and base corners need the highest value the bag can afford; a ventilation window needs enough to survive contact rather than load. Set numbers from the panel's job, not from a competitor's sheet.
Why specify the weaker direction?
A: Because a panel is only as strong as its weakest load path. Writing the requirement on the better direction produces a specification that passes at the mill and fails in the field.
Is burst strength a substitute for tear strength?
A: No. Burst measures an intact area under pressure, while tear measures how a damaged panel behaves. Carrier failures almost always start from a nick, so tear is the primary number.
Does a heavier coating always improve durability?
A: Only while it stays flexible. A heavy coating raises tear values when new and cracks at folds within a year, releasing the yarn bonding that produced the gain.
How many specimens should a mill report?
A: Several across the roll width and along its length, with every result shown. A single average hides the weak zone where the panel will be cut.
Can tear strength be judged by feel?
A: Only coarsely. Hand feel reads stiffness and weight, not the load path at a slit tip. Two meshes that feel identical can differ by a third in tested tear value.
What is the cheapest way to raise tear resistance?
A: A ripstop grid. It adds heavier yarns at intervals, interrupts a propagating slit and costs far less than moving the whole panel to a heavier construction.
Should the seam allowance be larger on mesh?
A: Yes, in most cases. A wider allowance moves the stitch line away from the cut edge, so the load runs through continuous fabric instead of through edge yarns.
Does edge finish really matter?
A: It decides whether a cut end unrolls. A raw edge that is exposed will unravel, and once a yarn pulls out the weave opens around it.
Is spacer mesh suitable for load panels?
A: Rarely. It is comfortable and compresses well, but its tear values are the lowest of the common carrier meshes, so it belongs where the animal rests rather than where the bag is pulled.
How does cleaning affect mesh?
A: Harsh solvents soften coating and reduce tear values over repeated exposure, and stiff brushing abrades the crowns of the weave where the load path is thinnest.
What causes a mesh window to sag before it tears?
A: Unsupported span. A wide window with nothing behind it drums and distorts, and distortion opens the weave at the corners before any tear appears.
Do two mesh grades in one bag make sense?
A: Often. A structural mesh at the opening and a comfort mesh at the window performs better and usually costs less than a single premium mesh throughout.
How should a mesh requirement be documented?
A: Four lines: construction with count and denier, method with direction and rate, minimum value on the weaker direction, and the sampling rule with a retained sample.
What does a tear specification not solve?
A: Roll variation, method differences between factories, and seam design. It sets a floor for the material and leaves construction to the drawing.
When should mesh be avoided entirely?
A: Where a point load arrives, at sharp contact with a zip or frame, and over long unsupported spans. In those places leather or webbing carries the load and the mesh only closes the space.
Ready to stop buying mesh on a description? Write four lines into the purchase order, set the requirement on the weaker direction, require every specimen result, and put a ripstop grid or a leather strap at the load path before paying for a heavier construction.