Piping, Binding and Welted Seams: Decorative Details Explained
- Why Decorative Trim Exists
- Piping: Construction and Methods
- Edge Binding: Folding and Wrapping
- Welted Seams: The Structural Trim
- Comparing the Three Techniques
- Material Selection for Trim
- Production Techniques and Tools
- Common Defects and How to Prevent Them
- Specifying Trim in a Tech Pack
- Cost and Labor Analysis
- Trim as a Design Signature
- Common Misconceptions About Trim
- Trim by Bag Type
- Evaluating Trim Quality
- FAQ
Look closely at a well-made leather bag and you will find a narrow line running along its seams, a folded strip wrapping an exposed edge, or a raised seam that stands proud of the surface. These details are small, they consume real labor, and they are often the first thing an experienced buyer notices.
They are also frequently misunderstood. Piping, binding and welted seams are not interchangeable decorative touches; they are different construction techniques with different structures, different failure modes and very different labor costs. Choosing between them is a manufacturing decision that affects how the bag looks, how long it lasts and what it costs to make.
This guide explains all three techniques the way a factory uses them: what each one is, how it is built, what it does for the bag structurally as well as visually, where the labor hours go, what defects appear, and how to specify trim so that production matches the sample.
Why Decorative Trim Exists
Trim is often described as decoration, which understates its role. On a leather bag, trim carries out at least three jobs at once, and understanding them explains why factories use it even when a simpler construction would be cheaper.
Visual Definition
Leather is a material with subtle variation and few hard lines. Trim introduces definition: a crisp raised edge along a seam, a contrasting line that follows the bag's geometry, or a folded edge that creates a clean boundary between panels.
On soft leathers, which can look shapeless when large areas are flat, trim is often what makes a design read as intentional rather than unfinished.
Structural Function
Trim also covers and reinforces. Piping conceals and protects the seam where two panels meet, adding a physical barrier over the stitch line. Binding wraps an exposed edge so that the leather's raw cut is never left to fray or curl. A welted seam adds material precisely at the point of highest wear.
In this sense, trim is a finishing strategy for seams, not an ornament applied to them.
Cost and Positioning Signals
Trim is labor-intensive relative to its material cost, which makes it a reliable indicator of the tier a bag is built for. A bag with neatly executed piping along every seam, consistent binding width and matched thread requires more skilled hours than a bag with plain, exposed seams.
Buyers use this as an inspection signal; brands use it as a positioning one.
Piping: Construction and Methods
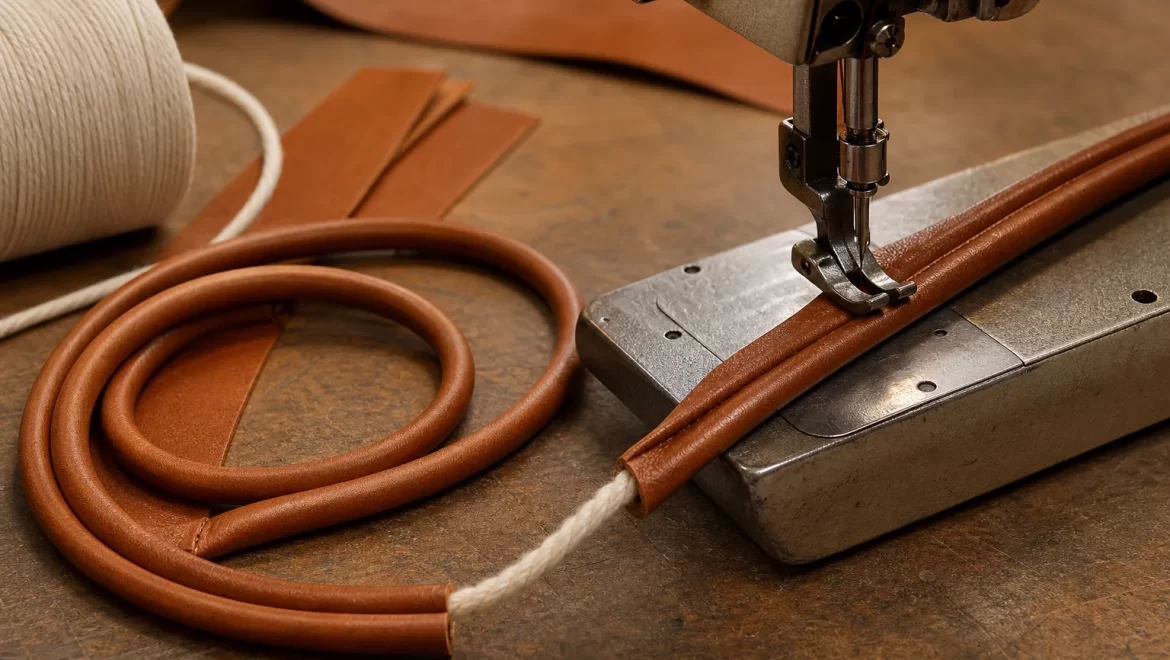
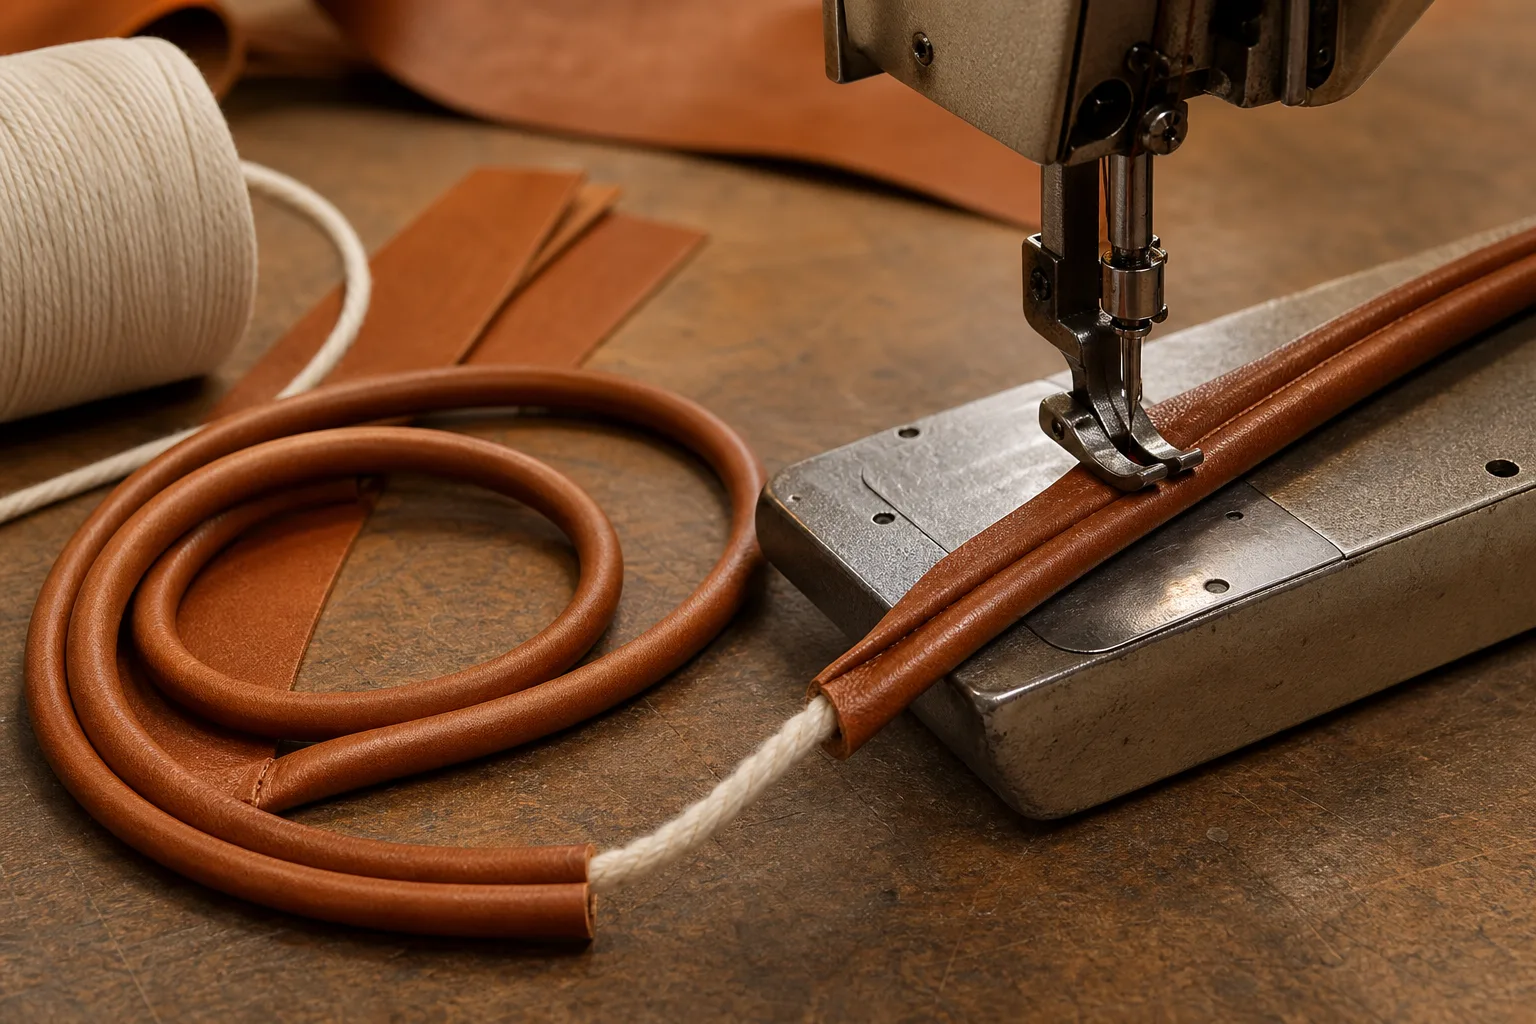
Piping is a strip of material wrapped around a cord and stitched into a seam so that a narrow raised ridge appears along the join. It is one of the most common trims in leather goods and one of the most demanding to execute consistently.
Materials Used in Piping
The visible element is a leather or fabric strip cut on the bias, which allows it to curve without wrinkling. The hidden element is the core: the cord that gives the piping its round profile.
Cores vary widely. Cotton cord is the cheapest and most common. Leather cord, formed by rolling a strip of leather, is used on premium goods because the finished piping feels solid and does not compress over time. Synthetic cords are used where moisture resistance matters.
| Core type | Profile | Cost | Best for |
|---|---|---|---|
| Cotton cord | Soft, round | Low | General production |
| Leather cord | Firm, round | High | Premium leather goods |
| Synthetic cord | Resilient, uniform | Low–medium | Moisture-prone uses |
| No core (folded strip) | Flat ridge | Lowest | Light decorative lines |
Making the Piping Strip
The strip is cut on the bias, typically 25 to 35 millimeters wide, then folded around the core and stitched closed with the raw edges aligned. Cutting on the bias matters because leather has a direction: cut straight, the strip will resist curving around corners and will pucker.
Factories with volume production use a piping foot, a specialized presser foot with a channel that feeds the cord while the strip folds over it. Hand-guided construction produces the same result at far lower speed and with more variation.
Installing Piping Into a Seam
The finished piping is sandwiched between two panels and stitched through, so the core sits in the seam allowance and the ridge protrudes along the join. The stitch line runs parallel to the piping, typically 3 to 5 millimeters from the core, and must hold the piping at a constant distance.
Consistency is everything. A piping line that drifts from 4 to 7 millimeters along a long seam is visible from across a room, and it cannot be corrected after stitching.
Piping at Corners and Curves
Corners are where piping reveals its execution quality. On an inside curve, the bias strip compresses and can produce small folds unless the piping is clipped correctly at the seam allowance. On an outside curve, the strip stretches.
Factories handle corners by clipping the seam allowance at intervals, slowing the feed and, on high-end work, hand-guiding the corner. Corners are also where the piping most often ends up slightly different in diameter from one side of the bag to the other, which is a common complaint on production samples.
Common Piping Defects
Core shifting happens when the strip is stitched without holding the cord centered, so the ridge varies in diameter. Exposed core occurs when the stitching is placed too close to the core, cutting into it. Puckering arises from cutting the strip straight instead of on the bias, or from stitching the piping to a panel without easing the curve.
All three are detectable at the panel stage, and all three are effectively impossible to fix once the bag is assembled.
Edge Binding: Folding and Wrapping
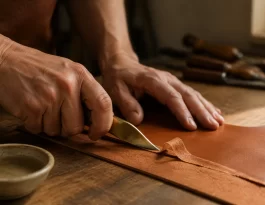
Binding wraps a folded strip of leather around an exposed edge and stitches it in place. Where piping creates a ridge along a seam, binding finishes an edge.
Cutting Binding Strips
Binding strips are usually cut on the bias as well, or sometimes straight if the edge to be bound is straight. Width is calculated from the finished binding width plus the thickness of the material being bound, plus seam allowance.
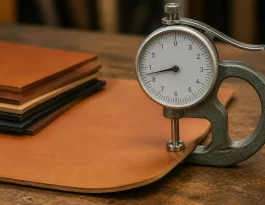
A common mistake in specifications is naming a finished binding width without naming the strip width. The two are different, and the strip must be wide enough to wrap the edge and be caught by the stitching on both sides.
| Finished width | Panel thickness | Approx. strip width |
|---|---|---|
| 4 mm | 1.2 mm | 14–16 mm |
| 5 mm | 1.5 mm | 18–20 mm |
| 6 mm | 2.0 mm | 22–24 mm |
| 8 mm | 2.5 mm | 28–30 mm |
Binding Methods
Single-fold binding wraps the strip once around the edge and stitches it, leaving the fold on one side and the raw edge on the other — usually applied to an edge that will be hidden by a lining. Double-fold binding folds both raw edges under before wrapping, producing a clean finish on both faces.
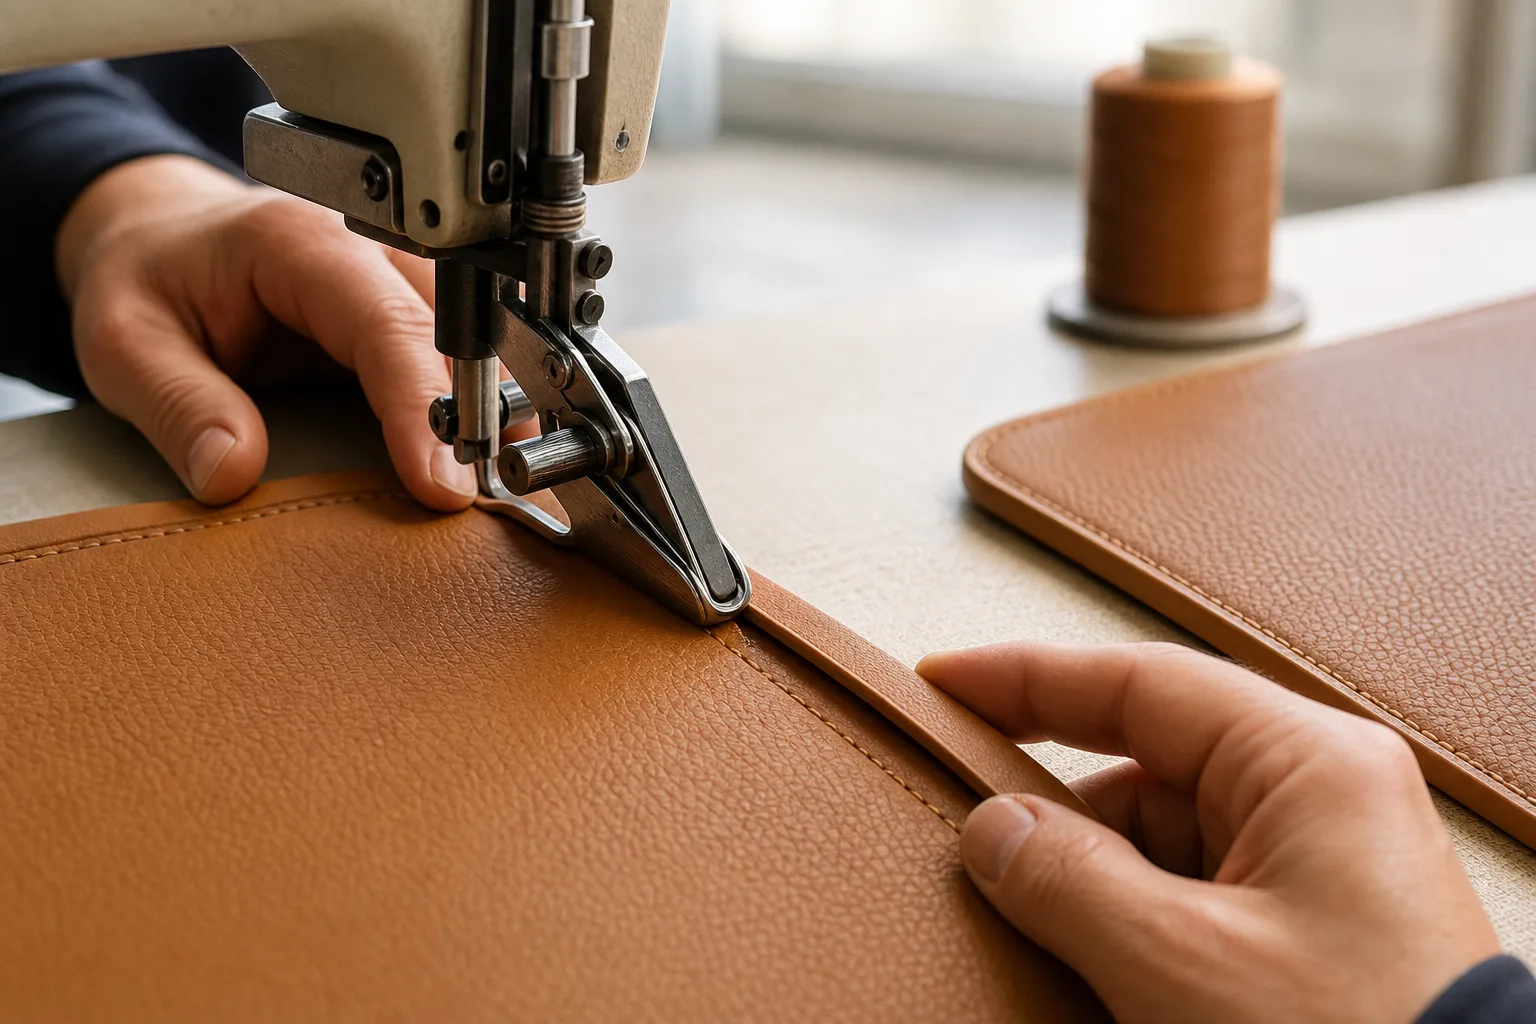
Binding can be applied by hand or with a binder attachment, a presser foot that folds the strip as it feeds. Attachment binding is dramatically faster and highly consistent; hand binding allows tighter curves and finer control.
Binding and Linings
On lined bags, binding often hides the seam where the lining meets the outer leather, which is why bindings often appear at the opening of a tote or the interior of a flap. The binding must be wide enough to cover the raw edges of both layers.
Where the lining is glued or bonded rather than sewn, binding may still be used decoratively at the opening to protect the edge from abrasion, which is the most common point of wear on a lined bag.
Common Binding Defects
The most frequent defect is insufficient wrap: the strip was cut too narrow, so one raw edge remains exposed and later curls. Uneven width appears when the strip was cut or folded inconsistently. Wrinkling occurs when a straight-cut strip is bound around a curve.
Wear-related failure is also common in the field: a binding that is too narrow at the opening of a heavily used tote will wear through within months, exposing the edge it was meant to protect.
Welted Seams: The Structural Trim
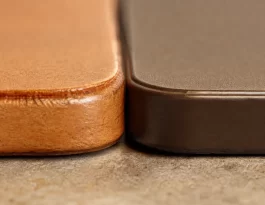
A welted seam places a strip of leather or cord along a seam so that it forms a raised, rounded edge after the panels are joined and turned. The technique comes from shoemaking, where it is used for its structural strength as much as its appearance.
How a Welted Seam Is Built
A narrow strip of leather, folded or rolled, is placed between the two panels being joined. The panels are stitched together with the welt captured in the seam. When the work is turned or the seam is beaten flat with a hammer, the welt forms a rounded ridge along the join.
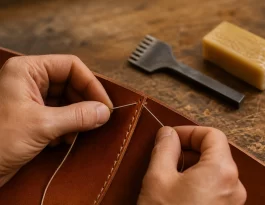
Unlike piping, a welted seam does not conceal the stitch line — it exposes it, and the stitching itself becomes part of the decorative pattern on many heritage-style bags.
Why Welted Seams Are Strong
The welt adds material at the highest-stress point of the seam, and the resulting construction distributes load across a thicker section of leather. On handle roots, base seams and frame joins, a welted seam withstands more cycling before failure than a plain seam.
When a welted seam does fail, it typically fails gradually — the welt abrades or the stitch loosens — rather than opening suddenly, which makes it a repairable construction.
Where Welted Seams Are Used
Welted seams appear on bags where durability is a selling point: work bags, briefcases, saddle-style bags and anything modeled on traditional leather construction. They are also used decoratively on panels where a raised seam line is the intended look.
They are labor-intensive, requiring careful placement and often hand finishing, which is why they are less common in volume production than piping or binding.
Comparing the Three Techniques
The three techniques are sometimes specified interchangeably, which leads to sampling surprises. They produce different visual results and consume very different amounts of labor.
| Technique | Visual result | Structural role | Relative labor |
|---|---|---|---|
| Piping | Narrow raised line along a seam | Conceals and protects seam | High |
| Binding | Folded strip wrapping an edge | Finishes and protects edge | Medium–high |
| Welted seam | Raised rounded seam, exposed stitching | Adds strength at load point | Very high |
Visual Effect
Piping reads as precision: a thin, even line that follows the bag's geometry. Binding reads as craft: a visible folded band that highlights an edge. A welted seam reads as heritage: a pronounced, slightly rounded ridge with visible stitching.
Mixing all three on one bag is possible but risky. Each has its own visual weight, and the combination can look busy unless the designer deliberately uses contrast as a feature.
Durability
A welted seam is the strongest of the three at the seam itself. Piping protects the seam line but adds little structural strength. Binding protects an edge from abrasion, which matters most where the edge is exposed to handling.
The practical ranking depends on load: at a handle root, welted construction wins. Along the opening of a tote, binding protects the edge where a welt would be impractical.
Labor Cost
Piping labor sits in the making of the strip and in the precision of installation. Binding labor sits in strip preparation and consistent wrapping. Welted seams cost the most, because they require both the preparation and careful stitching through multiple layers, sometimes by hand.
For an order of magnitude: binding a long edge with an attachment takes a fraction of the time required to produce and install equivalent piping, and a welted seam along the same edge can take several times longer than piping.
Material Selection for Trim
Trim materials affect appearance, durability and cost, and they must be chosen with the leather they accompany.
| Element | Options | Considerations |
|---|---|---|
| Trim leather | Same hide, matching finish, contrast color | Grain direction, temper, color match |
| Core cord | Cotton, leather, synthetic | Firmness, compression over time |
| Thread | Bonded polyester, linen | Visibility, abrasion, color |
| Edge finish | Painted, waxed, raw | Whether trim edge is visible |
Trim Leather
The most consistent results come from cutting trim from the same hide as the bag, because color and grain match exactly. Trim cut from a different hide can match in color but differ in grain, which shows up in raking light.
Contrast trim — a different color deliberately chosen — requires careful material selection: the two leathers must have similar temper, or the trim will behave differently during stitching and finishing.
Core Selection
Piping core selection determines how the piping ages. Cotton cord compresses with use, so the ridge gradually flattens. Leather cord holds its profile, which is why premium work uses it despite the cost.
On very fine piping, some designs omit the core entirely and rely on the folded strip, producing a flatter line. This is cheaper and lighter but offers no protection to the seam beneath.
Thread Choice for Visible Stitching
Welted seams and some bindings leave stitching visible, so thread becomes part of the design. Bonded polyester thread is the standard for strength and color consistency. On heritage work, waxed linen thread is used for its appearance and because the wax seals the perforations.
Thread color matching is a specification requirement, not a factory decision. Sending a physical thread reference — not a digital color code — avoids disputes about shade under different lighting.
Production Techniques and Tools
Trim labor is largely determined by tooling. The same trim, made with an attachment instead of by hand, can differ in cost by a factor of three or more.
| Tool | Used for | Effect on output |
|---|---|---|
| Piping foot | Piping construction | Consistent core placement, fast |
| Binder attachment | Binding | Fast, uniform fold |
| Walking-foot machine | Thick trim stacks | Reliable feed |
| Edge guide | Parallel stitch lines | Constant distance |
| Corner clamps | Turning piping | Reduces distortion |
Specialized Presser Feet
A piping foot has a channel that holds the cord while the strip folds around it, so the operator feeds leather and cord together with consistent results. A binder attachment folds the binding strip as it is fed, producing an even wrap at high speed.
Without these tools, the same operations are performed by eye, which is slower and less consistent — a difference that appears in the quoted price and in sample quality.
Edge Guides and Stitch Placement
The distance from the stitch line to the piping core determines the visual width of the piping. An edge guide holds that distance constant, particularly on long seams where drift is most visible.
Sequencing Trim Into Production
Trim is applied at specific moments in the assembly sequence, and the order cannot be rearranged. Piping must be made before panel joining; binding is applied after the edge is formed; welted seams are created during joining.
A tech pack that places trim in the wrong sequence, or omits the sequence entirely, will produce a sample that cannot be built as drawn — one of the most common sources of sampling delay.
Common Defects and How to Prevent Them
Trim defects are among the most visible quality failures on a finished bag because they sit on the surface, along the lines the eye follows.
| Defect | Cause | Prevention |
|---|---|---|
| Uneven piping diameter | Core shifted during stitching | Piping foot, tension check |
| Exposed cord | Stitch too close to core | Stitch distance spec, training |
| Piping puckering | Straight-cut strip, no easing | Bias cut, clip curves |
| Binding curl | Strip cut too narrow | Width calculated from thickness |
| Uneven binding width | Inconsistent fold | Binder attachment, gauge |
| Wrinkled binding on curves | Straight cut strip | Bias cut, slower feed |
| Wavy stitch line | No edge guide, inconsistent feed | Edge guide, practice piece |
| Corner distortion | Unclipped seam allowance | Clip allowance, hand guide |
Preventing Piping Defects
The two most common piping defects, uneven diameter and exposed core, both trace back to core control. Using a piping foot and setting a stitch distance specification eliminates most of the risk.
Add a step to the specification: produce a one-meter strip and install it on a test panel before production begins. This five-minute check catches bias cutting and core placement problems at the cheapest possible stage.
Preventing Binding Defects
Binding defects are almost always width problems. Strips cut too narrow cannot wrap the edge, and strips cut inconsistently produce visible variation along the line.
The specification should state the strip width, not merely the finished width, and should require the strip to be cut from a template or with a cutting die on production runs.
Preventing Welted Seam Defects
Welted seams fail for two reasons: the welt strip is too narrow to form a proper ridge, or the stitching does not capture it fully, letting it slip during finishing.
Requiring a sample seam cut open to show the welt captured in the stitch line is a fast, decisive check that costs one sample panel.
Specifying Trim in a Tech Pack
Trim specifications are frequently vague, which pushes decisions to the factory floor where they are made by habit rather than by design.
| Spec element | What to write | Why it matters |
|---|---|---|
| Technique | "3 mm piping", "6 mm double-fold binding", "welted seam" | Defines construction |
| Strip width | Cut width in millimeters, plus grain direction | Prevents narrow wrap |
| Core | "2 mm cotton cord" or "leather cord" | Controls profile and aging |
| Stitch distance | Distance from trim edge or core | Controls visual width |
| Thread | Type, size, color reference | Consistency across batches |
| Corners | Clipping instruction, hand guide if needed | Prevents distortion |
| Trim leather | Same hide or specified contrast | Color and grain match |
| Inspection | "Check diameter and width every 50 cm" | Catches drift early |
State the Construction, Not Just the Look
"Piping" alone is ambiguous: it could mean a folded strip, a corded pipe or a decorative line applied on top of a seam. Naming the core and the installation method removes the ambiguity.
Specify Trim Leather Source
Requiring trim to be cut from the same hide as the bag guarantees color and grain match. If a contrast trim is intended, specify the exact material and require approval of a stitched sample before production.
Require a Trim Sample Before Volume
A single panel demonstrating each trim technique, produced with production materials and tools, is the cheapest insurance against a volume order of misaligned piping. Ask for it in the same hide and thread that will be used in production.
Cost and Labor Analysis
Trim is the clearest example in bag manufacturing of a detail where labor dominates material cost. The leather in a piping strip is trivial; the hours are not.
Labor per Meter
Making and installing piping on a straight panel edge typically takes several minutes per meter, most of it in strip preparation and careful guiding. Binding with an attachment can be done in a fraction of that time on the same length.
Welted seams are slower still, because they involve preparation, multiple layers and often hand finishing at the ends.
| Operation | Typical labor per meter | Notes |
|---|---|---|
| Piping (corded) | High | Strip making plus installation |
| Piping (attachment-assisted) | Medium | Faster, less flexible |
| Double-fold binding | Medium | Attachment speeds folding |
| Hand binding | High | Needed for tight curves |
| Welted seam | Very high | Multi-layer, hand finishing |
Material Waste
Bias cutting wastes more material than straight cutting because strips cannot be nested as tightly. On expensive hides, this waste is a real cost element and should be accounted for in the quote rather than discovered at invoicing.
Where Trim Pays for Itself
Trim improves perceived quality, which supports pricing, and it protects the seams and edges that would otherwise be the first points of wear. On bags that will be used daily, the reduction in edge abrasion alone can extend the usable life of the product.
Where trim does not pay is on hidden seams inside heavily lined bags, where the labor produces no visible benefit and adds cost without a customer-perceivable outcome.
Trim as a Design Signature
For brands that use trim as an identifying element, consistency becomes a quality requirement rather than a preference.
Building a Consistent Signature
A signature trim — a fixed piping width, a specific contrast binding, a welted seam along one particular line — depends on specifications that do not vary by factory or season. That means target widths with tolerances, fixed core specifications and named thread references.
Without that discipline, the same design produced at two suppliers will show two different trim profiles, and customers who notice details will notice.
Scaling a Signature Detail
Trim details that work on a sampling bench sometimes fail at volume. Hand-guided piping on a tight radius may be feasible for 20 pieces and impossible for 2,000 within a delivery window.
Before scaling, confirm that the trim can be produced with attachments or tooling at the required rate, or design the trim to avoid the bottleneck. Production engineers should be involved at the design stage for any signature detail intended to run at volume.
Common Misconceptions About Trim
Several assumptions about decorative seams lead buyers to specify trim that costs more than it delivers.
"Piping Is Purely Decorative"
Piping conceals the seam where panels join and adds a physical barrier over the stitch line. On bags where seams are exposed to abrasion, that protection has a measurable effect on seam life.
"Binding Can Hide Any Stitching Problem"
Binding covers an edge, not a seam. A weak stitch line inside the bag remains weak, and a binding wrapped over poor construction will fail along with it.
"More Trim Means Higher Quality"
Trim adds labor and therefore cost, but the quality question is execution, not quantity. Sloppy piping reads as a defect, while a single, perfectly executed binding line can signal more skill than three mediocre ones.
"Trim Is Only for Expensive Bags"
Mid-market bags use trim extensively because it defends the product against the two most common wear complaints: seam abrasion and edge breakdown. Trim is often a durability investment, not a luxury signifier.
"Any Skilled Operator Can Make Consistent Piping"
Piping consistency depends heavily on tooling. Without a piping foot and an edge guide, even an experienced operator produces measurable variation over a long seam.

Trim by Bag Type
Trim decisions follow the bag's category, its wear points and its construction method. The table below maps common categories to typical trim choices.
| Bag type | Typical trim | Reason |
|---|---|---|
| Structured tote | Piping on panel seams, binding at opening | Definition plus edge protection |
| Briefcase | Piping, welted seam at handle roots | Structure and durability |
| Shoulder bag | Binding on flap edge, light piping | Clean finish on curves |
| Work bag | Double-fold binding, welted base | Maximum wear resistance |
| Clutch | Fine piping, contrast binding | Visual precision |
| Heritage satchel | Welted seams throughout | Traditional construction |
Structured Totes and Business Bags
Panels joined at right angles are where piping earns its place: it defines the silhouette and covers the seam line that would otherwise be the first area to abrade. At the opening, binding protects the edge that hands and contents touch constantly.
Bags With Curved Flaps
Curved flaps are the hardest surface for binding. A flap edge with a large radius can be bound with an attachment on production, while tight radii require hand binding or a switched construction to piping, which curves more easily.
Heavy-Duty Bags
Work bags and tool bags take the opposite approach: heavier trim, wider binding, welted base seams. Here trim is chosen for wear resistance first and appearance second, which is the reverse of a fashion bag's priorities.
Design Bags Where Trim Is the Point
On some designs the trim is the identity: a contrasting piping line following an unexpected path, or binding in a second leather. These designs need early production input, because a trim line that crosses multiple panels requires consistent joining and careful sequencing.
Evaluating Trim Quality
Judging trim on a finished bag is a skill, but it rests on a few measurable checks that any buyer can apply to a sample.
| Check | How to test | Pass standard |
|---|---|---|
| Piping diameter | Measure at 5 points along a seam | Within ±0.3 mm |
| Stitch distance | Measure from core to stitch line | Constant within ±0.5 mm |
| Binding width | Measure 5 points per edge | Within ±0.5 mm |
| Wrap coverage | Inspect both faces at an edge | No raw edge exposed |
| Corner behavior | Inspect inside and outside curves | No folds, no stretch marks |
| Welted seam capture | Cut one sample seam open | Welt fully captured in stitch |
Measuring Consistency, Not Just Width
A piping line that is nominally 3 millimeters but varies between 2.5 and 3.8 millimeters will read as sloppy even though its average matches the specification. Consistency along the line is what the eye detects, so the specification should include a tolerance rather than a single number.
Checking Corners Under Light
Corners reveal construction quality more reliably than straight runs. Look for small wrinkles on inside curves, stretched leather on outside curves, and any change in piping profile as it turns.
Testing the Edge That Will Wear
For bags that will be carried daily, inspect the opening and any edge that contacts the hand. A binding that is visually correct but cut too narrow will wear through quickly, exposing the raw edge and creating a repair that is difficult and expensive.
FAQ
What is the difference between piping and binding on a leather bag?
A: Piping is a strip wrapped around a cord and stitched into a seam, creating a narrow raised ridge along the join. Binding is a folded strip wrapped around an exposed edge to finish and protect it.
What is a welted seam?
A: A welted seam places a folded strip of leather between two panels before stitching, so the join forms a raised rounded ridge and the seam gains extra strength at that point. The technique comes from shoemaking.
Which trim technique lasts longest?
A: At a seam under load, a welted seam is the strongest and fails most gradually. Along an exposed edge, binding protects best against abrasion. Piping protects the seam line itself but adds little structural strength.
Why is piping so expensive to make?
A: The labor is in making the strip: cutting it on the bias, folding it around a core and stitching it closed, then installing it at a constant distance. Material cost is trivial compared with the hours involved.
What cord is used inside leather bag piping?
A: Cotton cord is the most common because it is inexpensive. Leather cord is used in premium goods because it holds its profile instead of compressing, and synthetic cord is used where moisture resistance is needed.
Why does piping pucker on curves?
A: Usually because the strip was cut straight rather than on the bias. Bias cutting lets the strip stretch and compress around curves; straight-cut strips resist and produce wrinkles.
How wide should binding be?
A: Finished binding is typically 4 to 8 millimeters wide. The cut strip must be wider — roughly three times the finished width plus allowance for the material thickness — so it can wrap the edge and be caught by stitching.
Can binding hide raw leather edges inside a bag?
A: Yes, and it is commonly used where the lining meets the outer leather. Binding covers the raw edge of both layers, which is why it appears at the openings and interior edges of lined bags.
What causes exposed core in piping?
A: Stitching placed too close to the cord, which cuts into or exposes it. The specification should state the stitch distance from the core, and the operator should use a piping foot to hold the core centered.
Is hand binding better than machine binding?
A: Hand binding allows tighter curves and finer control but is much slower and less consistent over long edges. Machine binding with a binder attachment is faster and more uniform, and is standard for production runs.
How much labor does piping add to a bag?
A: It varies with the number and length of piped seams, but piping is one of the more labor-intensive trim options. On a bag with several piped seams, piping labor can exceed the total cost of the trim material many times over.
Do I need to specify trim in a tech pack?
A: Yes. Specifying "piping" alone is ambiguous. State the technique, strip width and grain direction, core type and diameter, stitch distance, thread and the inspection standard.
Why does the trim color look different from the bag leather?
A: Because trim cut from a different hide may match in color but differ in grain or finish. Requiring trim to be cut from the same hide as the bag avoids the problem.
Can trim be added after sampling?
A: It can, but adding trim changes panel dimensions, seam sequencing and edge finishing. Trim is far cheaper to specify from the start than to retrofit after sampling.
What is a binder attachment?
A: A presser foot attachment that folds a binding strip as it is fed under the needle, producing an even wrap at high speed. It is the main reason machine binding is far faster than hand binding.
How do I check that a welt is properly constructed?
A: Cut one sample seam open and confirm the welt strip is fully captured in the stitch line and forms a consistent ridge. A welt that is only partially caught will slip during finishing or use.
Ready to make trim a strength of your next collection instead of a sampling risk? Send us your designs and we will specify the piping, binding and welted seams for each panel, produce trim samples with production tooling, document strip widths, core specifications and stitch distances, and quote the real labor so your margins are based on numbers rather than assumptions.