Custom Hardware Development: Molds, Finishes and Timelines
- Why Brands Develop Custom Hardware
- How Custom Hardware Is Made
- The Development Sequence
- Mold Types and Their Cost Drivers
- Sampling Rounds and What Each Round Reveals
- Finish Options and Approval
- Engineering for Load and Function
- Timelines: What Actually Drives Them
- Minimums, Quantities and Amortisation
- Mold Ownership, Storage and Transfer
- Quality Control for Hardware
- FAQ
Custom hardware is the clearest signal that a bag belongs to a specific brand. A signature clasp, a shaped ring, a pull with an unusual profile: none of it can be bought from a catalogue, and all of it has to be engineered, tooled, finished and tested before it reaches a production line.
It is also the part of product development most likely to run late. Tooling is cut from a drawing rather than from the material, corrections arrive as physical samples rather than as revisions, and the finishing stage has its own queue that no amount of factory pressure shortens.
Understanding what drives the process makes it possible to plan. The sequence is predictable, the cost drivers are few and identifiable, and most timeline slippage comes from a handful of recurring causes that can be designed out at the briefing stage.
Why Brands Develop Custom Hardware
Catalogue hardware is fast, inexpensive and available in large quantities, which is why most bags use it. Custom hardware is chosen for reasons that catalogue parts cannot satisfy.
Differentiation and Brand Recognition
A distinctive buckle or pull identifies a bag at a distance. Where a brand is competing on design rather than price, hardware is often the cheapest way to make an unfamiliar product recognisable on a shelf or in a photograph.
This matters more in crowded categories. When dozens of bags share similar silhouettes and leathers, the hardware is what a returning customer remembers and describes.
Functional Requirements Catalogue Parts Do Not Meet
Custom development is also justified by function. A clasp may need a specific opening force, a ring may need a defined load capacity, or a magnetic closure may need to survive a drop test without releasing.
Catalogue parts are designed for general use. Where a product has an unusual load path, a specific geometry or a brand-specific safety requirement, a custom part is often the only way to meet it.
When Custom Development Is Not Worth It
Custom hardware should not be chosen for cosmetic variety alone. Where a catalogue part already meets the function and the design tolerates it, the tooling outlay, sampling rounds and minimum quantities are difficult to justify.
The practical test is whether the custom part changes recognition, function or a specification the brand cannot otherwise achieve. If it only changes the appearance slightly, the simpler route usually wins.
How Custom Hardware Is Made
Almost all bag hardware is produced by one of a small number of processes, and the choice of process determines the achievable geometry, the finish options and the tooling structure.
Die Casting
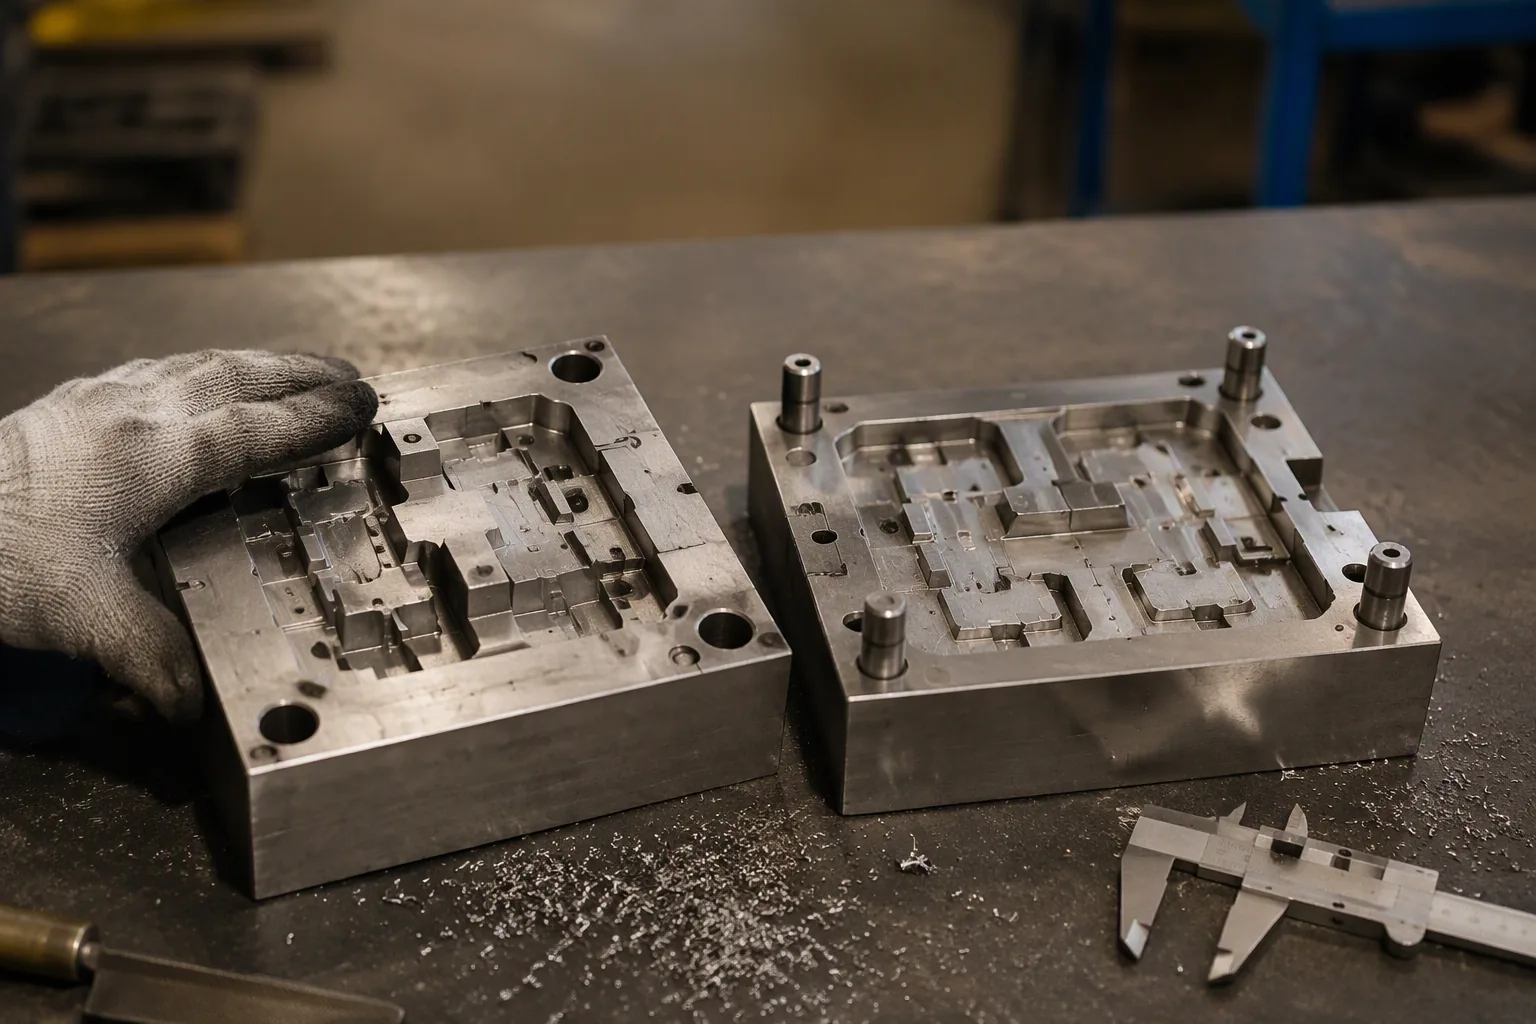
Die casting forces molten metal, usually a zinc alloy, into a steel mold under pressure. It produces complex shapes with fine detail at high volume, and it is the standard route for buckles, clasps, rings and decorative plates.
The mold is expensive relative to other processes, which is why die casting suits programmes with substantial volumes. Detail reproduction is good, and the surface accepts most plating and coating finishes.
Stamping and Metal Forming
Stamping cuts and forms sheet metal between a punch and a die. It suits flat components such as plates, hooks, sliders and simple rings, and it is cheaper to tool than die casting for straightforward shapes.
Stamped parts are usually lighter and thinner than cast equivalents. Where a part must carry load, stamping thickness and the material grade become the critical specifications.
Investment Casting and CNC Machining
Investment casting produces detailed shapes from a wax pattern, and is used where a design needs a particular surface character or a small batch with minimal tooling. CNC machining cuts a part from solid stock, giving tight tolerances and excellent strength at the highest unit cost.
Both routes are used for premium or low-volume hardware and for functional parts where precision matters more than unit cost.
| Process | Best suited to | Tooling character | Unit cost at volume | Detail level |
|---|---|---|---|---|
| Die casting | Complex buckles, clasps, plates | High, steel mold, multi-cavity | Lowest | High |
| Stamping | Flat plates, hooks, sliders, rings | Moderate, punch and die | Low | Moderate |
| Investment casting | Intricate shapes, small batches | Lower, wax pattern tooling | Higher | High |
| CNC machining | Functional precision parts | Minimal tooling | Highest | Very high |
| Wire forming | Rings, D-rings, simple frames | Low | Low | Simple geometry |
Assembled Hardware Versus One-Piece Parts
Many bag components are assemblies rather than single parts: a swivel hook combines a body, a spring, a pin and a ring; a magnetic clasp combines two plates and a magnet. Each component has its own production route and its own tolerance.
Assembly is where function can be lost. A hook whose spring is specified too lightly fails in use even though every individual part meets its drawing, which is why functional testing belongs on the assembled component rather than on its parts.
The Development Sequence
Custom hardware follows a fixed sequence. Skipping a stage does not save time; it moves the discovery later, where corrections are more expensive.
From Sketch to Manufacturable Drawing
Development begins with a design intent and ends with a drawing a toolmaker can work from. The drawing must specify material, wall thickness, draft angles for casting, ejection points, minimum radii and assembly method.
Sketches cannot be tooled. Where a brand supplies only artwork, the supplier will interpret it, and the interpretation becomes the mold. Reviewing a manufacturable drawing before tooling is the single cheapest control point in the whole project.
Tooling and the First Sample
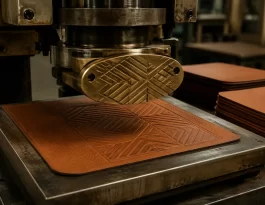
Once the drawing is agreed, the mold or die is cut. This stage is where most of the elapsed time sits, because mold making is skilled work that cannot be compressed by adding pressure.
The first sample, often called the first trial, tests geometry rather than appearance. Expect corrections: shrinkage, parting lines, sharp edges and fit issues are normal at this stage and are resolved by modifying the mold.
Finish Approval and Pre-Production
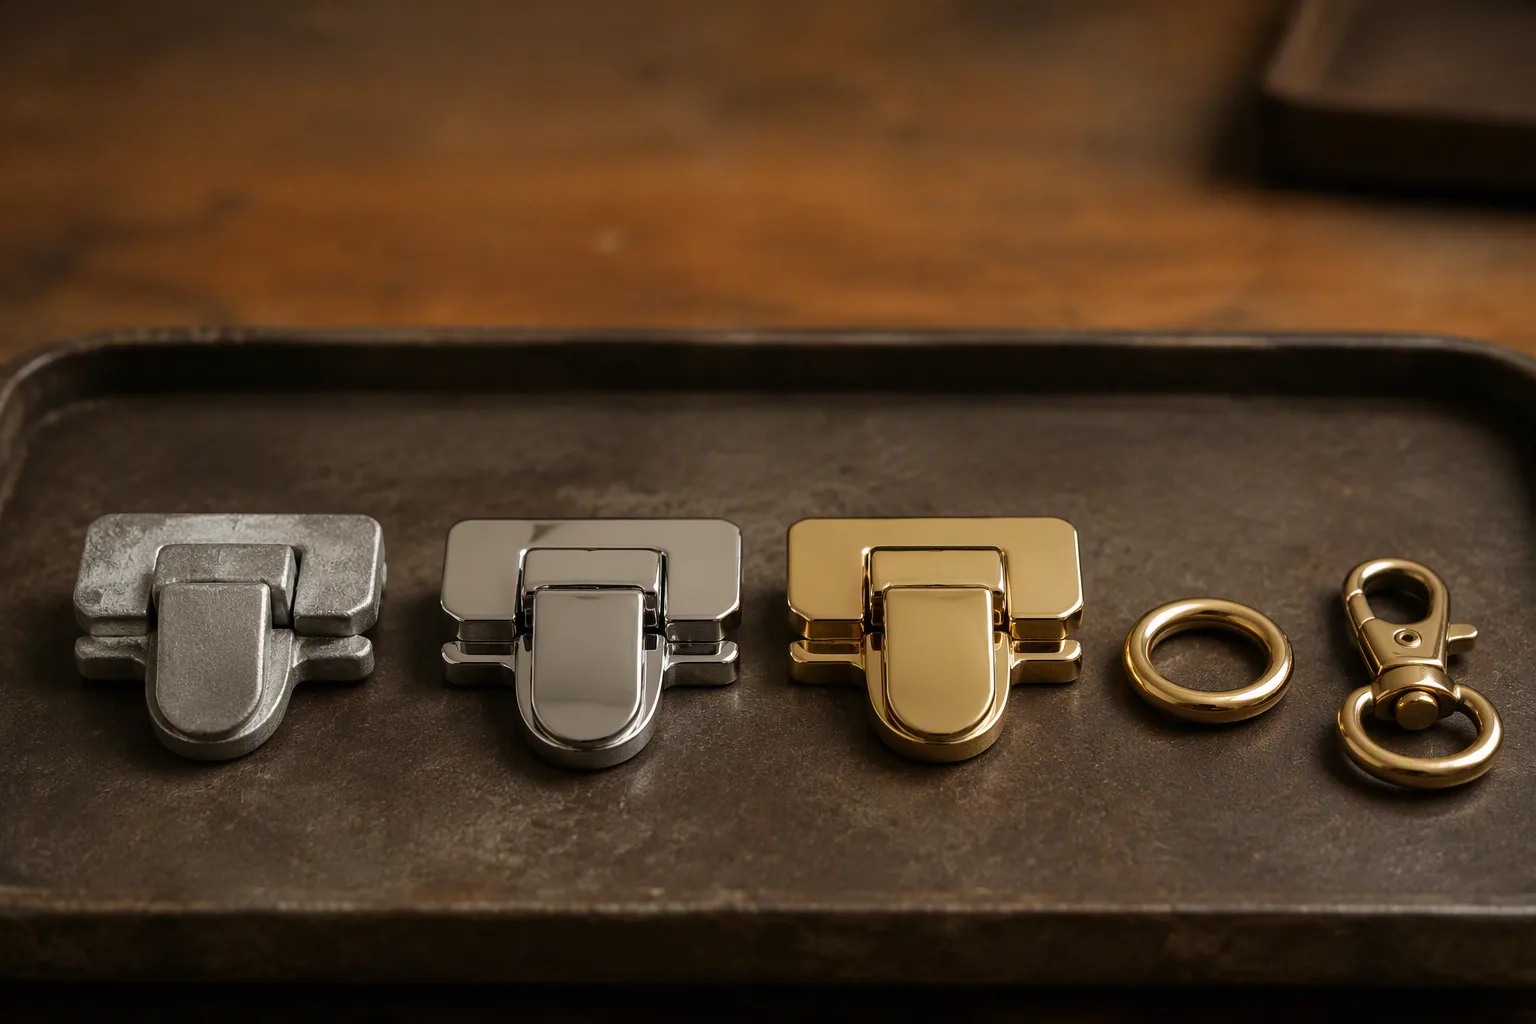
After geometry is correct, the finish is applied and approved. This is a separate approval because plating and coating change dimensions slightly, affect electrical or magnetic behaviour, and have their own colour and durability tolerances.
Pre-production then confirms that the part, the finish and the assembly all behave together in a bag, and that the supplier can repeat them consistently at production volume.
| Stage | Output | Typical elapsed time | Main risk |
|---|---|---|---|
| Design and drawing | Manufacturable drawing | Days to weeks | Ambiguous drawing tooled as interpreted |
| Tooling | Mold or die | Weeks | Geometry errors corrected by rework |
| First trial sample | Physical parts | Days after tooling | Shrinkage, parting lines, sharp edges |
| Finish sampling | Plated or coated samples | Days to weeks | Colour and plating queue |
| Pre-production | Approved part in a bag | Weeks | Volume consistency, assembly behaviour |
Mold Types and Their Cost Drivers
Mold cost is the largest single outlay in most custom hardware projects, and it is driven by a handful of predictable factors rather than by the supplier's pricing whim.
Shape Complexity and Parting Lines
Complex geometry requires more mold work: more surfaces to cut, more parting lines to manage, more risk of defects at the joins. A part whose design avoids deep undercuts and sharp transitions is cheaper to tool and cheaper to produce.
Simplification at the design stage reduces tooling cost without affecting the product, provided the simplification happens before the mold is cut rather than after.
Cavity Count
A mold can contain one cavity or many. More cavities increase the mold cost but reduce the unit cost and increase output per cycle, which changes the break-even point of the whole project.
Cavity count should be chosen against expected volume. A multi-cavity mold for a low-volume part spends the tooling budget on capacity that will never be used.
Material, Hardness and Expected Life
Mold steel grade and hardness determine how many cycles the tool can survive. Softer tooling costs less up front and wears faster, which matters where a part is expected to be produced over several years.
Where a programme has a defined life, matching tooling durability to expected output avoids both premature wear and unnecessary spend.
Finish, Engraving and Logo Detail
Engraved logos, textured surfaces and fine relief all add cost, because they require additional machining, deeper detail and tighter process control. Very fine detail can also reduce mold life and increase reject rates.
Where a small logo is required, its depth and minimum line width should be agreed with the supplier before tooling, not after the first sample.
| Cost driver | Increases cost when | Practical control |
|---|---|---|
| Shape complexity | Undercuts, sharp transitions, thin walls | Simplify before tooling |
| Cavity count | High output required | Match cavities to forecast volume |
| Mold material and hardness | Long programme life needed | Match tooling life to plan |
| Engraving and texture | Fine detail, deep relief | Agree depth and line width early |
| Tolerance | Tight functional fit required | Apply tight tolerance only where needed |
Sampling Rounds and What Each Round Reveals
Each hardware sample round exists to answer a specific question, and understanding that keeps rounds from turning into open-ended iteration.
The Geometry Round
The first round checks whether the part is shaped correctly: does it fit the bag, does it close, does it sit flat, does the assembly move as intended. Finish is not judged here.
Mold corrections made at this stage are relatively cheap, because the tool has not yet been finished or hardened. Corrections after the finish round are more expensive and slower.
The Finish Round
Once geometry is accepted, plating or coating is applied and the surface is judged: colour, gloss level, uniformity across the batch and behaviour at edges.
Finish trials should be reviewed against the master colour or finish standard, under the agreed viewing condition, in the same way as leather. Judging plating under different lights from one supplier to another produces unnecessary rejections.
The Function and Durability Round
The final round confirms behaviour: opening force, closing security, load capacity, wear across finish and resistance to humidity or perspiration. This is where a part either qualifies for production or is redesigned.
Durability testing belongs before tooling is committed for volume, not after, because a functional failure found late can invalidate the mold entirely.
| Round | Question answered | Typical corrections | Relative cost of change |
|---|---|---|---|
| Geometry trial | Is the shape right | Mold modification, radii, draft | Lowest |
| Finish trial | Is the surface right | Plating recipe, thickness, gloss | Moderate |
| Function and durability | Does it work and last | Spring, magnet, gauge, attachment | Moderate to high |
| Pre-production | Can it repeat at volume | Process control, packing, inspection | Low if earlier rounds passed |
Finish Options and Approval
Hardware finish is judged in the hand and in the light, and it is the specification most likely to be under-written in a brief.
Electroplating
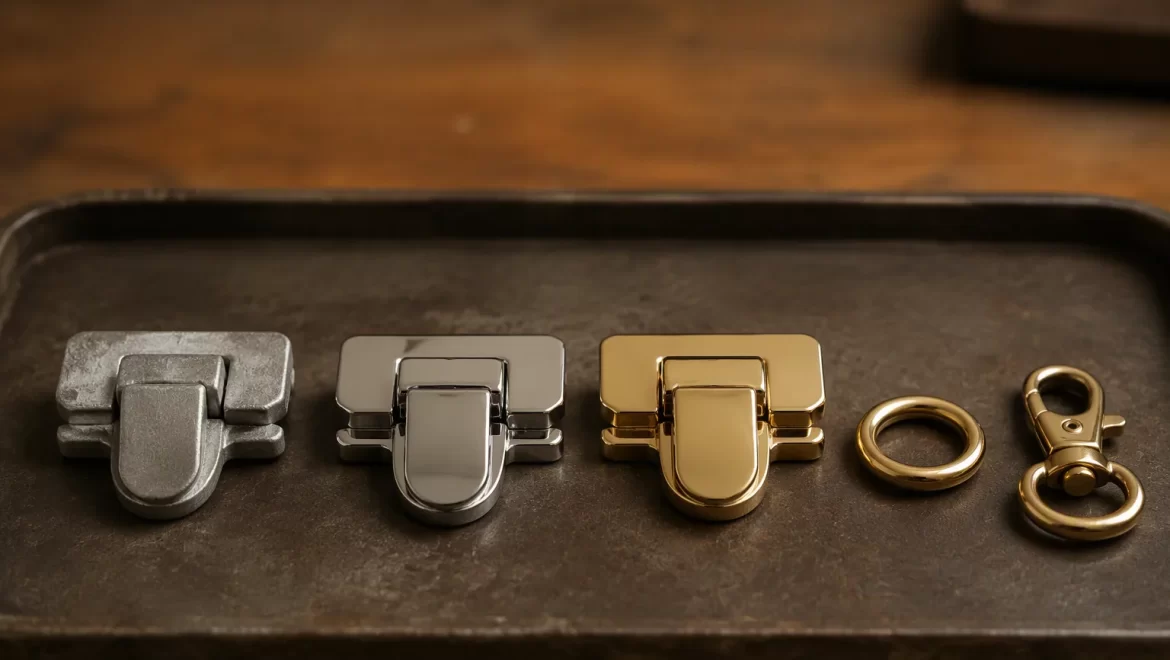
Electroplating deposits a metal layer onto the base part. It is the standard route for bright gold, silver and nickel finishes, and it allows a relatively low-cost base metal to carry a premium appearance.
Plating thickness governs durability. Thin plating wears through at contact points and exposes the base metal, which is the most common appearance failure on bag hardware after a year of use.
PVD Coating
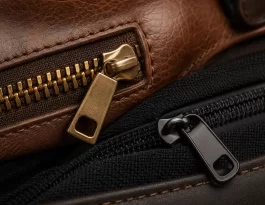
Physical vapour deposition produces a hard, thin coating with good wear resistance and consistent colour. It is used for the more durable dark finishes, including gunmetal and black.
Where a part is expected to see heavy contact, PVD is generally worth the extra process step. It also holds colour more consistently across batches than some plating recipes.
Antique, Brushed and Special Effects
Antique finishes deliberately disrupt the surface with a darkened relief, which hides wear and suits traditional designs. Brushed finishes create a directional sheen that shows handling marks less than polished surfaces.
Both effects are produced by controlled processes, not by accident, and they should be specified with a reference sample rather than by description alone.
| Finish | Durability in contact use | Appearance character | Typical application |
|---|---|---|---|
| Bright electroplated gold or silver | Lower, wears through | Reflective, formal | Dress and evening bags |
| Nickel or chrome plating | Good | Cool, neutral | Everyday and work bags |
| PVD coated | High | Consistent, modern | Heavily used contact points |
| Antique | Moderate, wear hides well | Traditional, textured | Heritage and casual ranges |
| Brushed | Good, marks are less visible | Directional sheen | Contemporary ranges |
| Painted or powder coated | Moderate, chips possible | Solid colour, matte | Colour-matched hardware |
Nickel Release and Skin Contact
Hardware sits against skin and clothing, and some consumers react to certain metal finishes in prolonged contact. Where a product is sold into markets with restrictions on skin-contact metals, the finish must be specified accordingly.
The practical response is twofold: choose finishes that avoid restricted metals at contact surfaces, and keep the plating specification on file so that a repeat order uses the same process.
Engineering for Load and Function
A hardware part is a mechanical component. Its appearance matters, but its function determines whether the bag survives use.
Wall Thickness and Structure
Cast parts depend on adequate wall thickness to carry load without distortion. Thin walls save material and weight, but they flex under load and can crack at stress points.
The drawing should state minimum wall thickness, and the trial sample should be loaded to the intended working load rather than only inspected visually.
Attachment Points
Most hardware failures occur where the part attaches to the bag, not in the part itself. A ring that pulls open at the seam, or a plate whose screws elongate their holes, indicates that the attachment was underspecified rather than that the metal failed.
Designing attachment with adequate material behind the fixing, and with washers or backing plates where necessary, resolves most of these failures at negligible cost.
Springs, Magnets and Moving Parts
Moving hardware introduces wear, fatigue and tolerance stacking. Spring tension that is too light allows unintended release; too heavy makes the bag difficult to open.
Magnetic closures depend on magnet grade, gap and the thickness of material between plates. A closure that holds well on a bench can release in use if the leather between the magnets is thicker than tested.
| Part | Common failure | Underlying cause | Specification control |
|---|---|---|---|
| Ring or D-ring | Opens or distorts under load | Insufficient gauge or weak joint | State load capacity and material |
| Plate or clasp | Fixings tear out | Thin material behind the fixing | Minimum wall and backing plate |
| Spring hook | Unintended release | Insufficient spring tension | Define opening force and test |
| Magnetic closure | Releases under movement | Magnet grade or gap misjudged | Test through the intended leather |
| Swivel joint | Stiffens or seizes | Tolerance stacking, finish build-up | Define clearance and test assembled |
Timelines: What Actually Drives Them
Hardware timelines are usually estimated from the tooling stage alone, which is why projects slip. The elapsed time is the sum of several queues, only one of which is mold making.
Tooling Duration
Mold cutting depends on complexity and on the toolmaker's workload. A simple stamping die moves faster than a multi-cavity cast mold with engraved detail, and a busy period can add weeks without any change to the design.
Booking tooling capacity early, even before the drawing is finalised, is one of the few reliable ways to shorten the critical path.
Finishing Queues
Plating and coating lines run in batches and often serve several customers. A finish trial may wait for a slot in the same way that a production batch does, and the wait is invisible in a project plan that only tracks tooling.
Where a finish is unusual, or a new colour is being introduced, the queue risk rises. Building finishing time into the plan as a distinct line item rather than as a rounding margin keeps the estimate honest.
Rework Loops
Every rejected sample adds a full cycle: modification, re-trial, re-finish, re-review. Projects that estimate one rework loop and experience three run substantially late.
The number of loops is largely controllable. A manufacturable drawing, an agreed finish reference and a stated load requirement reduce corrections to geometry-level issues, which are the fastest to fix.
Seasonal and Calendar Effects
Production calendars include holidays and peak seasons that influence both tooling shops and finishing lines. Planning a hardware project across a long holiday period extends it, regardless of supplier efficiency.
Where a launch date is fixed, the hardware schedule should be built backwards from that date with the holiday period treated as unavailable time.
| Stage | Relative duration | Compressible by | Not compressible by |
|---|---|---|---|
| Drawing and approval | Short | Clear brief, early review | Pressure |
| Tooling | Long | Booking capacity early | Design complexity |
| Geometry trial and correction | Short to moderate | Manufacturable drawing | Mold work required |
| Finish trial | Moderate | Standard finishes, early slot booking | Plating queue |
| Pre-production and packing | Short | Advance planning | Inspection needs |
Minimums, Quantities and Amortisation
Custom hardware carries minimums at several levels, and understanding them prevents the surprise of a small order that cannot be produced.
Minimum Order Quantity
Suppliers set a minimum order quantity per part, and often a separate minimum per finish. Producing a small quantity of one finish, and a small quantity of another, can mean two minimums rather than one.
Colour or finish variety is therefore a cost decision as much as a design decision. Consolidating finishes across a range often removes an entire minimum.
Plating Batch Minimums
Plating is a batch process, and small quantities are inefficient to run. Some suppliers charge a minimum batch fee regardless of quantity, which raises the effective unit cost of a small order.
Where a brand wants several finishes on one part, producing them in sequence within one order is usually cheaper than splitting the order across periods.
Thinking About Mold Cost Correctly
Mold cost is a fixed investment, and its effect on unit cost falls as volume rises. It is more useful to think of tooling as a share of the programme's total cost than as a one-off payment.
Where a part is expected to run over several seasons, the tooling cost per unit falls with each repeat order. Where a part is a single-season design, the same tooling must be recovered within that season, which is the main argument for simpler tooling on short-life products.
| Cost element | Behaviour | Practical implication |
|---|---|---|
| Mold or die | Fixed, one-off | Amortises over total volume across seasons |
| Finish set-up | Charged per batch | Consolidate finishes into one order |
| Sample rounds | Charged per round | Reduce by better briefing |
| Minimum order quantity | Fixed floor per part and finish | Fewer finishes means fewer minimums |
| Unit price | Falls with quantity and cavity count | Match tooling to realistic volume |
Mold Ownership, Storage and Transfer
Tooling outlives the project that created it, and who holds it determines what happens at the next season, the next supplier and the end of the relationship.
Who Owns the Tooling
Ownership should be agreed in writing before the mold is cut, along with who pays for maintenance and who bears the cost of wear. Ambiguity here surfaces at the worst moment: when a programme needs to move.
Where the brand pays for the tooling, ownership normally rests with the brand, but physical possession often stays with the supplier because moving a mold is inconvenient and expensive. Ownership and possession are separate questions and should be documented separately.
Storage and Maintenance
Stored molds corrode and distort if they are not maintained. A tool kept in a damp store for a year may need rework before it can run again, which is a cost no one has budgeted.
Agreeing a storage location, an inspection interval and who pays for reconditioning keeps a dormant tool usable. Where a part is seasonal, a short annual stock of finished hardware is often cheaper than reconditioning a mold each year.
Transferring Tooling to Another Supplier
Moving a mold is a project in itself. The tool must be documented, refurbished if required, packed properly and re-qualified at the receiving supplier before production can resume.
The practical preparation is documentation: the manufacturable drawing, the last approved sample, the finish reference and the trial history. Without those, the receiving supplier effectively starts from scratch, and the first production run reveals problems already solved once.
| Item | Why it matters | Documented as |
|---|---|---|
| Ownership statement | Determines who may move the tool | Written agreement, dated |
| Storage location and condition | Prevents corrosion and distortion | Storage record, inspection interval |
| Maintenance responsibility | Allocates reconditioning cost | Maintenance clause |
| Drawing and approved samples | Enables re-qualification | Technical file |
| Trial and correction history | Avoids repeating solved problems | Project record |

Quality Control for Hardware
Hardware is inspected at two moments: when it arrives, and when the finished bag is checked. Both are needed, because a fault in a part can appear only once it is assembled and loaded.
Incoming Inspection
Incoming inspection checks the part against the approved sample and the drawing: dimensions at functional points, finish colour and gloss, freedom from sharp edges and burrs, and function of moving components.
Sharp edges deserve particular attention. A burr that is invisible on the bench can cut stitching thread during assembly, and the resulting failure appears on the finished bag rather than on the hardware.
Plating Thickness and Adhesion
Plating durability depends on thickness and on adhesion to the base metal. Both can be checked by the supplier and verified with test records rather than assumed.
Where a part is expected to see heavy contact, the specification should state the plating requirement explicitly and the supplier should provide evidence against it. Accepting a visual match alone leaves durability undefined.
Functional and Load Testing
Opening force, closing security, load capacity and resistance to humidity or perspiration should all be tested on the assembled part rather than on its components. Tests should use the intended material where the part interfaces with leather, since leather thickness affects clamping and magnet performance.
Results should be recorded and retained. For a reorder produced months later, the previous test record is the only reliable baseline for comparison.
| Inspection point | Method | Typical failure detected |
|---|---|---|
| Functional dimensions | Gauge or calliper at key points | Fit problems in assembly |
| Finish colour and gloss | Comparison with master standard under agreed light | Batch shade drift |
| Sharp edges and burrs | Visual and touch check on all surfaces | Thread damage during assembly |
| Plating thickness and adhesion | Supplier test record or independent check | Early wear to base metal |
| Function and load | Opening force, load, humidity exposure on assembly | Spring fatigue, closure release, deformation |
Records and Repeat Orders
Every hardware project produces documents worth keeping: the approved drawing, the last accepted sample, the finish standard, the trial history and the test results. Together they make a reorder a repeat rather than a rediscovery.
Where a programme returns after a season, those records let a supplier run the same tool, the same finish and the same tolerances without a fresh development cycle. Without them, a reorder restarts development, and the problems solved the first time are solved again at full cost.
Keeping one technical file per part, updated as each round is completed, is a small administrative habit that protects the largest single investment in the project.
FAQ
How long does custom bag hardware take to develop?
A: The sequence runs from drawing through tooling, a geometry trial, finish approval and pre-production. Tooling and finishing are the two longest stages, and both depend on supplier queues as much as on the design.
What is the biggest cost in custom hardware?
A: Tooling. Mold or die cost is a fixed investment driven by shape complexity, cavity count, mold material and the depth of engraving or texture, and it amortises over the total volume produced.
Can I develop custom hardware for a small order?
A: It is possible but usually uneconomic. Supplier minimums apply per part and often per finish, and the tooling investment has to be recovered from a smaller volume, which raises the effective unit cost sharply.
Which process should I use for a custom clasp?
A: Die casting suits complex buckles and clasps at volume. Stamping suits flat or simple formed parts, investment casting suits intricate shapes in smaller batches, and CNC suits precision functional parts where unit cost matters less.
How many sample rounds should I plan for?
A: Plan for at least three: a geometry trial, a finish trial and a function or durability round, followed by pre-production. Budgeting for one or two rounds is the most common cause of late hardware.
Why does plating wear off on buckles?
A: Plating wear is usually a thickness or adhesion problem. Thin plating wears through at contact points and exposes the base metal. For heavy-contact parts, PVD coating is generally more durable.
What causes sharp edges on cast hardware?
A: Parting lines and mold wear produce flash and burrs that are not always removed in finishing. They should be specified as unacceptable, because a burr can cut stitching thread during assembly.
How should hardware be matched to leather colour?
A: Metal reflects rather than absorbs light, so an exact match is not meaningful. Choose a finish that complements the leather, and design contrast deliberately rather than accepting it accidentally.
Are magnetic closures reliable?
A: They are reliable when magnet grade, gap and leather thickness are all tested together. A closure that holds on a bench can release in use if the leather between the plates is thicker than the test sample.
Who owns the mold after the project ends?
A: Ownership should be agreed in writing before tooling begins. Where the brand pays for the mold, ownership typically rests with the brand, while physical possession often stays with the supplier.
Can tooling be moved to another supplier?
A: Yes, but moving a mold is a project. It must be documented, refurbished, packed and re-qualified at the receiving supplier, and the last approved samples are essential to that process.
Why do hardware projects slip?
A: Usually because only tooling is planned. Finishing runs in batches with its own queue, each rejected sample adds a full rework cycle, and holiday periods remove working days from both stages.
Does plating thickness affect the part dimensions?
A: Slightly. Plating and coating add a thin layer, which matters for close-fitting moving parts and for magnets. Clearances should be defined with the finished coating included.
What should the hardware drawing include?
A: Material, minimum wall thickness, draft angles for casting, ejection points, tolerances at functional points, finish specification, engraved detail depth and line width, and the assembly method.
How many finishes should one part carry?
A: As few as the range genuinely needs. Each additional finish usually adds a plating batch minimum and extra set-up, so consolidating finishes is one of the simplest ways to reduce cost.
What is the most effective way to shorten hardware development?
A: Approve a manufacturable drawing before tooling, fix the finish reference before the first trial, state the load requirement in the specification, and book tooling and finishing capacity as separate lines in the schedule.
Ready to run a hardware project that lands on schedule? Approve a manufacturable drawing before tooling, fix the finish reference before the first trial, state the load requirement on the specification, and book tooling and finishing capacity as separate lines in the plan.